Chronically Beautiful!
  • Home
  • About
  • Chronically Beautiful Blogs
    • Chronically Beautiful
    • Chronically Delicious
    • Chronically Healthy
  • Published Articles & Podcasts
  • Gift Shop
  • The Chronically Care Project
    • Care Package Application
    • Rise Above Lyme Sign Up
  • Contact
  • Disclaimer

Chronically Delicious!

Picture

Artisan Bread!

12/23/2018

1 Comment

 
Picture
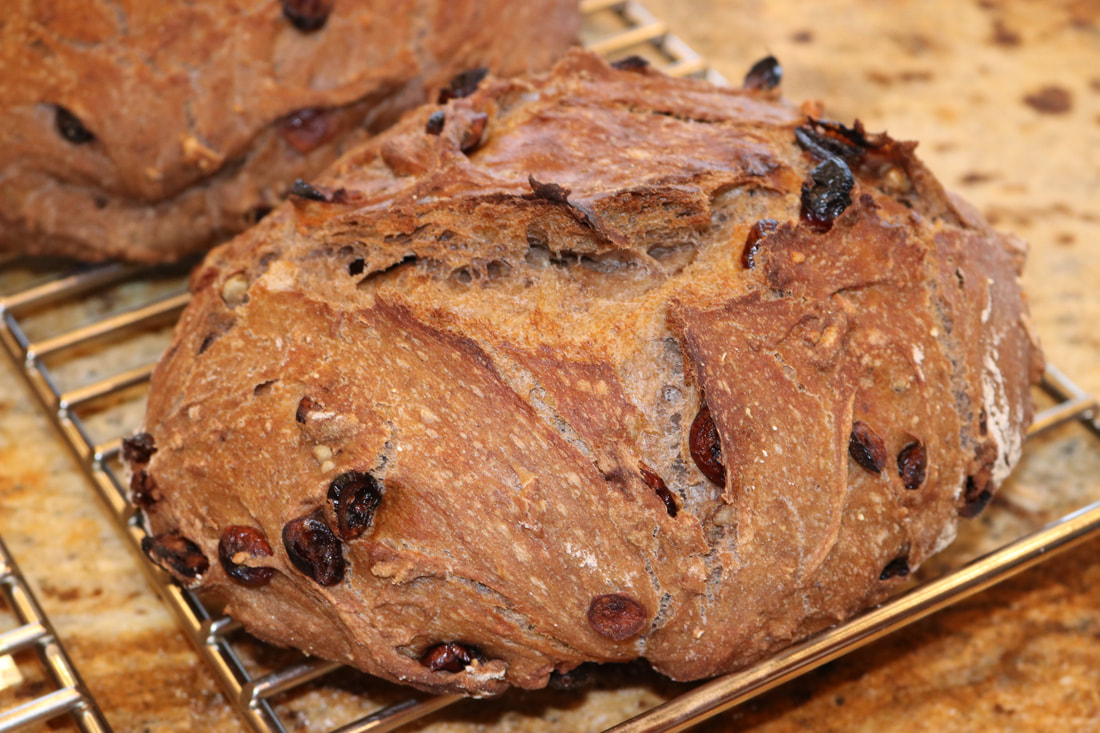
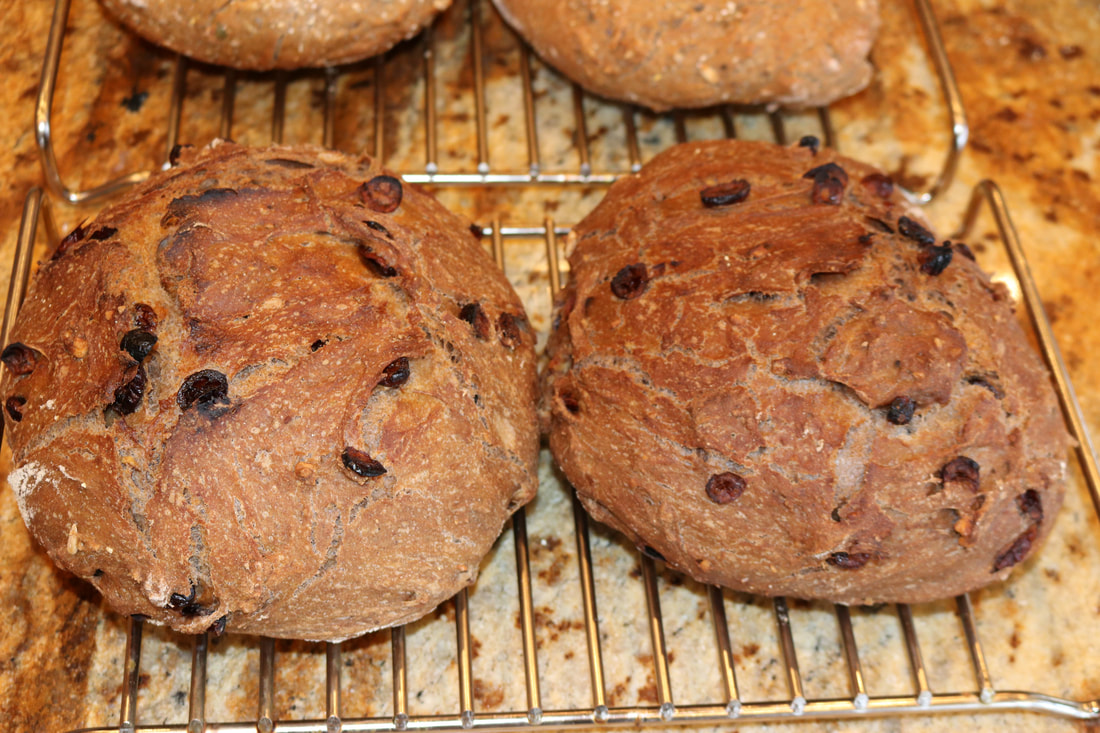
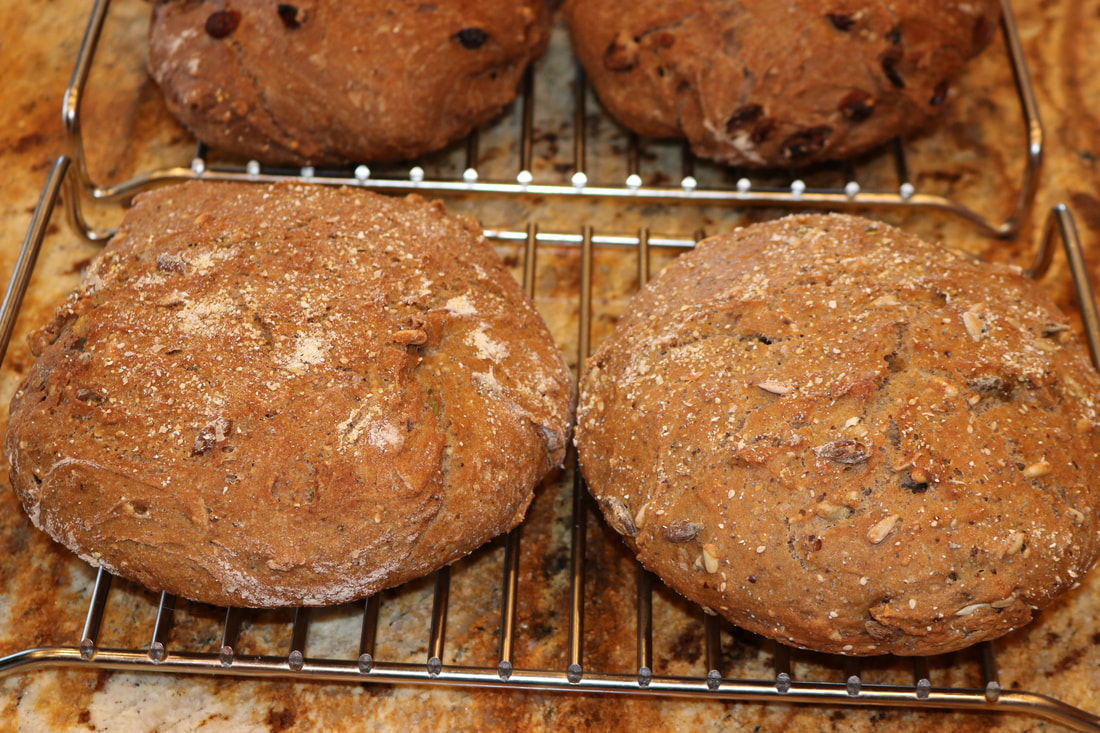
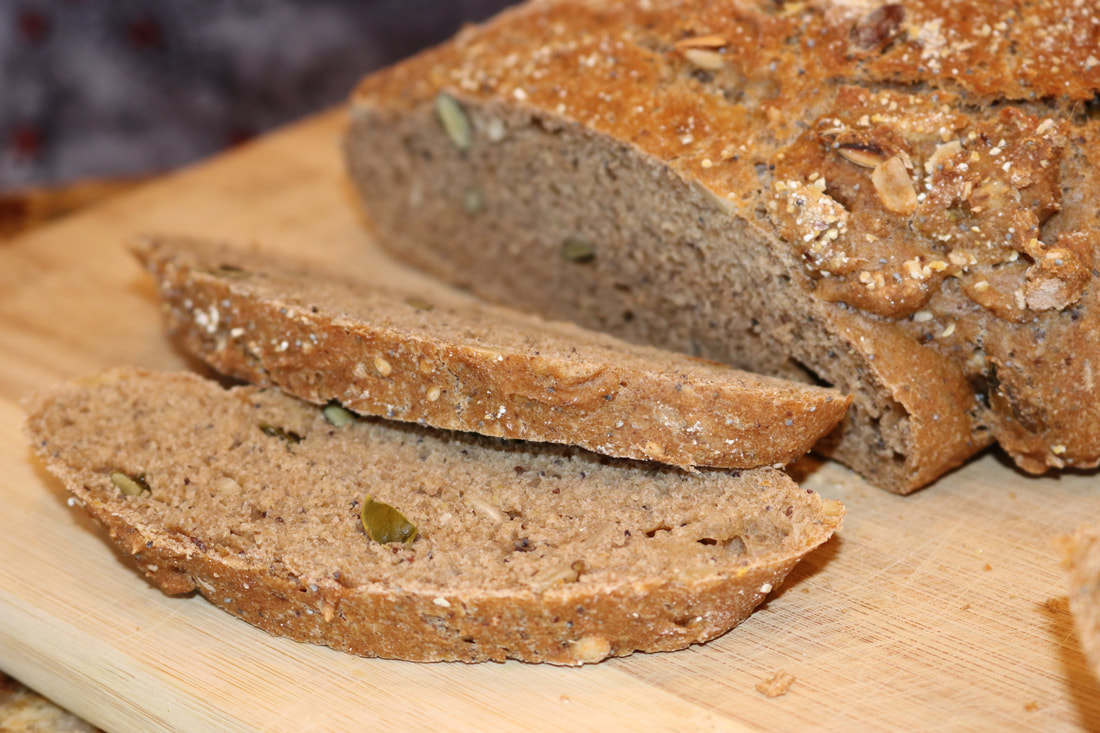
There's nothing like the smell of fresh baked bread enveloping the entire house!  These breads are SO YUMMY and super easy to make!  They don't require any kneading and your body will love you for the health benefits of these breads!  These breads are made with ancient grains, like kamut and spelt, which are full of nutrients that feeds your body just as well as it satisfies your taste buds!  They are also made with all organic ingredients, and there is zero refined sugars in them!  These breads are perfect for the Christmas season and the whole family will love them!

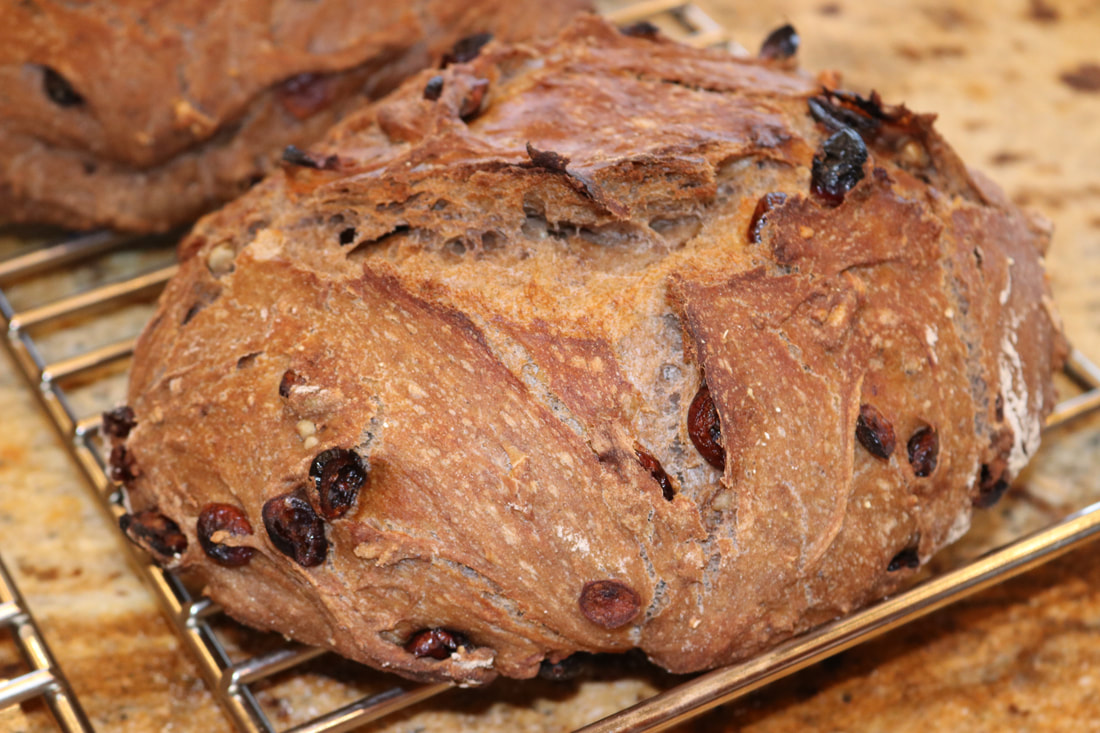
Cardamom Cranberry Bread

Picture
Ingredients:
3 cups whole wheat bread flour**
3/4 cup dried cranberries
1/2 cup chopped walnuts
1 3/4 tsp. ground cardamom
1/2 tsp. active dry yeast
1  3/4 cups cool water
coarse cornmeal for dusting

Directions:
  1. ​Combine flour, cardomom, salt, and yeast in a large glass bowl.
  2. Add the cranberries and walnuts.  Mix gently with a rubber spatula until well combined.
  3. Add water and combine together with a rubber spatula.  (Dough will be a wet sticky mass when it is thoroughly mixed.)
  4. Cover the bowl with plastic wrap and let rise at room temperature for 12-18 hours.  (You want the dough, as it rises, to not touch the plastic wrap.  So use a fairly large bowl.)  Dough should double in size and should be bubbling.
  5.  Dust wooden cutting board with bread flour and then using plastic dough scrappers, scrape the dough onto the board in one piece.  Then let rise for another 1-2 hours.
  6. 30 minutes before your second rise is done, place a cast iron pot without the lid on the lower third of the oven (not on the bottom rack) and heat oven to 425°F.  (Depending on the heat of your oven you may have to do it at 450°F.)
  7. Once the oven has reached 425°F, remove the pot with heavy duty pot holders.  Sprinkle a tsp of cornmeal on the bottom of the pot.  
  8. With two plastic dough scrappers, shape the dough into a ball by folding it over on itself a few times, and lift it carefully into your pot.
  9. Dust the top of the dough with a little coarse cornmeal.  Cover your pot and bake for 30 minutes.  After 30 mins. remove lid and bake for another 10-15 minutes or until bread is golden brown on top.
  10. Remove your pot from the oven and then with a sturdy spatula, remove your bread from your pot onto a cooling rack.
  11. Let cool for at least one hour before slicing.  (Don't slice before then because this is when the cooking process finishes.)
*Use organic ingredients when feasible.
**You may have to adjust the water and flour measurements depending on your flour.  If the dough is too dry add water.  If it's too wet add flour.  Dough should be a wet sticky mass.
Picture
Picture

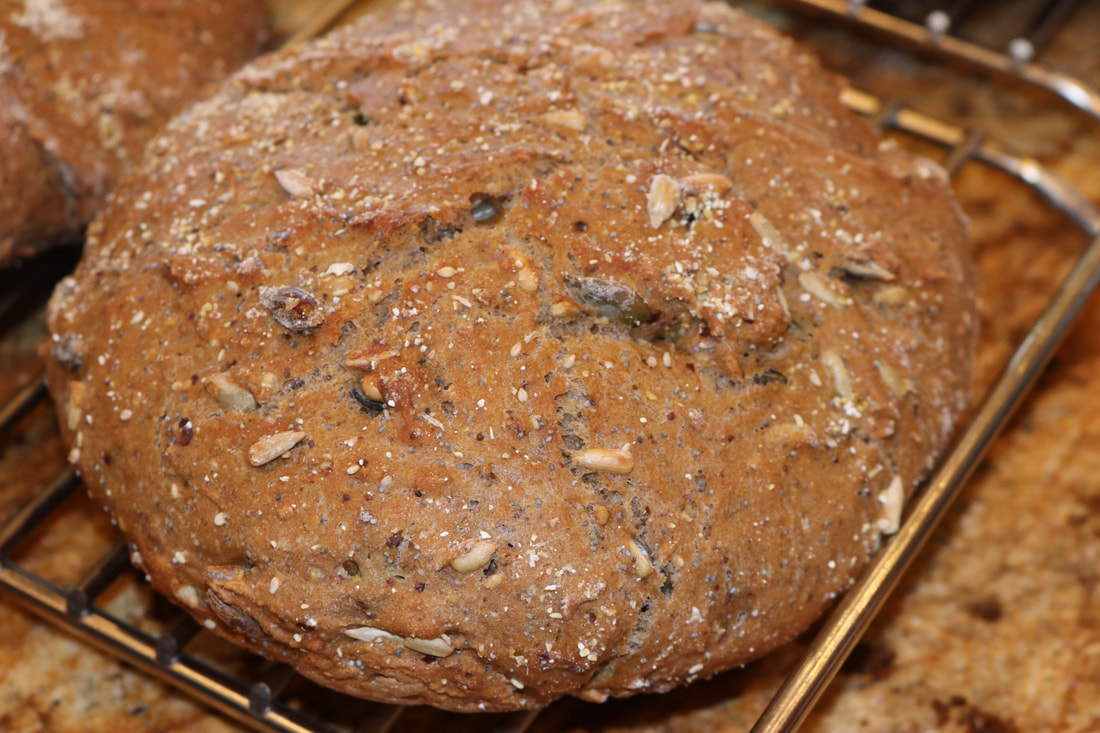
Seeded Kamut Bread

Picture
Ingredients:
2 1/4 cups whole wheat bread flour**
3/4 cup kamut flour
1 1/4 tsp. salt
1/2 tsp. active dry yeast
1 Tbs. ground flax seed meal
1/2 cup pumpkin seeds
1/4 cup sunflower seeds
1 Tbs. sesame seeds
1 Tbs. poppy seeds
1 1/2 cups cool water
1 tsp. raw honey (mixed into the water)

Directions:
  1. ​Combine flours, salt, yeast, flax seed.
  2. Then add all of your seeds.  Mix gently with a rubber spatula until well combined.
  3. Add water and honey mixture, and combine together with a rubber spatula.  (Dough will be a wet sticky mass when it is thoroughly mixed.)
  4. Cover the bowl with plastic wrap and let rise at room temperature for 12-18 hours.  (You want the dough, as it rises, to not touch the plastic wrap.  So use a fairly large bowl.)  Dough should double in size and should be bubbling.
  5.  Dust wooden cutting board with bread flour and then using plastic dough scrappers, scrape the dough onto the board in one piece.  Then let rise for another 1-2 hours.
  6. 30 minutes before your second rise is done, place a cast iron pot without the lid on the lower third of the oven (not on the bottom rack) and heat oven to 425°F.  (Depending on the heat of your oven you may have to do it at 450°F.)
  7. Once the oven has reached 425°F, remove the pot with heavy duty pot holders.  Sprinkle a tsp of cornmeal on the bottom of the pot.  
  8. With two plastic dough scrappers, shape the dough into a ball by folding it over on itself a few times, and lift it carefully into your pot.
  9. Dust the top of the dough with a little coarse cornmeal.  Cover your pot and bake for 30 minutes.  After 30 mins. remove lid and bake for another 10-15 minutes or until bread is golden brown on top.
  10. Remove your pot from the oven and then with a sturdy spatula, remove your bread from your pot onto a cooling rack.
  11. Let cool for at least one hour before slicing.  (Don't slice before then because this is when the cooking process finishes.)
​*Use organic ingredients when feasible
**You may have to adjust the water and flour measurements depending on your flour.  If the dough is too dry add water.  If it's too wet add flour.  Dough should be a wet sticky mass.
Picture
Picture
1 Comment

Apple Berry Crisp!

12/8/2018

0 Comments

 
Picture
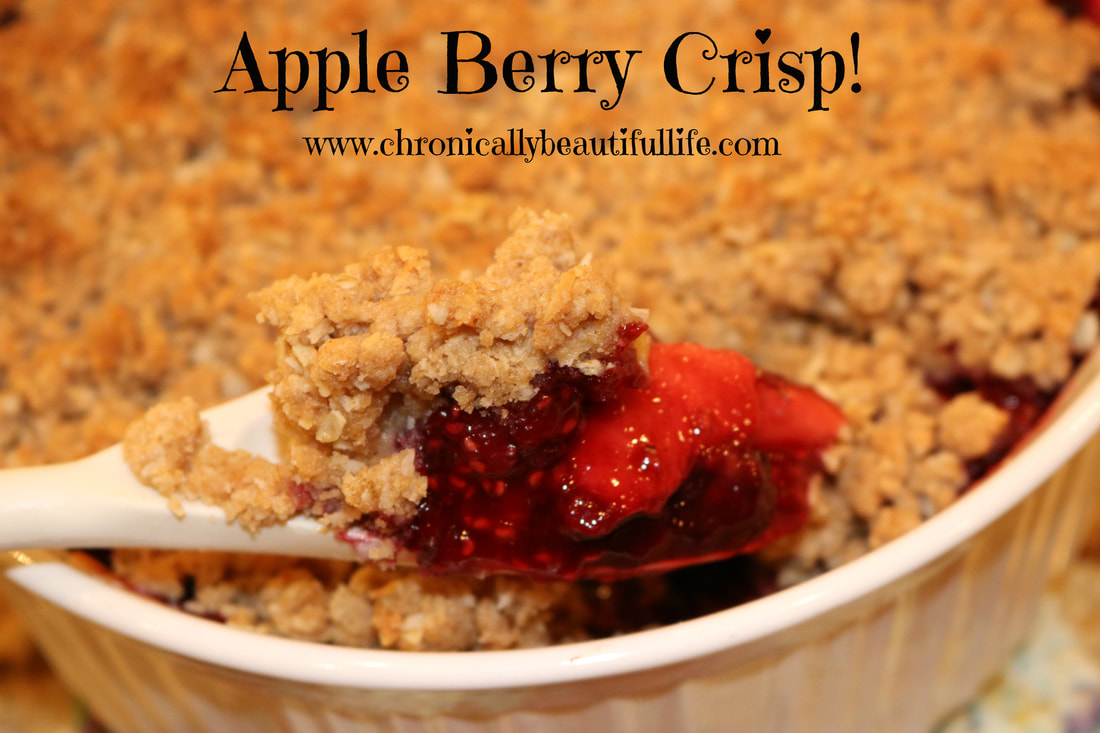
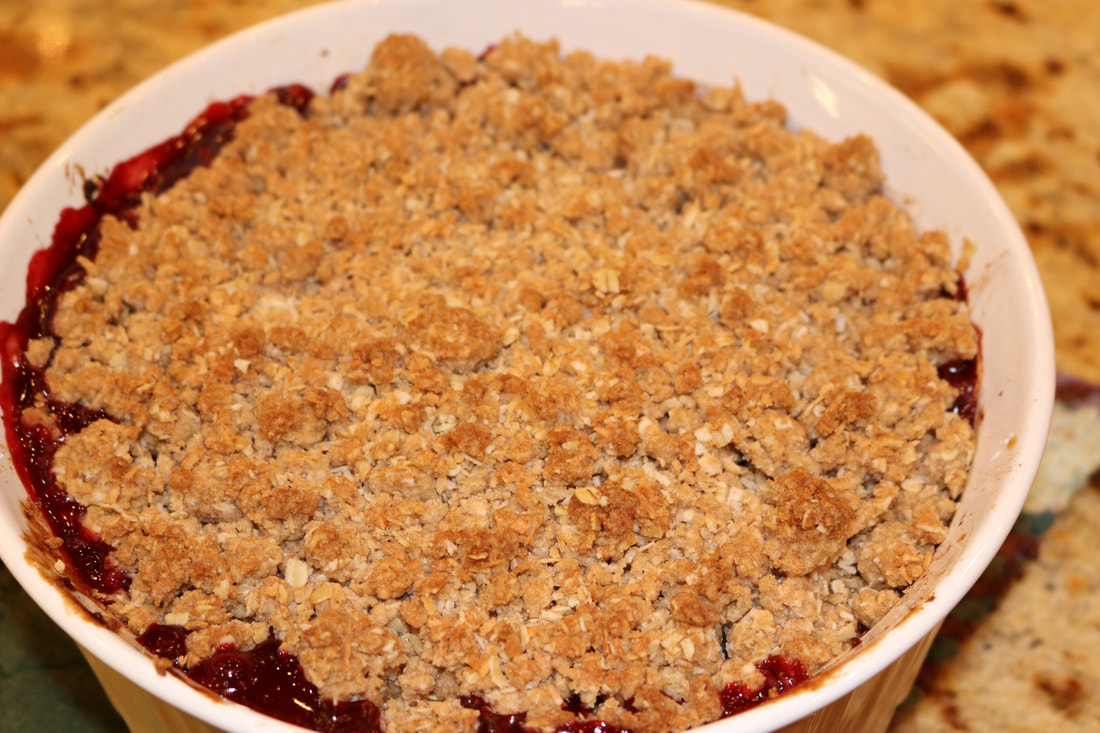
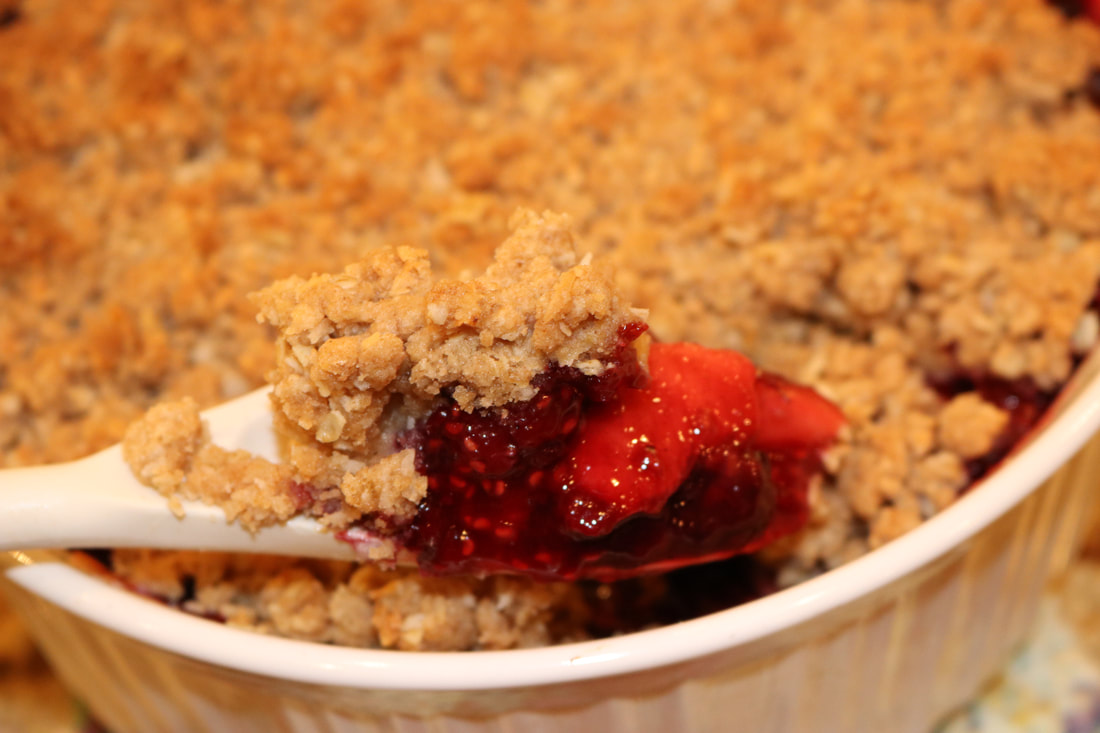
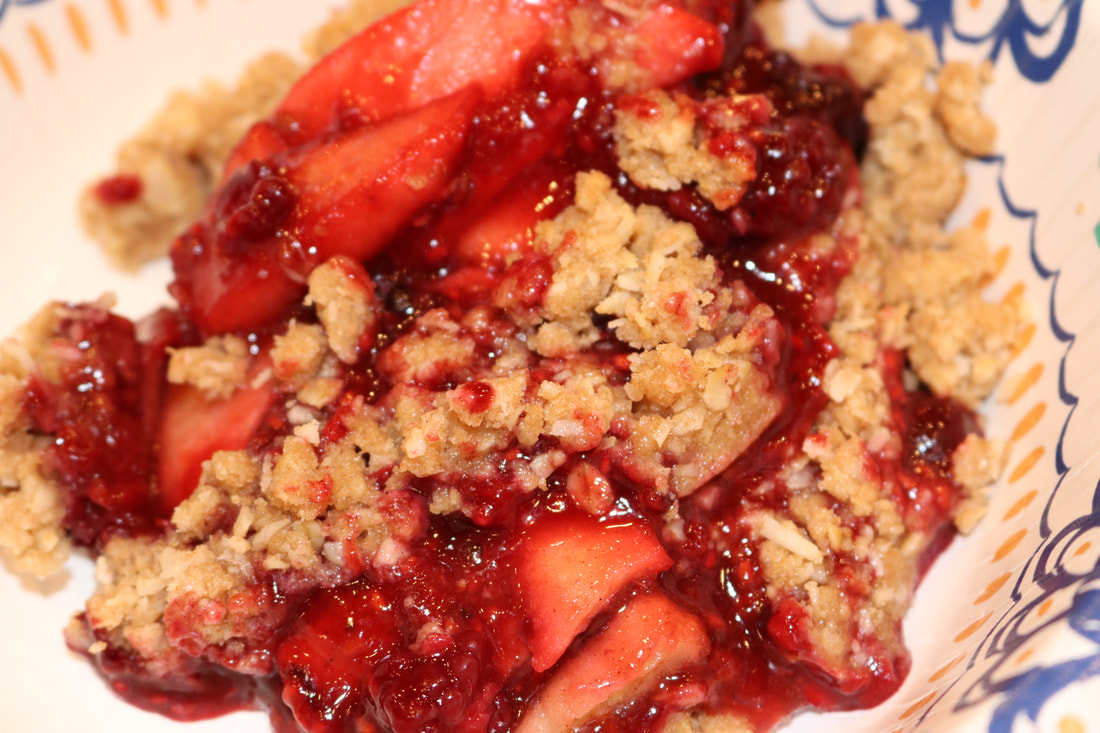
Cobblers and crisps are my ALL TIME FAVORITE dessert!  Mainly because they're so easy to make and so easy to convert to be refined sugar-free.  The apple-berry combo is an old family tradition of mine that my mom has been making for years so it often reminds me of my childhood.  This crisp is perfect for these long winter nights when you just need some comfort food!  You can also use whatever kind of berry you'd like, and it goes a long way so you can serve it at family parties and social gatherings this holiday season! 

Apple Berry Crisp

Picture
Directions:

Berry Filling:
3 cups blackberries (frozen)
3 cups raspberries (frozen)
1/3 cup raw honey
1/2 lemon
1 tsp. cinnamon
1/2 tsp. nutmeg
1/4 tsp. clove
1 Tbs. corn starch**
3 Tbs. cold water
Method:
  1. ​Thaw berries in medium sauce pan on medium heat.
  2. Add honey, lemon juice from 1/2 lemon, and spices.  Stir until well combined.  Bring to a boil, stirring occasionally.
  3. Mix cornstarch and water together in a small cup and add to berry sauce.  Mix well until thickened.  Remove from heat and let sit while preparing apples.


Apple Filling:
2 large apples (or four small apples)
1/2 lemon
1 tsp. cinnamon
1/4 cup maple syrup
2 tsp. cornstarch**
Method:
  1. Peel and thinly slice apples into a 9x9 square pan or a 9 inch circle pan.
  2. Squeeze juice from 1/2 a lemon onto apples.
  3. Add cinnamon, maple syrup, and cornstarch.  Mix with rubber spatula until apples are well coated.
  4. Add berry filling to apple filling and fold into apples just until combined.

Topping:
2 cups flour
1 cup shredded coconut
1/3 cup classic Lakanto sweetener
1/2 tsp baking powder
2 pinches of salt
1/2 cup +2 Tbs. butter (cold)
1 tsp. vanilla extract
Method:
  1. Mix flour, coconut, sweetener, baking powder, and salt in a medium bowl until well combined.
  2. Slice butter into small chunks into the dry mixture.
  3. Cut butter into the flour with a fork. Or if you find it easier you can massage the butter into the flour with your hands until well combined.  Mixture should be slightly crumbly, but not dry.
  4. Add vanilla extract and massage into mixture until well combined.
  5. Sprinkle topping over the filling and bake at 375°F for 35-45 minutes, or until top is slightly browned.
  6. Let cool for at least 20 minutes before serving.
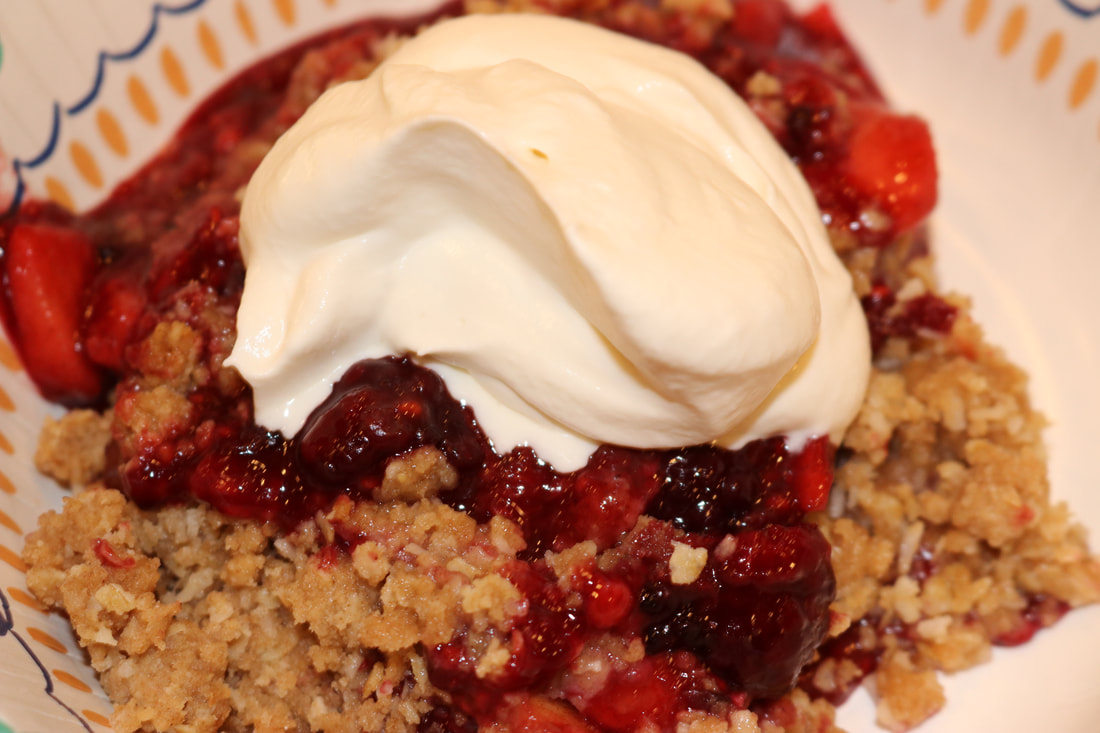
  7. Top with whipped cream or whipped coconut cream! 

*Store in refrigerator.
*Use organic ingredients when feasible.
**It's really important to look for NON-GMO cornstarch.  If you prefer not to use cornstarch, you can substitute with 2 tsp. of tapioca starch instead.
Picture
Picture
Picture
0 Comments

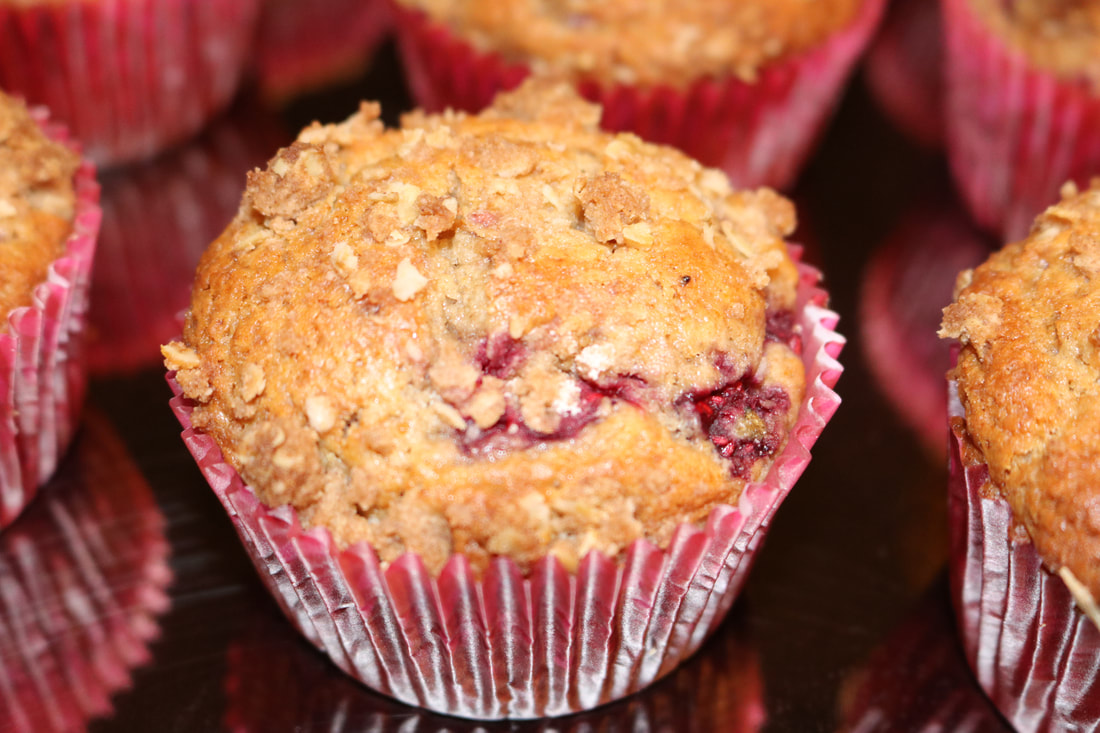
Raspberry Cream Muffins

12/4/2018

0 Comments

 
Picture
I often find the kitchen as my refuge in times where my mental health feels like it's close to crumbling.  I suffer from serious winter depression that I haven't figured out how to avoid yet, and so I found myself in the kitchen tonight in attempts to cope with the elephant weighing on my heart.  Baking clears my head and brings me great joy!  Especially when I'm focused on healthy conversion of unhealthy recipes.  A delicious healthy recipe requires concentration, thus giving me something to think about other than my anxieties and heartaches.  Yay for food being the answer to remedy mental health!

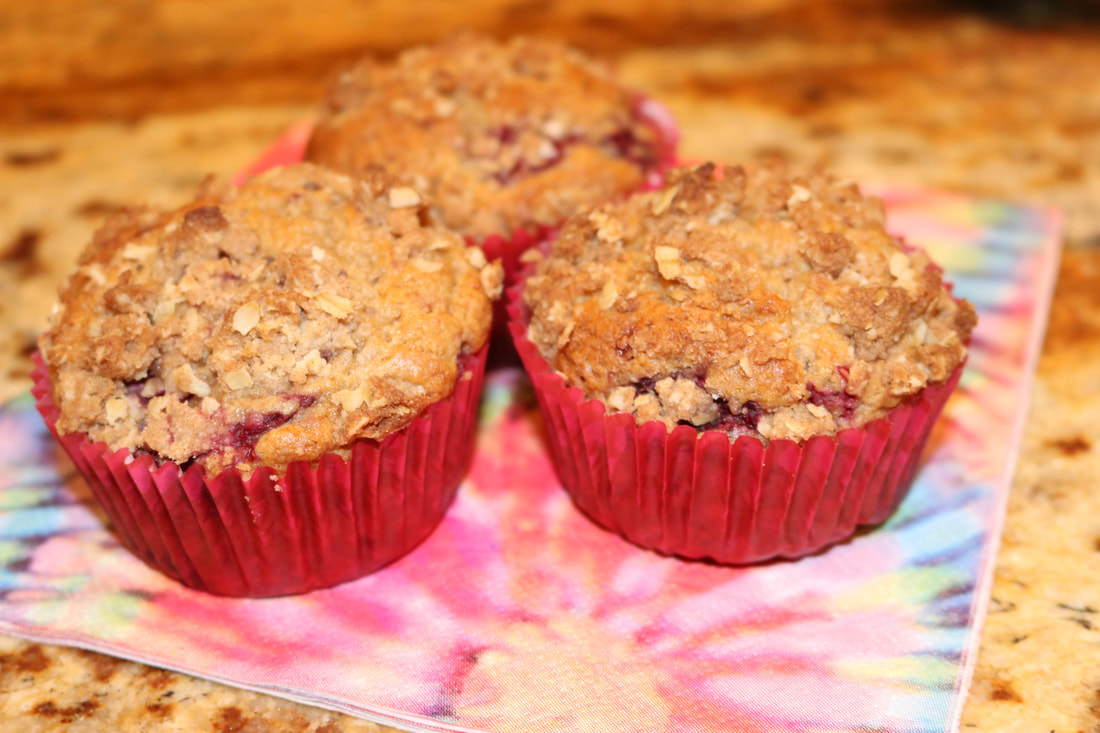
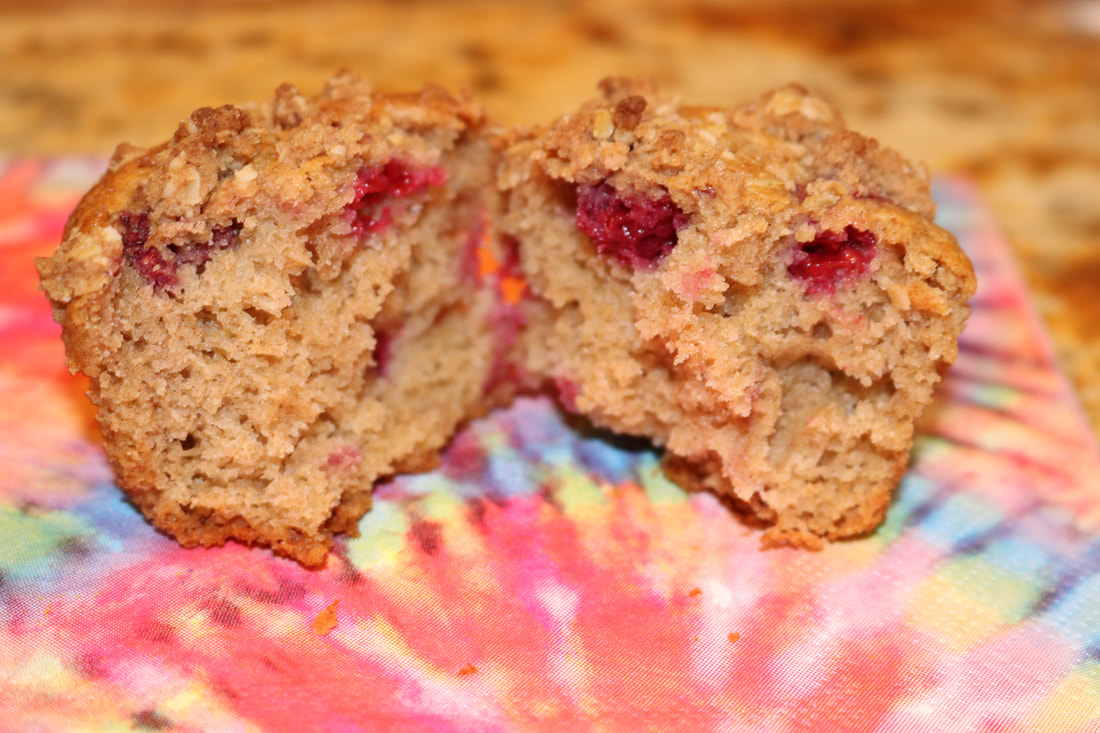
This recipe was a sudden inspiration!  I found this recipe in an old collection of family recipes, and remembered it as one of my favorites as a child.  The only problems is that it called for white flour and lots of sugar.  And I'm sure we weren't exactly baking with organic ingredients back then!  The good news is that I was able to convert this delicious recipe into a healthy alternative, organic, and refined-sugar free, as always!

Raspberry Cream Muffins!

Picture
Ingredients:
​2 cups whole wheat flour
1/2 cup classic Lakanto monkfruit sweetener
1/2 tsp. baking powder
1/2 tsp. baking soda
1/2 tsp. salt
2 cups frozen raspberries
2 eggs (beaten)
1/2 cup raw honey
1 cup sour cream
1/2 cup healthy oil (I used grapeseed oil, but you can also use coconut oil or avocado oil)
1/2 tsp. vanilla extract

Streusel Topping:
3 Tbs. whole wheat flour
3 Tbs. quick oats
2 Tbs. classic Lakanto monkfruit sweetener
1/4 tsp. cinnamon
2 Tbs. butter (cold)

Directions:
  1. Preheat oven to 400°F  Line muffin pan with muffin liners.
  2. In a large bowl, combine the flour, monkfruit sweetener, baking powder, baking soda, and salt.  Mix with spoon until well combined.
  3. Add raspberries and toss gently.
  4. In a medium bowl combine eggs, sour cream, honey, oil, and vanilla.  Whisk together by hand until smooth and creamy.
  5. Pour wet mixture into dry mixture and mix by hand until just moistened.
  6. Fill muffin liners 2/3 full.
  7. For the streusel, add all ingredients together and mix with a fork until mixture is crumbly and well combined.  Sprinkle mixture on top of muffins before they go in the oven.
  8. Bake for 20 minutes or until lightly browned on top.  Cool for 5 minutes before removing muffins from pan.
*Use organic ingredients when feasible.
*Makes about 18 muffins.
Picture
Picture
0 Comments

    Welcome to My Kitchen!

    Picture
    Food is one of the greatest forms of science, art, medicine, and sustenance all at the same time!  It's what feeds our lives and pumps through our blood.  It's what connects us and what gives us energy to fulfill our purpose.  It is for that reason that I have a deep passion for discovering, cooking, and eating only the most nutrient dense foods.  In my kitchen, we only use organic, whole ingredients that feed the body, as well as the mind and soul.  My hope is to inspire healing through healthy  AND delicious food that feeds not only our stomachs, but also our hunger for connection and quality of life.  

    Archives

    March 2022
    July 2021
    October 2019
    July 2019
    June 2019
    April 2019
    March 2019
    February 2019
    January 2019
    December 2018
    November 2018
    October 2018
    August 2018
    July 2018
    June 2018
    April 2018
    March 2018

    Categories

    All
    Bars
    Breads
    Breakfast
    Cakes
    Casseroles
    Chocolate
    Comfort Foods
    Cookies
    Crisps And Cobblers
    Dairy Free
    Dinner
    Fat Bombs
    Gluten Free
    Keto
    Muffins
    Paleo
    Pastries
    Pie
    Raw Food
    Side Dish
    Smoothies
    Snack Food
    Sugar Free Desserts
    Sweet Treats
    Thanksgiving Recipes
    Vegan
    Vegetarian

    RSS Feed

    Picture
    Remember, when we spend our money on the most nutritious and whole ingredients, our dollars become our vote for healthier living, and happier lifestyles. ​
    View my profile on LinkedIn

Blogs

Chronically Beautiful
Chronically Delicious
​Chronically Healthy

Chronically Claire

About
Lyme Disease
Endometriosis

Support

Disclaimer
Contact
© COPYRIGHT 2015. ALL RIGHTS RESERVED.
Picture
Disclaimer: For Educational and Informational Purposes Only.  The information provided by Chronically Beautiful is for educational and informational purposes only, and is made available to you as self-help tools for your own use.  All and any information given on my website is for the purpose of sharing information to help you help yourself, and not for me to take on any other role as any health professional.
  • Home
  • About
  • Chronically Beautiful Blogs
    • Chronically Beautiful
    • Chronically Delicious
    • Chronically Healthy
  • Published Articles & Podcasts
  • Gift Shop
  • The Chronically Care Project
    • Care Package Application
    • Rise Above Lyme Sign Up
  • Contact
  • Disclaimer