Chronically Beautiful!
  • Home
  • Chronically Beautiful Blogs
    • Chronically Beautiful
    • Chronically Delicious
    • Chronically Healthy
  • About
  • The Chronically Care Project
    • Adult Care Package Application
    • Kids Care Package Application
  • Published Articles & Podcasts
  • Contact
  • Disclaimer

Chronically Delicious!

Picture

Cookies N' Cream Fat Bombs!

4/5/2019

1 Comment

 
Picture
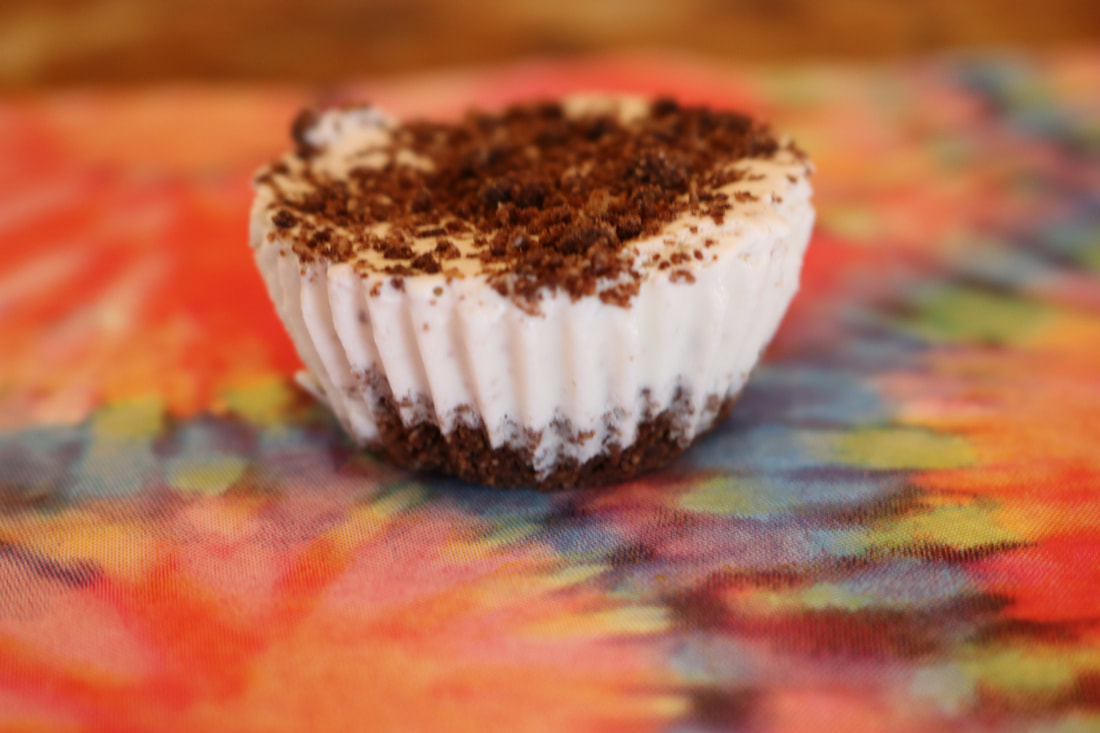
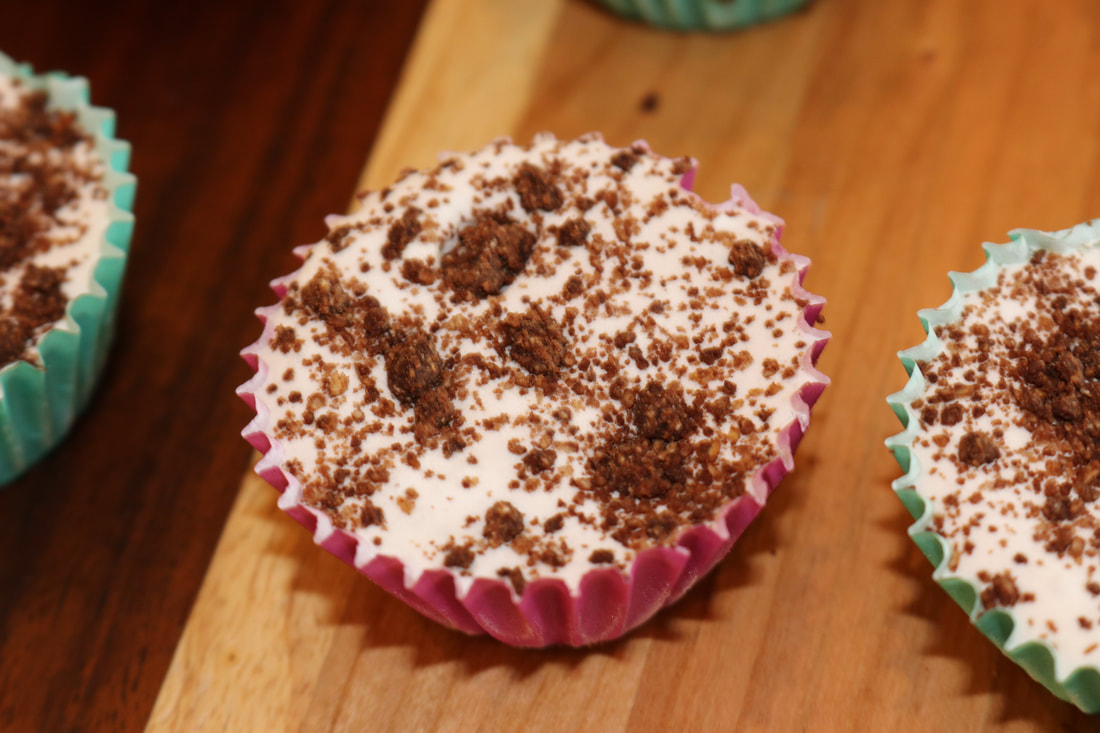
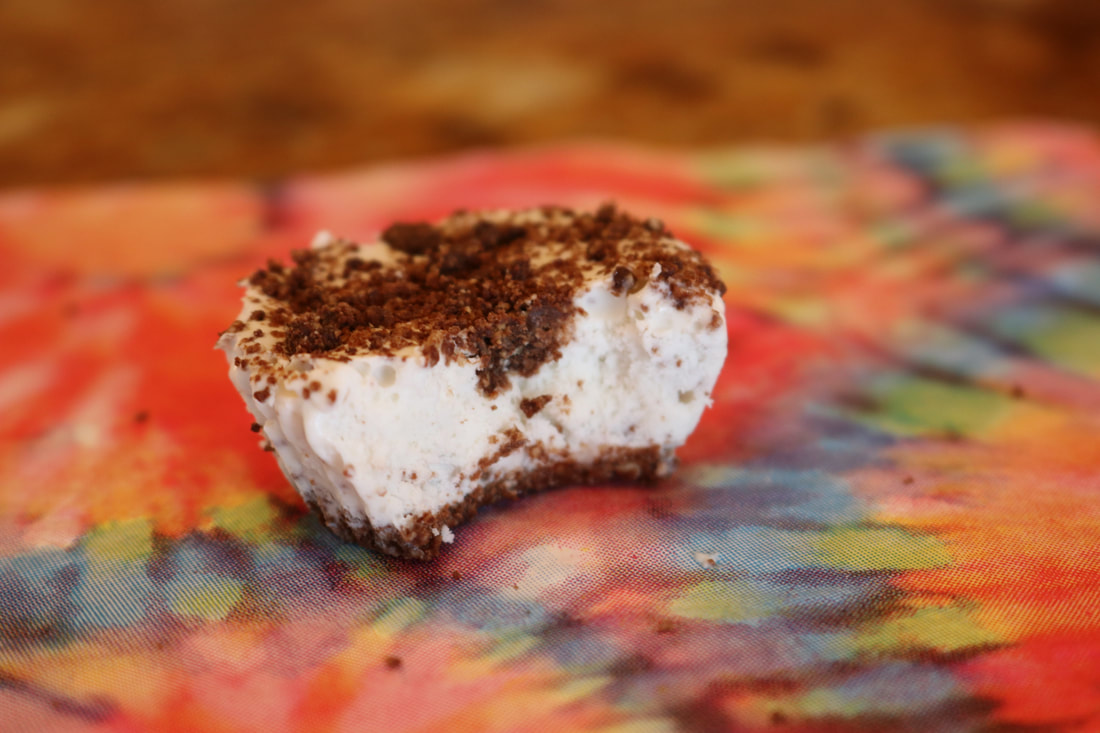
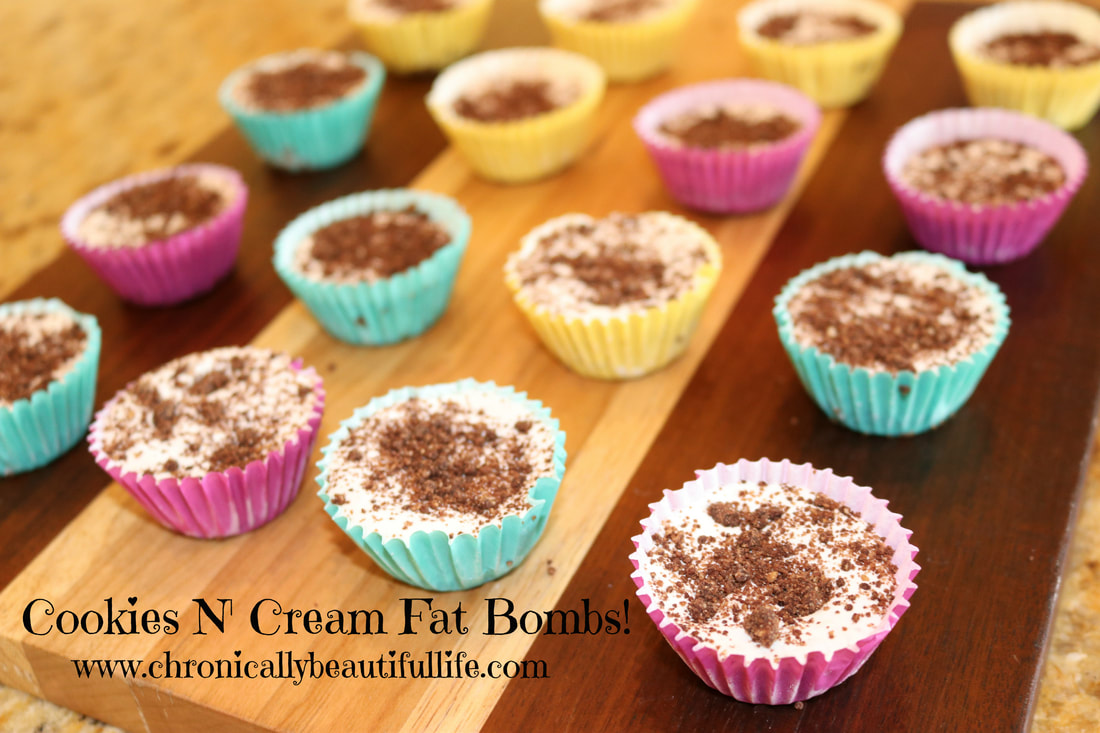
Still on my quest for healthy ways to gain weight, and these babies are AMAZING!  They're like little ice cream bites, and they taste just like cookies and cream ice cream!  The wonderful thing about them is that they use no Oreos, no additives, and no chemicals!  Let's be real here, Oreos are practically a chemical cocktail, and our bodies do not need the extra toxins!  These fat bombs are, gluten-free, sugar-free, organic, Paleo, Keto, and absolutely DELICIOUS!  The cookie part is made with almond flour and cacao powder, and they're really easy to convert to dairy-free if you don't eat dairy!

Cookies N' Cream Fat Bombs!

Picture
Ingredients:

For the "Oreo Cookie" Crumbs:
2/3 cup almond flour
2 Tbs. cacao powder (heaping)
​3 Tbs. Lakanto powdered sweetener
2 Tbs. butter (melted)
​pinch of salt

For the Vanilla Cream:
2/3 cup full fat coconut milk
4 Tbs. Lakanto powdered sweetener
pinch of salt
2/3 cup of heavy whipping cream (or chilled coconut cream)
2 tsp. vanilla extract

Directions:
  1. Lightly toast almond flour in a dry skillet until fully golden in color and fragrant.  (This is a really important step taste wise so don't skip!)
  2. Transfer toasted almond flour to a small bowl.  Mix in cacao, sweetener, and salt.
  3. Add in the butter and mix until combined.
  4. Press about a third of the mixture into cupcake liners and leave the remaining 2/3 as "crumbs"
  5. Place both in the freezer.
  6. Whisk together coconut milk, sweetener, and salt in a small saucepan over medium heat.  Whisk until the sweetener has dissolved and the mixture is smooth. (It won't take long).  Transfer to mixing bowl and allow to cool COMPLETELY.
  7. One coconut cream is cooled, whip heavy whipping cream until soft peaks form and then slowly add in vanilla extract and coconut milk mixture.  Mix until smooth.
  8. Fold in 1/3 of the leftover crumbs.  Pour mixture into prepared molds and sprinkle leftover cookie mixture on top.  Freeze until solid.  
  9. Serve and enjoy!

*Use organic ingredients when feasible!
Picture
Picture
Picture
1 Comment

Strawberry Cheesecake Fat Bombs!

3/29/2019

0 Comments

 
Picture
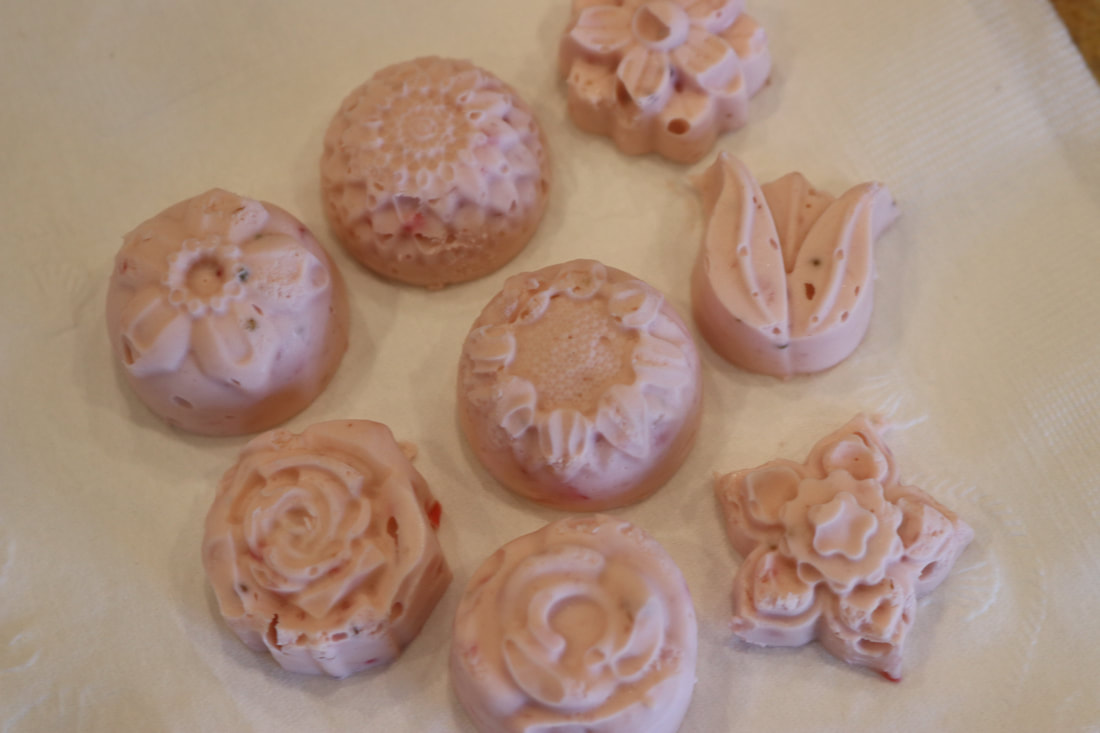
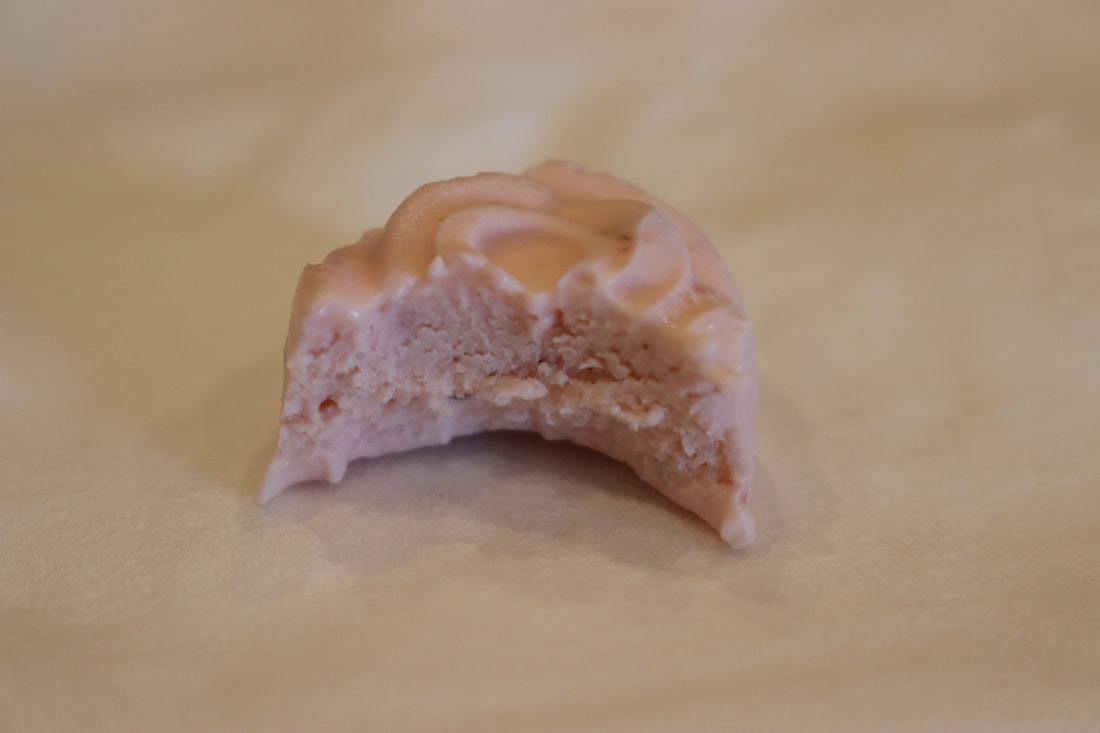
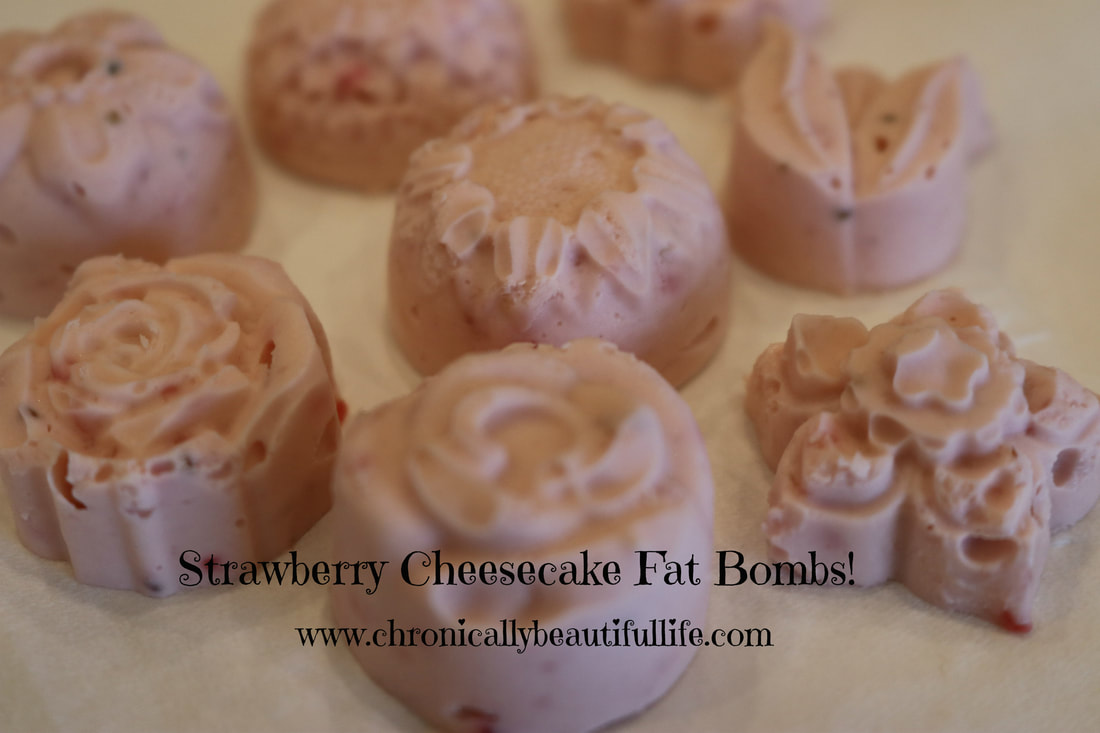
I'm currently on a fat bomb kick, and these are my first try at fat bombs!

For me, Lyme disease makes it super difficult to gain weight, and so I'm currently on the lookout for any snack recipe that is full of healthy fats!  This recipe is SUPER easy to make and only takes about 10 minutes of prep time!  It's also organic, sugar-free, keto, paleo, and gluten-free!  These babies are glorious little summer treats and taste like mini little cheesecake bites!

Delicious!  Easy!  And Beautiful! My favorite combination! 

Keto Cheesecake Fat Bombs!
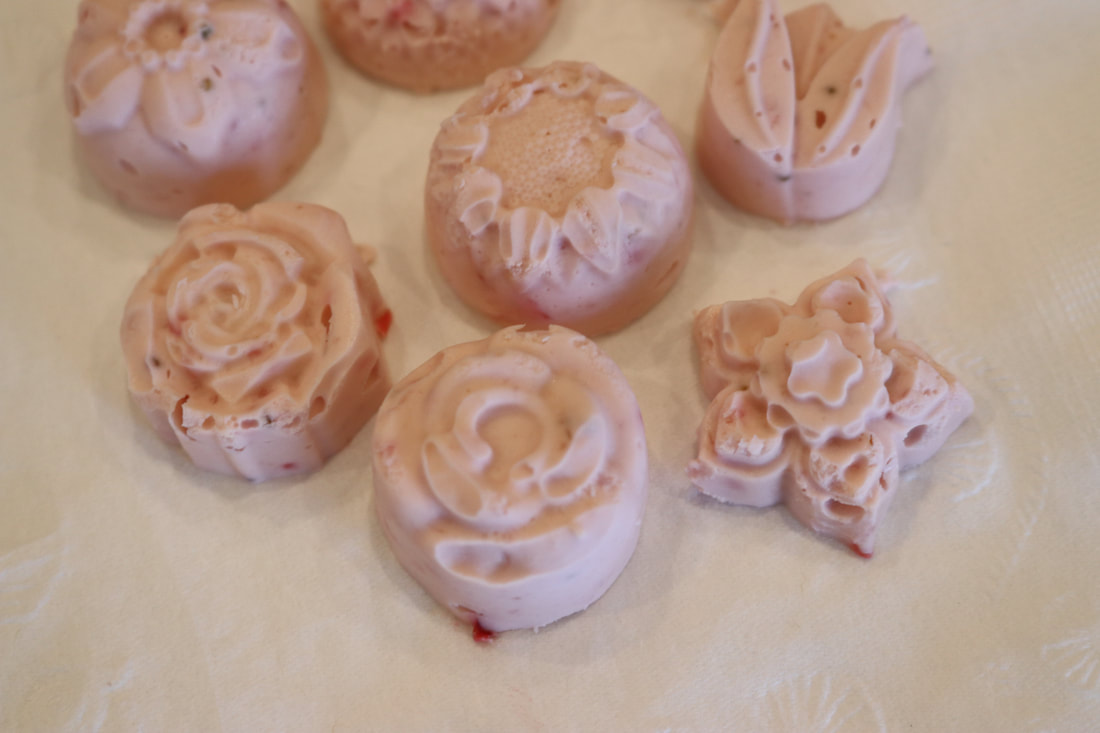
Picture
Ingredients:
6 oz. organic cream cheese
4-5 medium strawberries (fresh)
4 Tbs. salted butter
3 Tbs. powdered monkfruit sweetener
2 tsp. vanilla extract

Directions:
  1. Let the cream cheese, butter, and strawberries sit at room temperature for about an hour to soften.  (It's vital that you let your cream cheese and butter soften to room temperature before mixing together, as your mixture will be lumpy if you don't.)
  2. Puree your strawberries using a small blender.  
  3. Beat cream cheese and butter together with a hand mixer.
  4. Add strawberries, sweetener, and vanilla.  Beat on high speed until well blended.  (Mixture should be thick and creamy, not watery.)
  5. Divide the batter into your silicone mold, or pour mixture into a 9x9 inch pan lined with parchment paper.
  6. Freeze for about 3 hrs, or until fat bomb are solid. 
  7. Store in freezer and enjoy to your pleasing! 

​*Use organic ingredients when feasible
Picture
Picture
0 Comments

Chicken Salad Stuffed Sweet Potatoes

2/19/2019

1 Comment

 
Picture
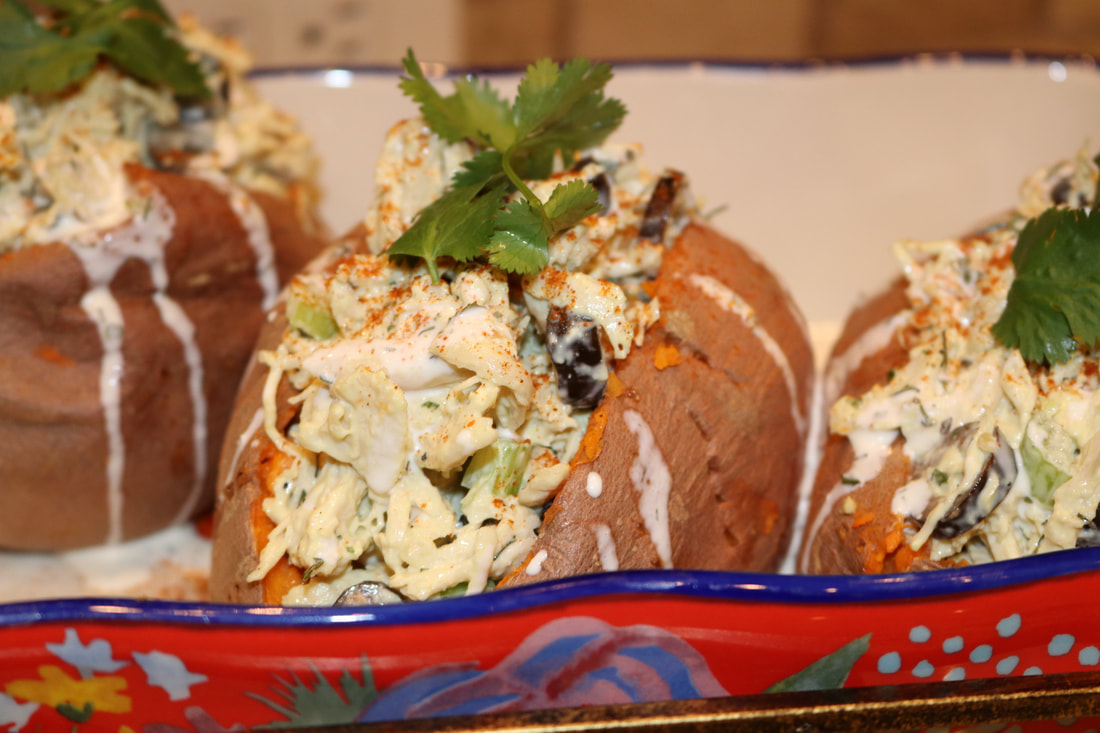
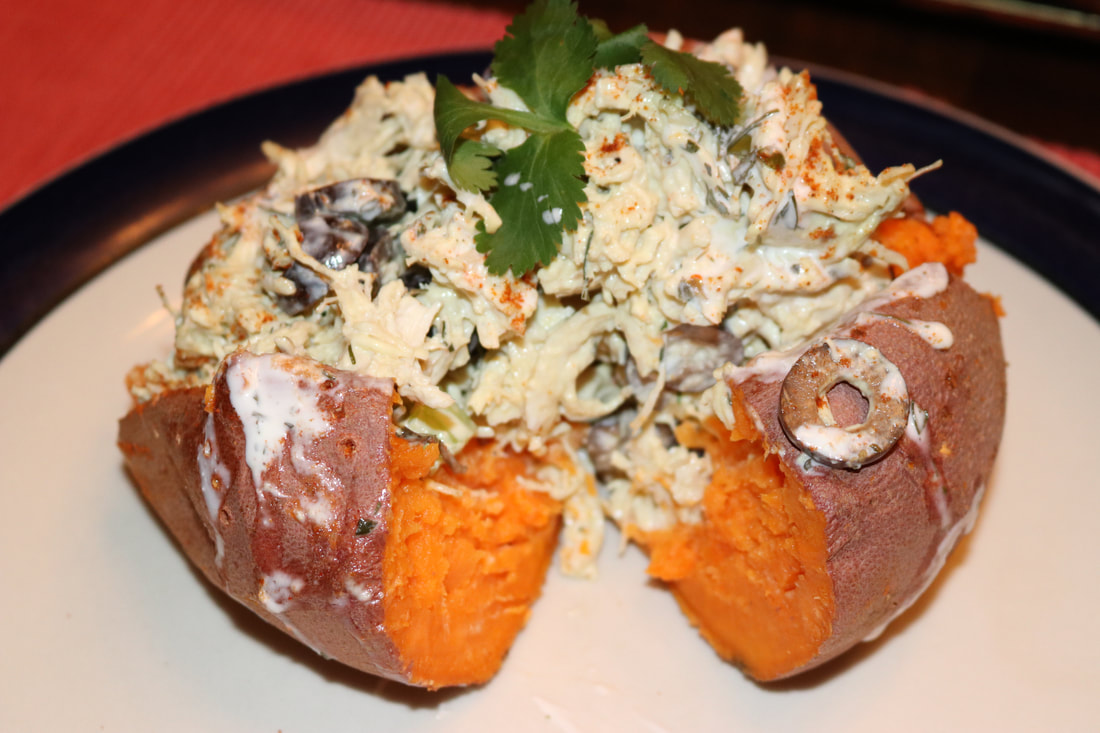
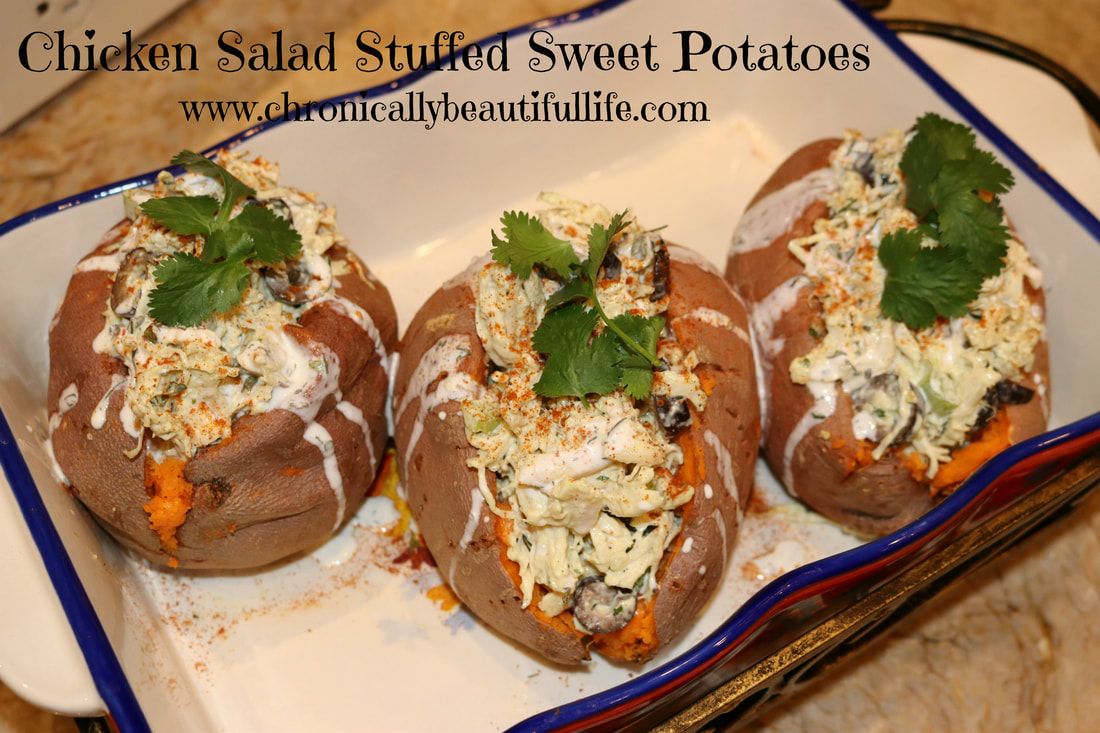
Looking for a DELICIOUS paleo, gluten-free dinner idea?  Look no further because these loaded sweet potatoes are absolutely AMAZING and they are something the whole family will love!  These sweet potatoes are stuffed with a chicken salad filling, and they are completely gluten-free and filled with healthy fats!  They're topped with cilantro and can be served with any of your favorite homemade dressing.  I was so surprised at how delicious these turned out, but it's a great way to turn boring sweet potatoes into an exciting dish that virtually anyone will love!

Chicken Salad Stuffed Sweet Potatoes
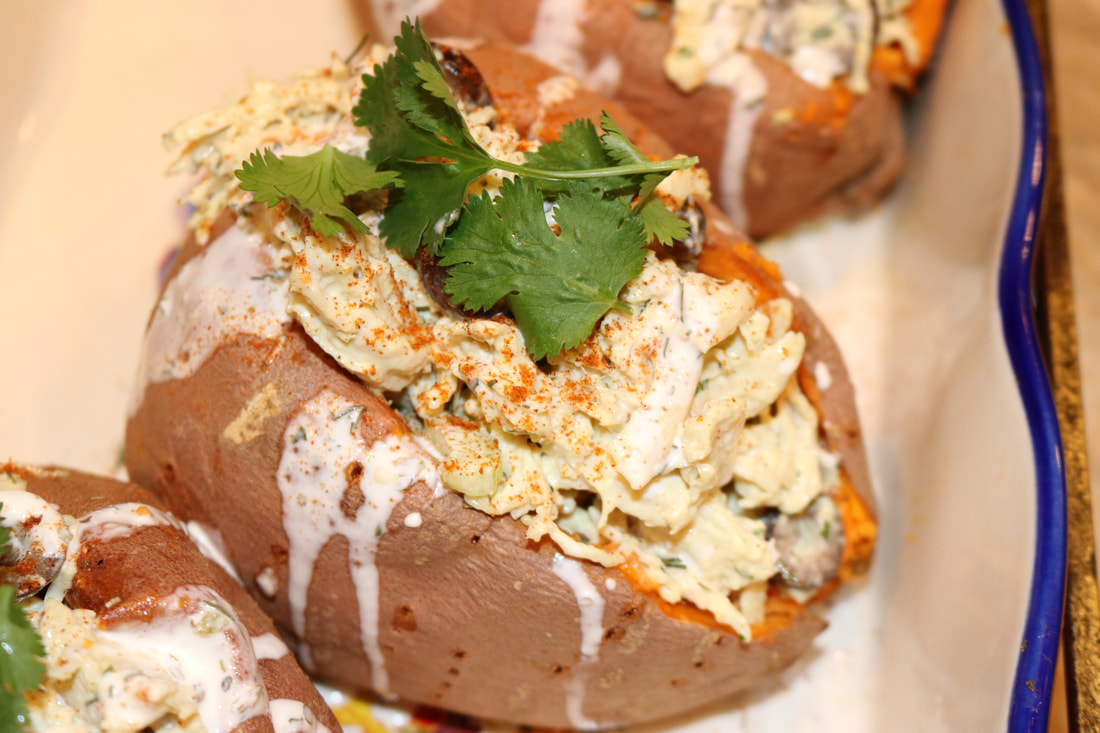
Picture
Ingredients:
2 lbs chicken breast
3/4 cup celery (diced small)
3/4 cup avocado oil mayo
2 Tbs. mustard
1/2 tsp. pepper
1 tsp. salt
1 tsp. dried dill
1 tsp. dried parsley
4 large sweet potatoes
butter and salt for potato filling

Directions:
  1. Preheat oven to 375°
  2. Wash and prep potatoes by poking with a fork to allow air to get through while cooking.  Place potatoes on a baking sheet and cook for about 45 mins. to 1 hour or until potatoes are soft all the way through.
  3. While potatoes are cooking, prep your chicken.
  4. Grill chicken in a large skillet.  I used salt, pepper, onion powder, garlic powder, and basil to flavor my chicken.  You can use whatever you normally would to flavor your chicken while it's cooking.
  5. Once your chicken is cooked all the way through, shred with a fork and remove from heat.  I transferred mine into a large glass bowl.  Then allow to cool completely before mixing the filling.
  6. For the filling add the mayo, mustard, pepper, salt, dill, and parsley to your chicken and mix until well combined.  Store in fridge until your potatoes are ready. (I seasoned my chicken salad to taste so I would highly recommend tasting your chicken, and then adding more mayo or spice according to your taste.)
  7. When your potatoes are finished cooking, remove from the oven and cut down the middle of your potato.  Push the two ends of your potato using your thumbs and pointer fingers to open your potato.  Using a cookie dough dropper, scoop as much potato out of the skin as you can without mutilating the potato.  Place potato in a small bowl.  Repeat this step with all four potatoes.
  8. Using a fork, mash your sweet potato in your bowl until well mashed.  Mix with a few Tbs. of butter and a tsp. of salt.  Then place some of the filling back into each potato but spooning it in and pushing it up against the side of the potato, leaving room for the chicken. (You may not use all of the filling that you just mixed.)
  9. Stuff your chicken filling into each potato.  Stuff as much as you can into the potato.  Top with cilantro or organic, refined sugar-free dressing of choice.  Serve immediately.

*Store in refrigerator.
**Use organic ingredients when feasible.
**You will have leftover chicken filling which you can use for sandwiches or wraps the next day!
Picture
Picture
1 Comment

Banana Cream Pie!

1/17/2019

1 Comment

 
Picture
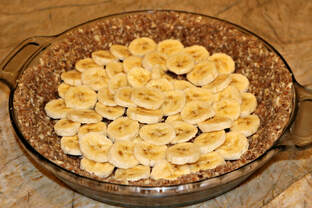
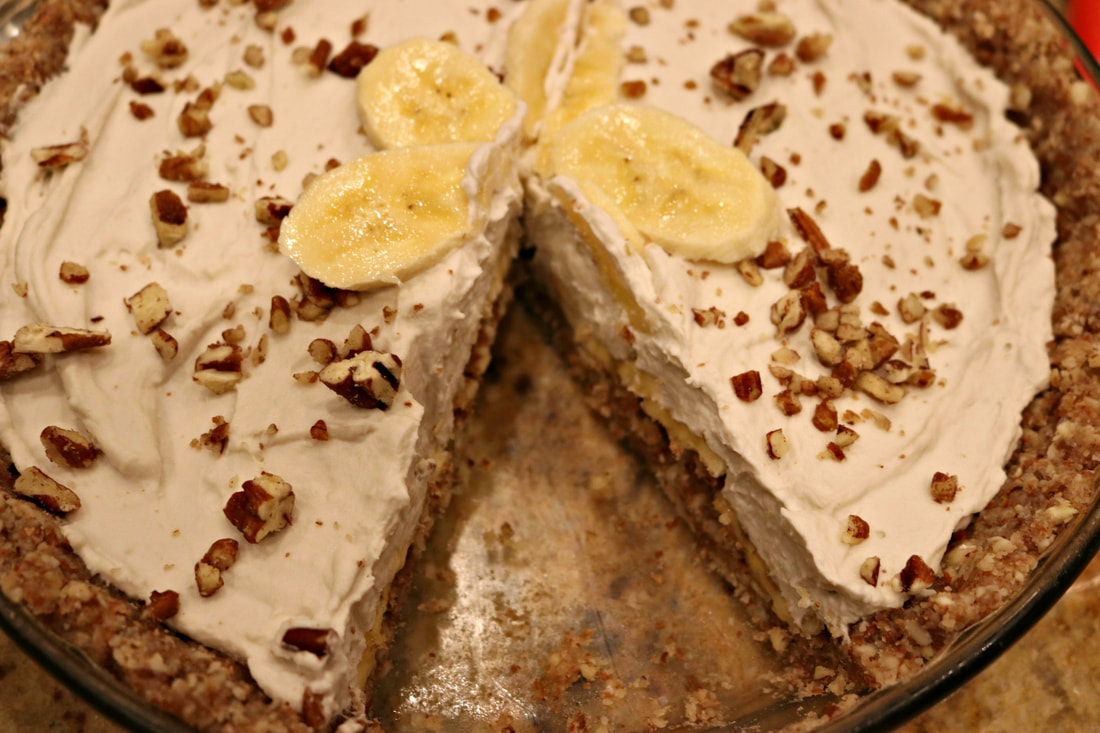
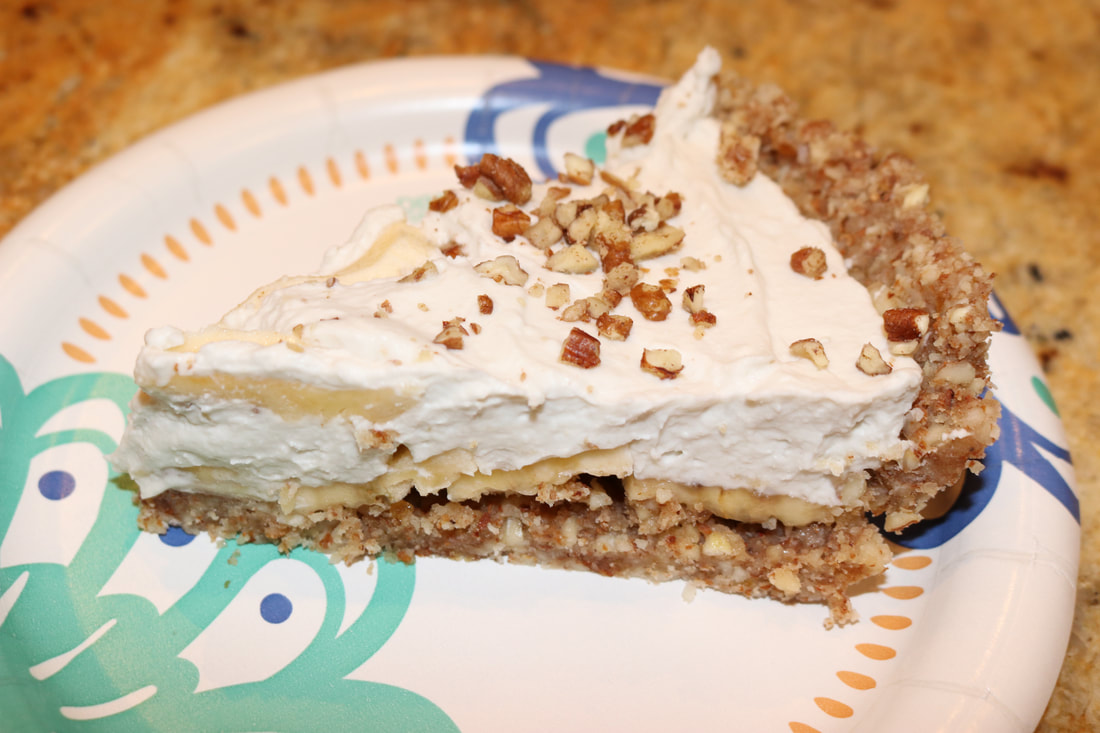
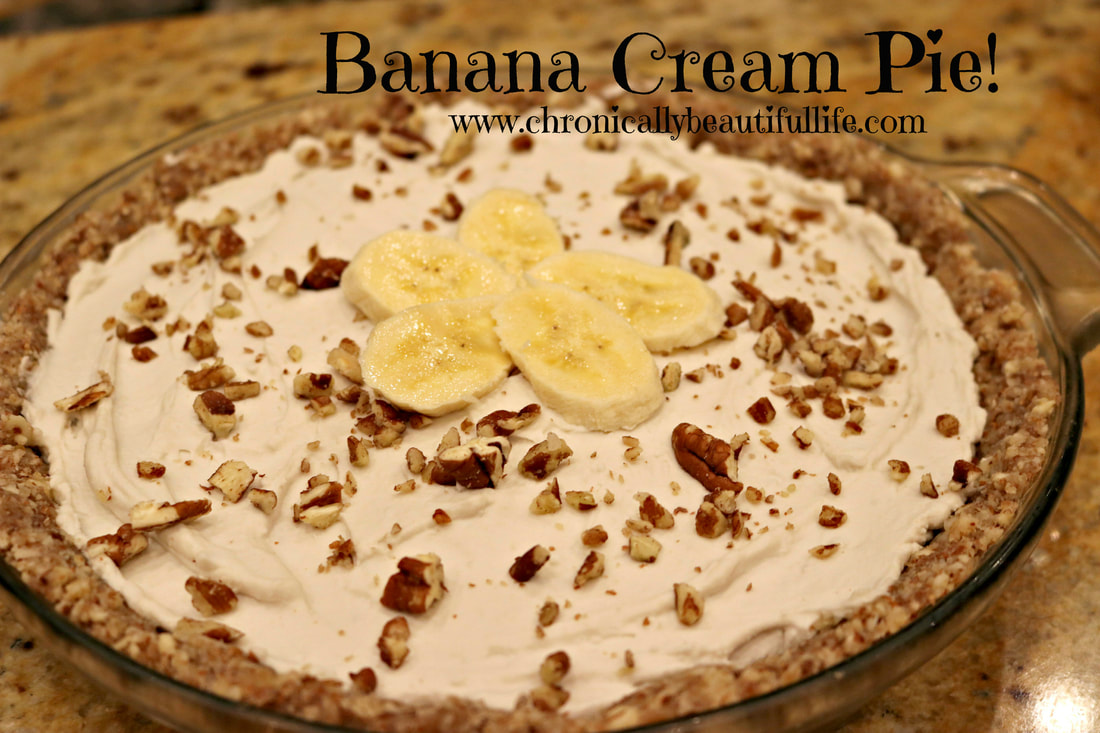
This is me trying my hand at gluten free and dairy free delights!  The banana cream pie is super easy to make and it's no bake, gluten free, dairy free, sugar free, and organic!  I was actually super surprised at how delicious it turned out!  This is a healthy pie that you won't want to miss!

I originally found this recipe here, but I tweaked it a bit to my liking.  But go check out Paleo Bailey and her delicious healthy recipes!

Healthy Banana Cream Pie!
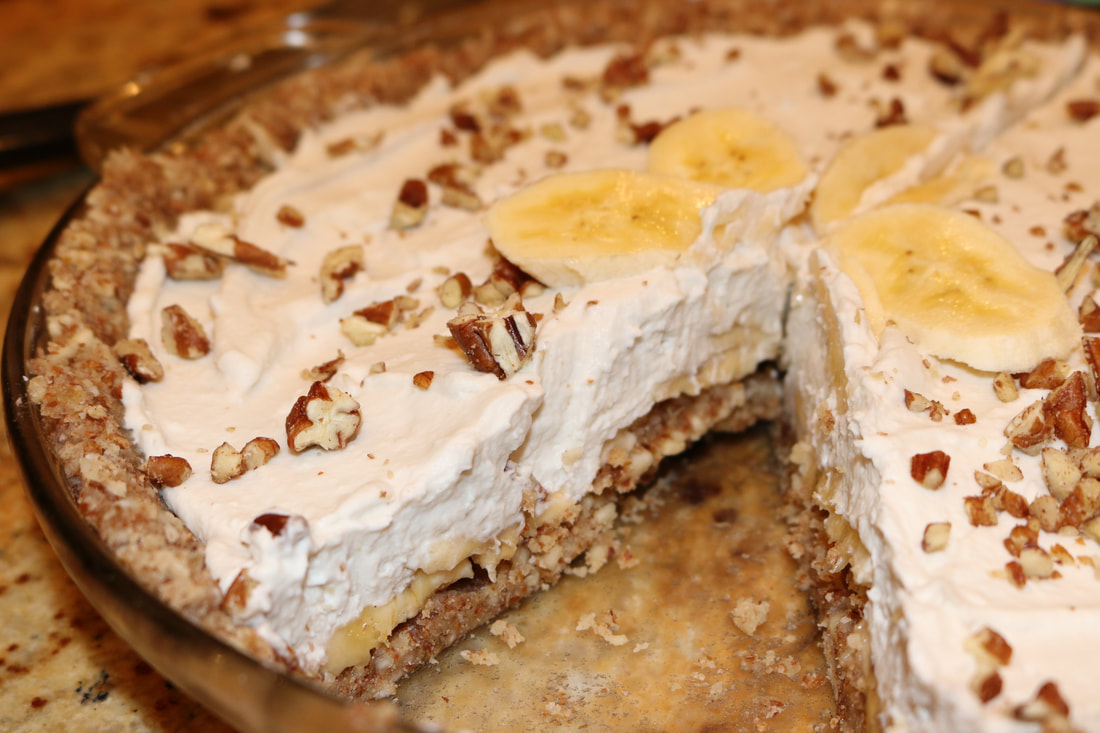
Picture
Ingredients:

Crust:
1 1/2 cup almonds
1/2 cup almond flour
7 Medjool dates, pitted
2 Tbs. coconut oil, melted
1/2 tsp. cinnamon
pinch of salt

Filling:
2 14 oz. cans full-fat coconut cream (refrigerate for a couple of hours prior to use)
2-3 bananas, sliced
1/4 cup + 2 Tbs. pure maple syrup
1 Tbs. vanilla extract
1/2 tsp. cinnamon

chopped pecan and extra sliced banana for topping

Directions:
  • Add all crust ingredients into food processor  and blend until everything is finely chopped and well combined.  Mixture should be thick and sticky.  Add a Tbs. or two of water to help combine the mixture if the nuts aren't blending well.
  • Lightly coat a 9 inch glass pie pan with melted coconut oil and evenly press the crust mixture into the pan.
  • Layer the sliced bananas for the filling over the crust. (It's okay if they overlap, and honestly I'd highly recommend a double layer if you really like bananas!)
Picture
  • Add both cans of coconut cream into a mixing bowl, leaving as much liquid in the can as possible (you only want the white creamy stuff).
  • Add the maple syrup, vanilla, and cinnamon to the bowl and use a hand mixer or stand mixer to whip the filling together until the coconut cream is thick.
  • Pour filling over crust and spread evenly with a rubber spatula.
  • Place in the fridge for 2-3 hours or until the pie sets.
  • Add toppings only once ready to eat so the bananas on top don't brown.
  • Store in refrigerator.

*Use organic ingredients when feasible!
Picture
Picture
1 Comment

    Welcome to My Kitchen!

    Picture
    Food is one of the greatest forms of science, art, medicine, and sustenance all at the same time!  It's what feeds our lives and pumps through our blood.  It's what connects us and what gives us energy to fulfill our purpose.  It is for that reason that I have a deep passion for discovering, cooking, and eating only the most nutrient dense foods.  In my kitchen, we only use organic, whole ingredients that feed the body, as well as the mind and soul.  My hope is to inspire healing through healthy  AND delicious food that feeds not only our stomachs, but also our hunger for connection and quality of life.  

    Archives

    March 2022
    July 2021
    October 2019
    July 2019
    June 2019
    April 2019
    March 2019
    February 2019
    January 2019
    December 2018
    November 2018
    October 2018
    August 2018
    July 2018
    June 2018
    April 2018
    March 2018

    Categories

    All
    Bars
    Breads
    Breakfast
    Cakes
    Casseroles
    Chocolate
    Comfort Foods
    Cookies
    Crisps And Cobblers
    Dairy Free
    Dinner
    Fat Bombs
    Gluten Free
    Keto
    Muffins
    Paleo
    Pastries
    Pie
    Raw Food
    Side Dish
    Smoothies
    Snack Food
    Sugar Free Desserts
    Sweet Treats
    Thanksgiving Recipes
    Vegan
    Vegetarian

    RSS Feed

    Picture
    Remember, when we spend our money on the most nutritious and whole ingredients, our dollars become our vote for healthier living, and happier lifestyles. ​
    View my profile on LinkedIn

Blogs

Chronically Beautiful
Chronically Delicious
​Chronically Healthy

Chronically Claire

About
Lyme Disease
Endometriosis

Support

Disclaimer
Contact
© COPYRIGHT 2015. ALL RIGHTS RESERVED.
Picture
Disclaimer: For Educational and Informational Purposes Only.  The information provided by Chronically Beautiful is for educational and informational purposes only, and is made available to you as self-help tools for your own use.  All and any information given on my website is for the purpose of sharing information to help you help yourself, and not for me to take on any other role as any health professional.
  • Home
  • Chronically Beautiful Blogs
    • Chronically Beautiful
    • Chronically Delicious
    • Chronically Healthy
  • About
  • The Chronically Care Project
    • Adult Care Package Application
    • Kids Care Package Application
  • Published Articles & Podcasts
  • Contact
  • Disclaimer