|
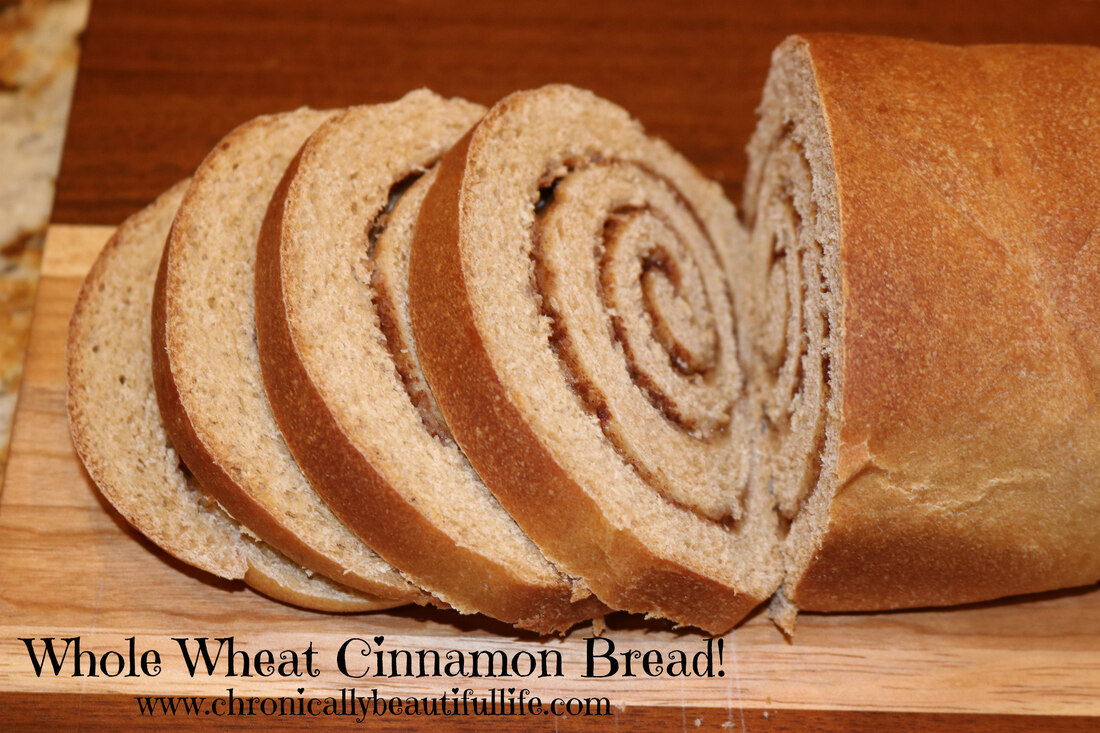
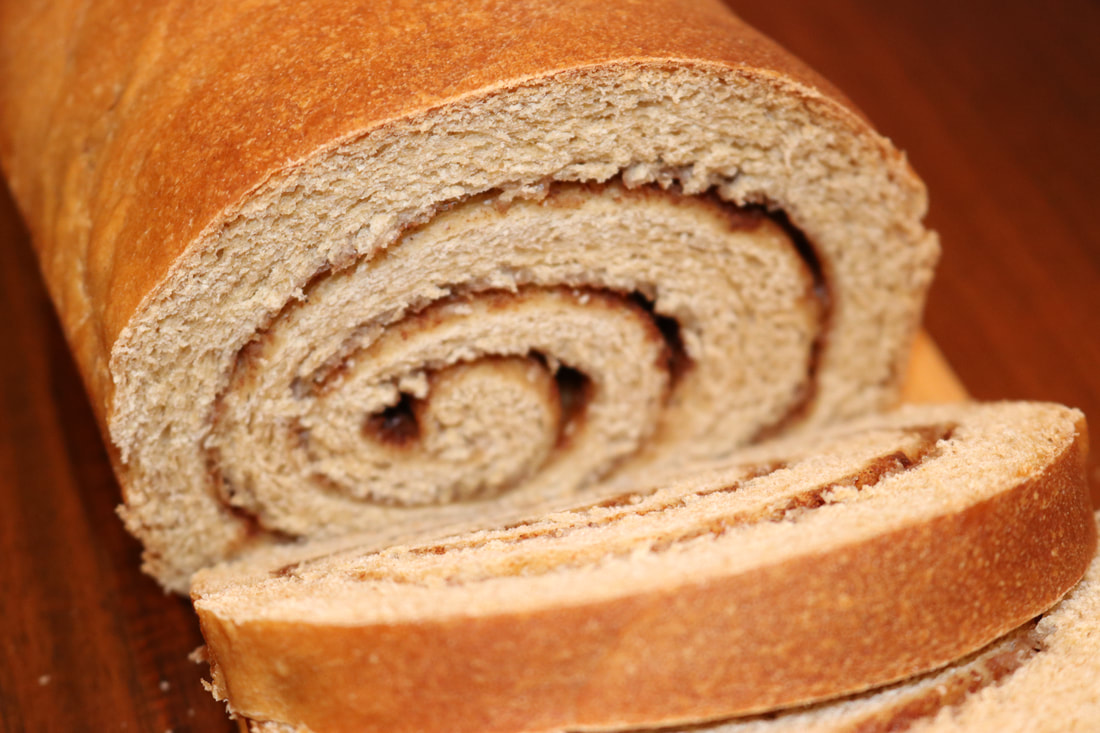
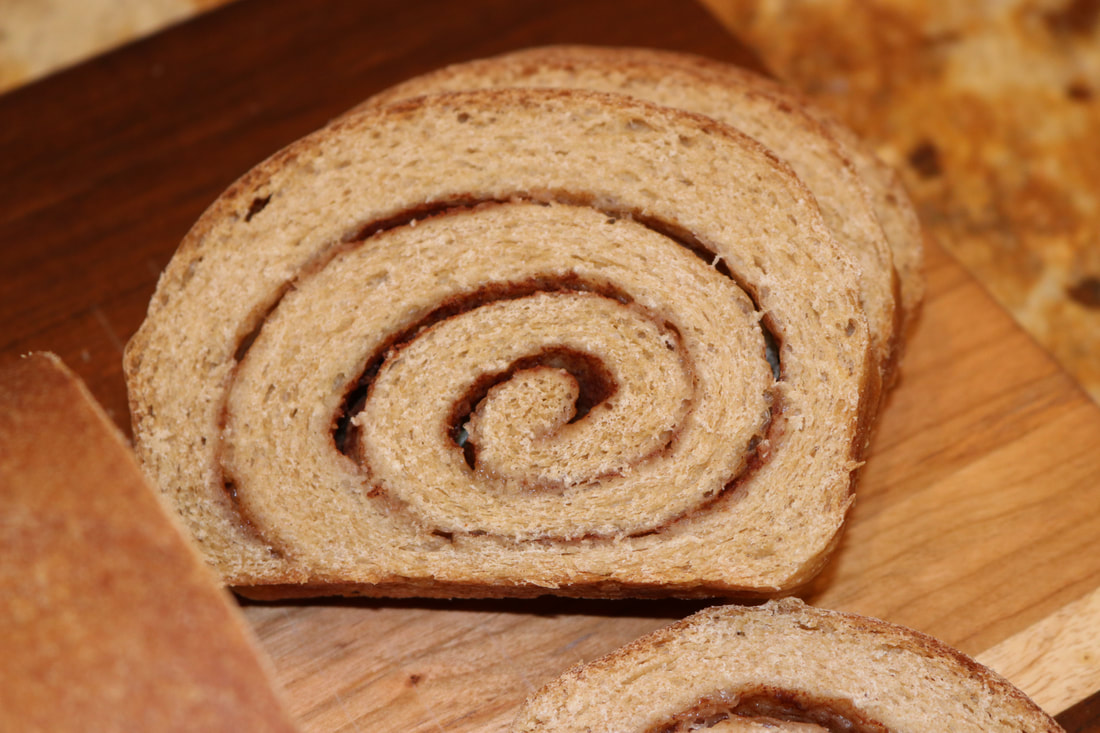
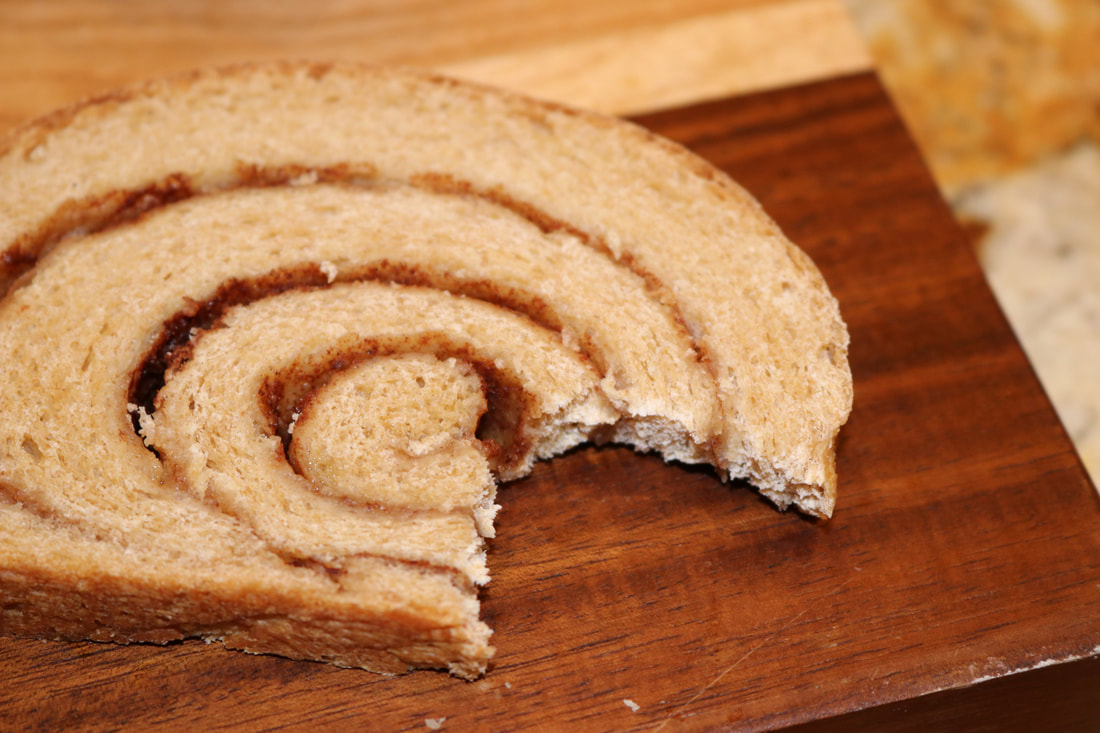
Sweetbread that is 100% organic and refined sugar-free!? I think yes! One of the questions I receive a lot about my health and my diet is about gluten. Gluten is a great controversy in the modern food war, and for me, I've found that it's not so much the gluten that does harm in people with certain autoimmune diseases, but it's the KIND of gluten. Wheat and flours that are highly saturated in pesticides and other chemicals can cause great havoc on a body that is already compromised, and after being gluten-free for a year, I've found organic whole wheats that don't make me sick and that I love feasting upon! With that said, I'm all for those who find that a diet without gluten makes them feel better. Health is all about listening to your body and doing what's best for YOU! This bread is made with organic whole wheat flours, and sweetened with raw honey and Lakanto monk-fruit sweetener! It's the perfect treat to curve that sweet tooth without overdoing the sugar intake for the day, and tastes amazing with butter or jam! Whole Wheat Cinnamon Bread!Ingredients:
1 egg 1 cup warm water 1 Tbs. organic butter (melted) 1/4 cup raw honey 1 1/2 tsp salt 4 cups whole wheat bread flour 2 tsp. active dry yeast 1/2 cup classic Lakanto sweetener 1 Tbs. cinnamon Directions:
1 Comment
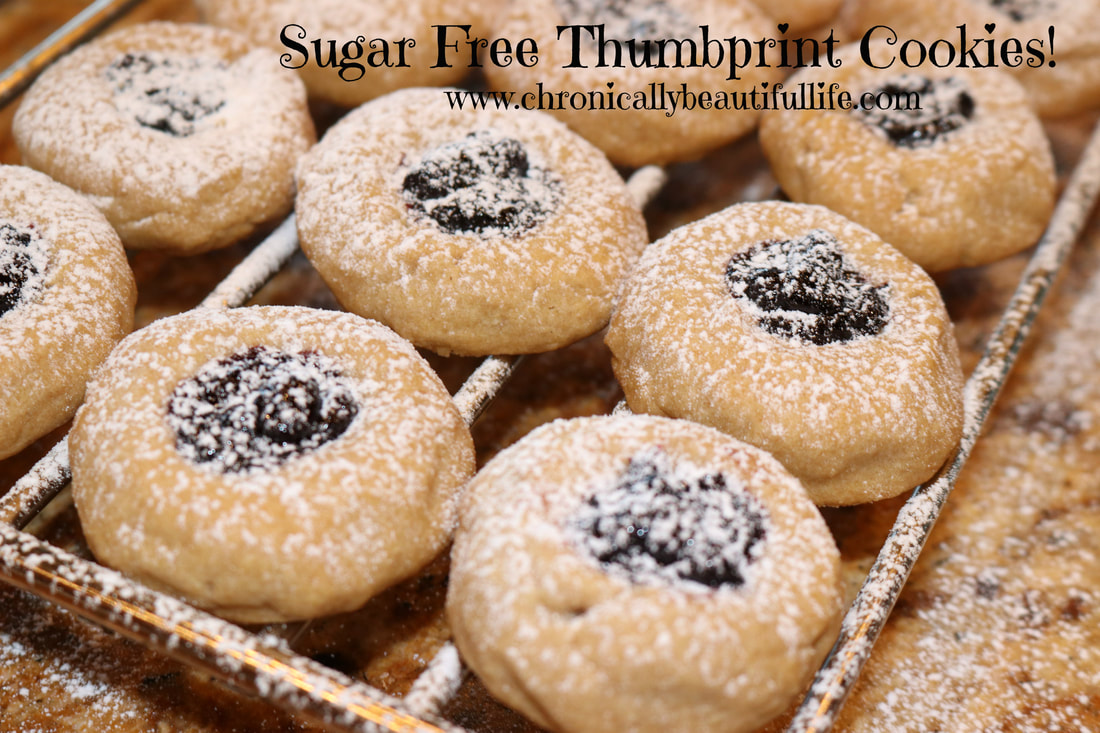
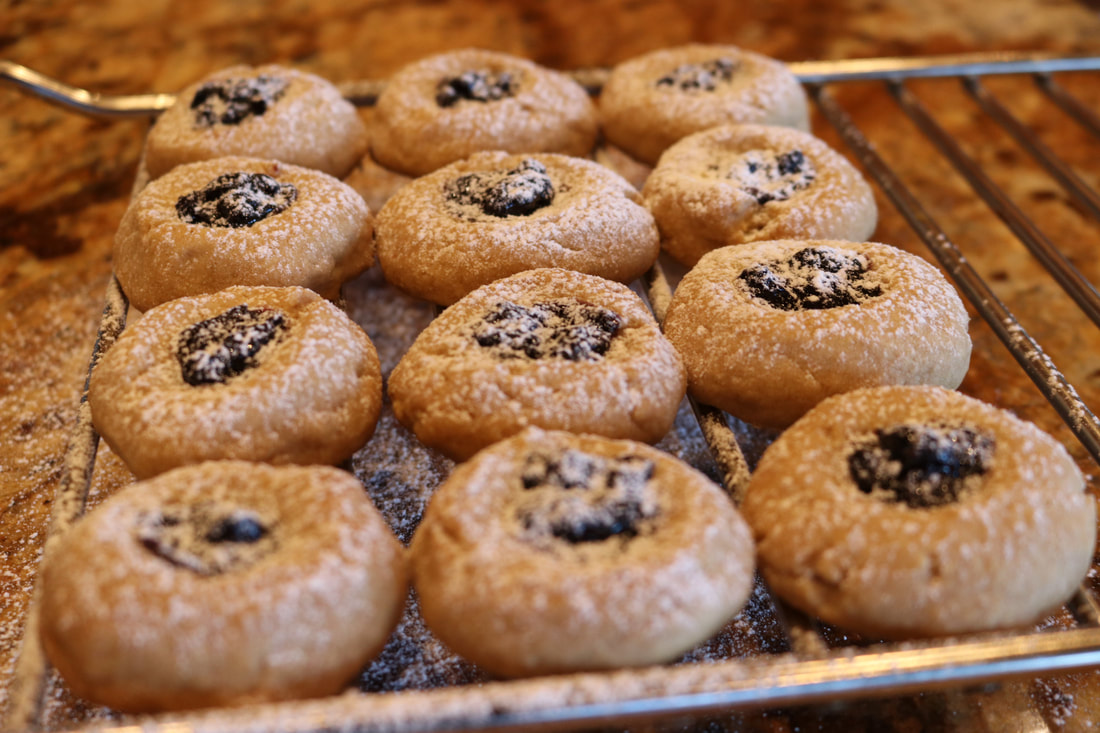
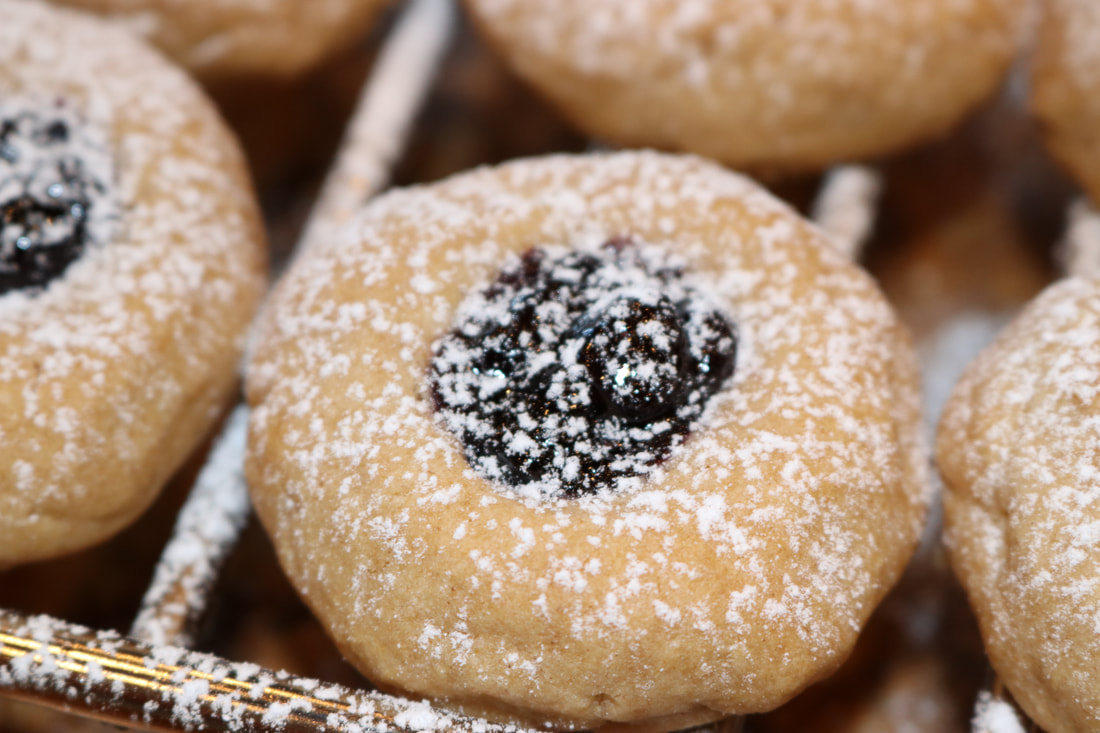
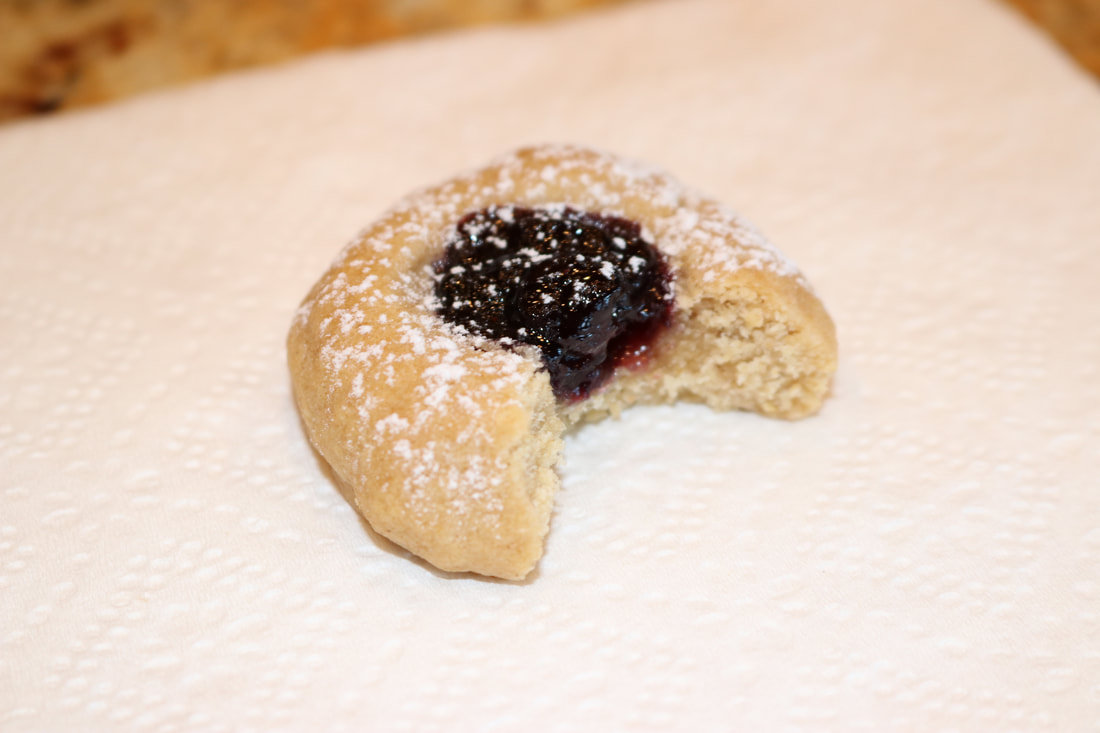
Let's talk food for just a minute here... How many of you often feel overwhelmed by the massive amount of information that is out there about food and nutrition? I honestly believe that if you listen to every single "expert" there is out there, you would probably be forced to result to eating nothing, as tips on diet and nutrition can often be contradicting and counter productive. This is why it SO IMPORTANT that we learn to eat what is right for YOUR body! It's important to listen to your body and what it's trying to tell you because I guarantee you that if you eat something that isn't good for you, your body will be sending you that message the next day. The war on food is raging in our day and I think everyone is forgetting that we're ALL IN THIS TOGETHER! I am not against people who eat gluten-free, as I know people who thrive on gluten-free diets, even if I don't. Same goes for any other diet (Keto, Paleo, etc). And to those who eat foods that are full of chemicals, overly processed, and full of sugar that is incredilby unhealthy for your body: I will ALWAYS encourage you to eat healthy because I care. But I will NEVER look down on you or make you feel like you are less of a person if you choose to eat processed, sugar filled food. Again, we're all in this together and as we teach with love and compassion we can all help each other on our roads through life. I eat 100% organic and refined sugar-free because that is how I can function with Lyme disease and how I can still live a life despite my chronic illness. Not because I'm trying to outrun anyone else in this life. So without further ado, I'd like to introduce the sugar-free Thumbprint Cookie! These cookies are completely sugar free, organic, and free of harmful additives and chemicals. They are made with whole wheat flour and they still melt in your mouth! They're also sweetened with Lakanto Monkfruit sweetener which is full of nutrients and approved for all kinds of healthy diets! Sugar Free Thumbprint CookiesIngredients:
Directions:
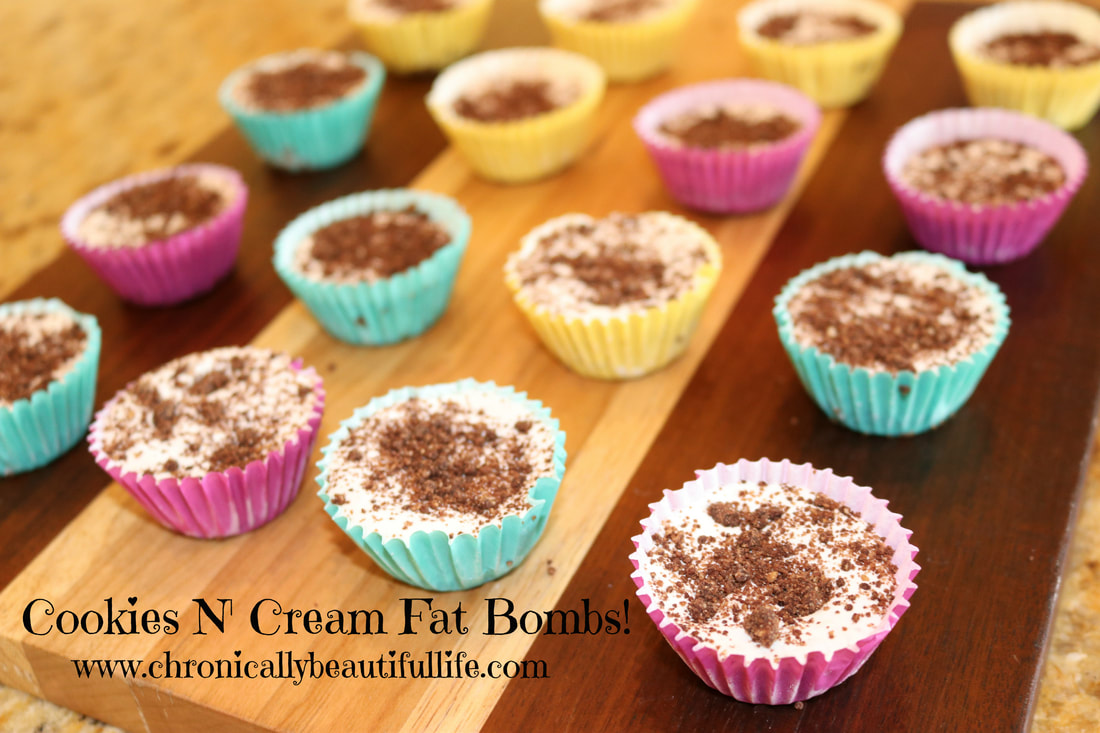
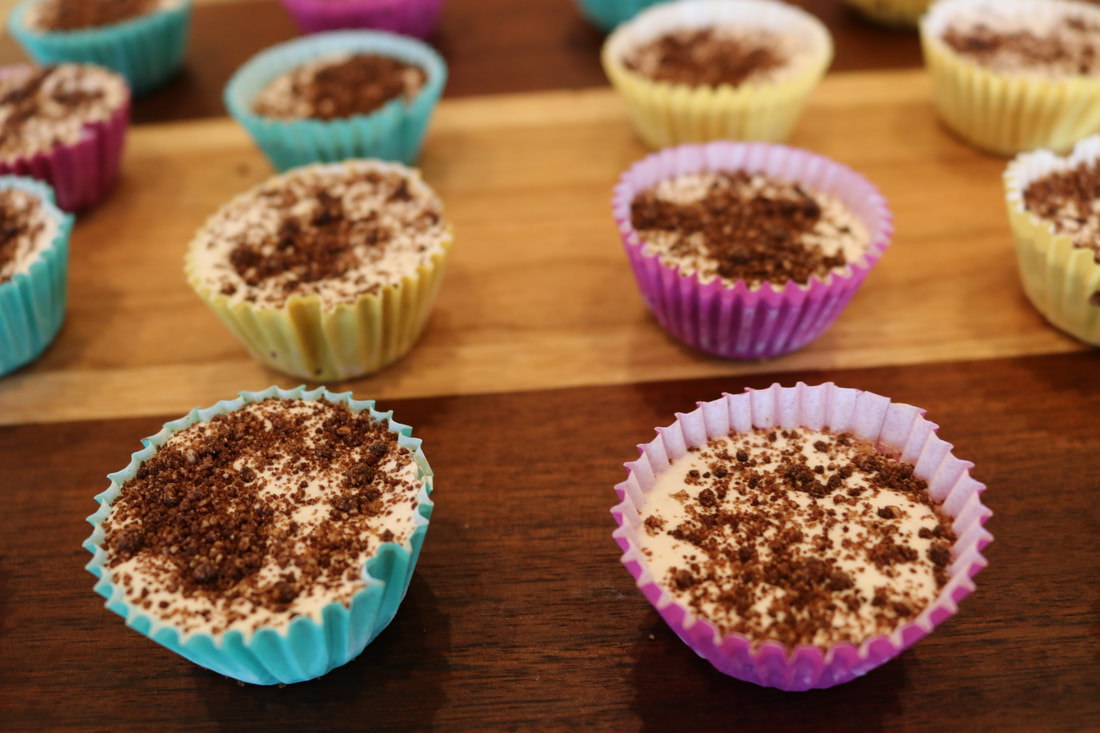
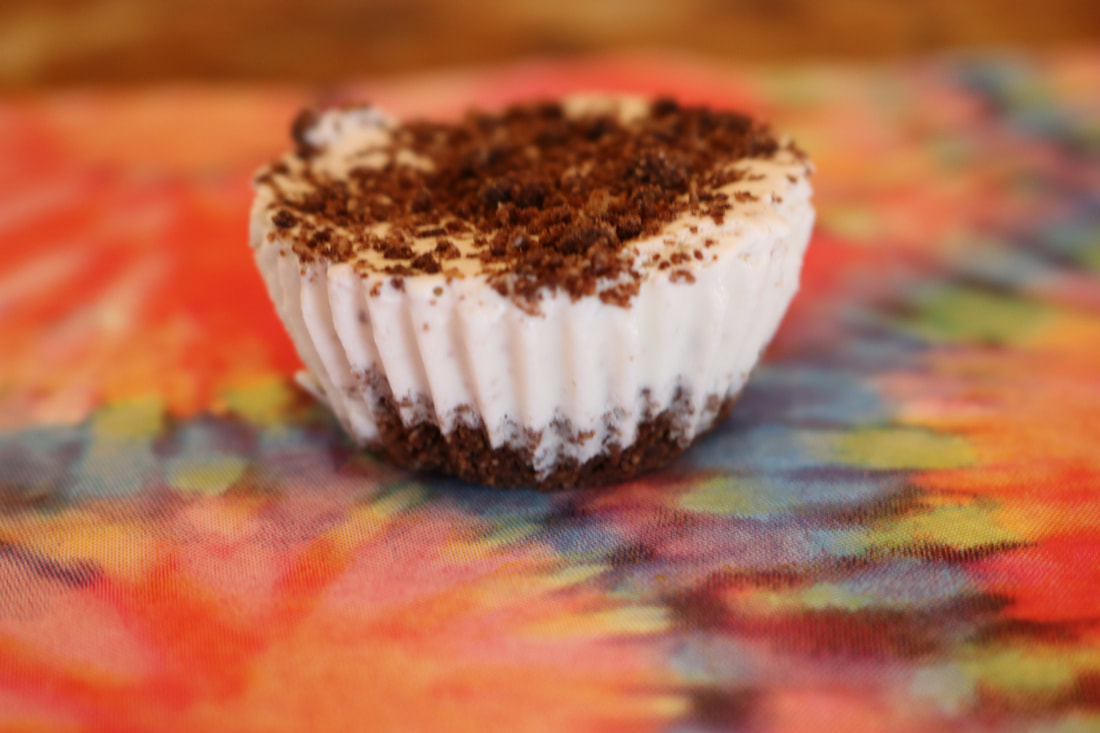
*If you don't have a the powdered version of your Lakanto sweetener, you can take one cup of classic Lakanto sweetener and blend it in a blender on high until it is in powdered form. **Make sure you use the right kind of flour, for if you only use bread flour your cookies will be dry and if you only use pastry flour your cookies will fall apart. ***You can use any kind of fruit preserves that you like. I used organic, sugar free, wild blueberry jam that I ordered from Thrive market. Still on my quest for healthy ways to gain weight, and these babies are AMAZING! They're like little ice cream bites, and they taste just like cookies and cream ice cream! The wonderful thing about them is that they use no Oreos, no additives, and no chemicals! Let's be real here, Oreos are practically a chemical cocktail, and our bodies do not need the extra toxins! These fat bombs are, gluten-free, sugar-free, organic, Paleo, Keto, and absolutely DELICIOUS! The cookie part is made with almond flour and cacao powder, and they're really easy to convert to dairy-free if you don't eat dairy! Cookies N' Cream Fat Bombs!Ingredients:
For the "Oreo Cookie" Crumbs: 2/3 cup almond flour 2 Tbs. cacao powder (heaping) 3 Tbs. Lakanto powdered sweetener 2 Tbs. butter (melted) pinch of salt For the Vanilla Cream: 2/3 cup full fat coconut milk 4 Tbs. Lakanto powdered sweetener pinch of salt 2/3 cup of heavy whipping cream (or chilled coconut cream) 2 tsp. vanilla extract Directions:
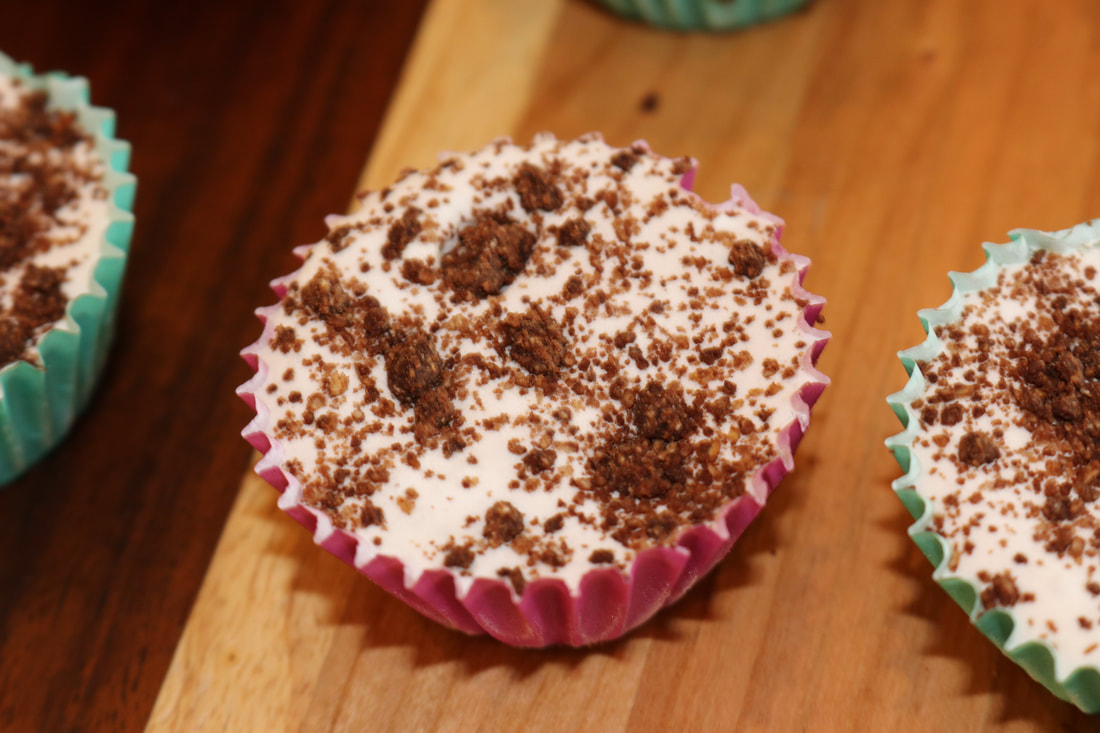
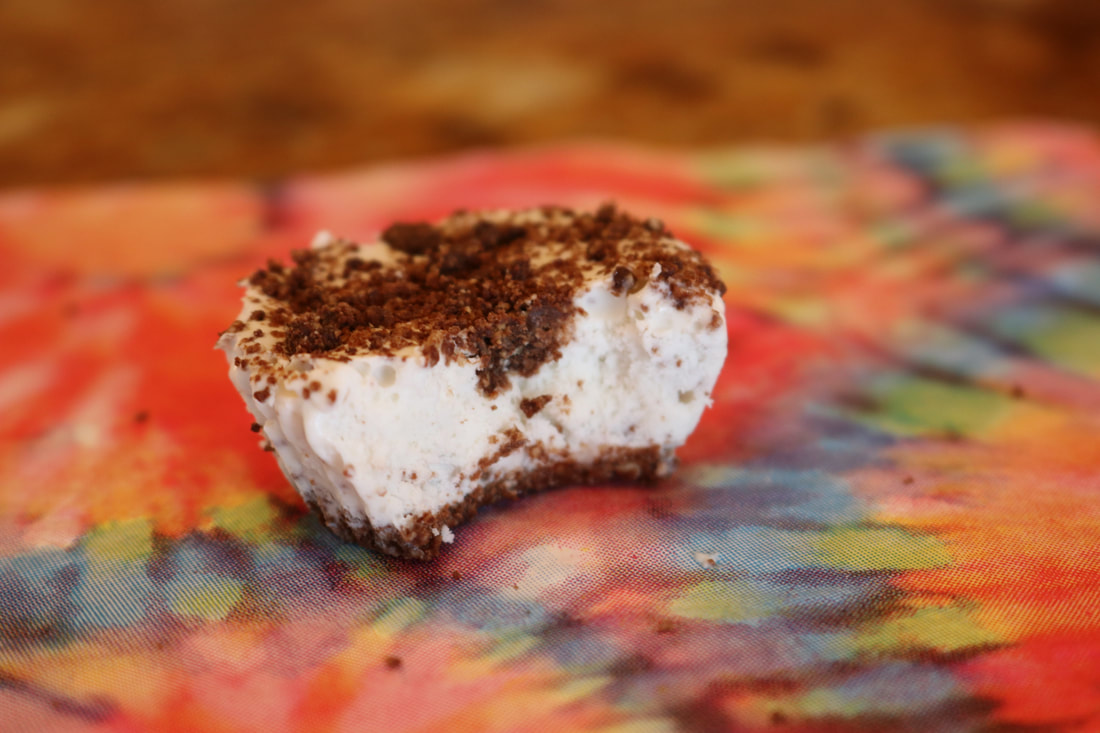
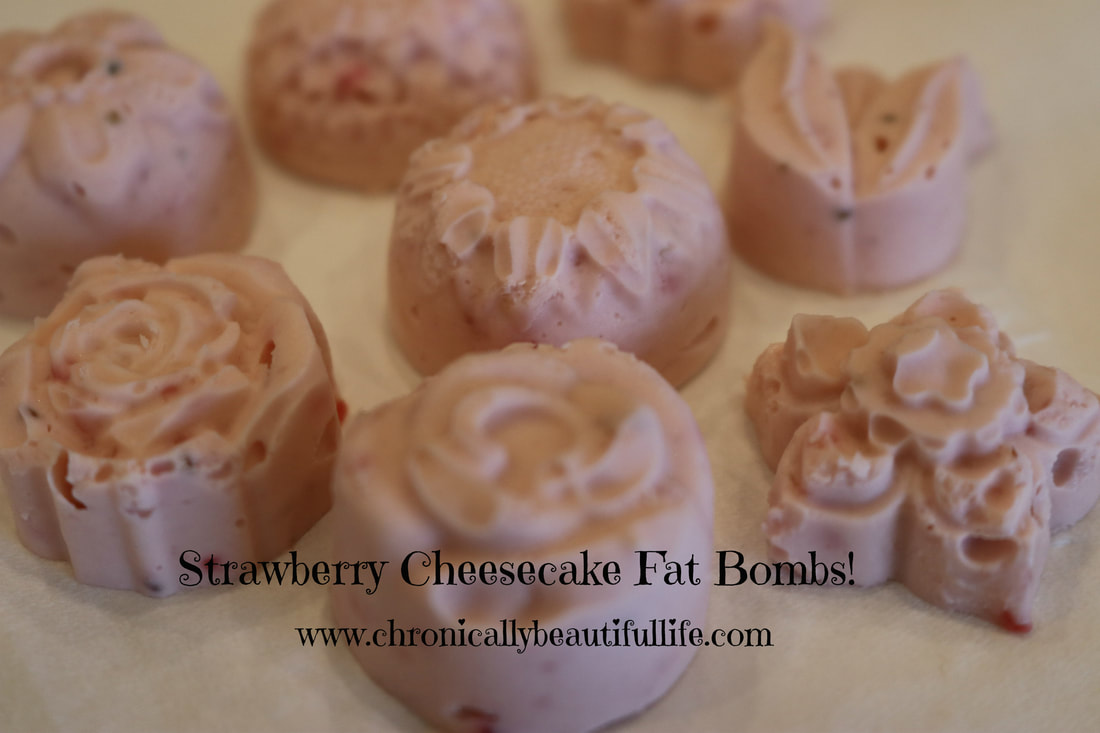
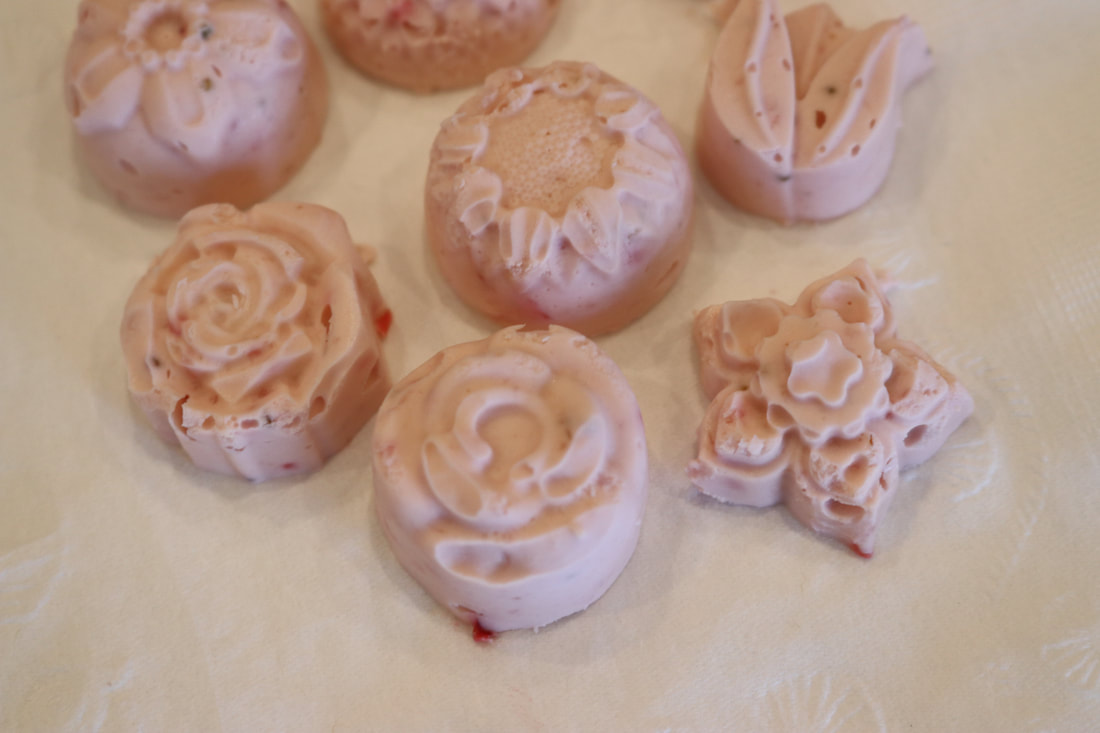
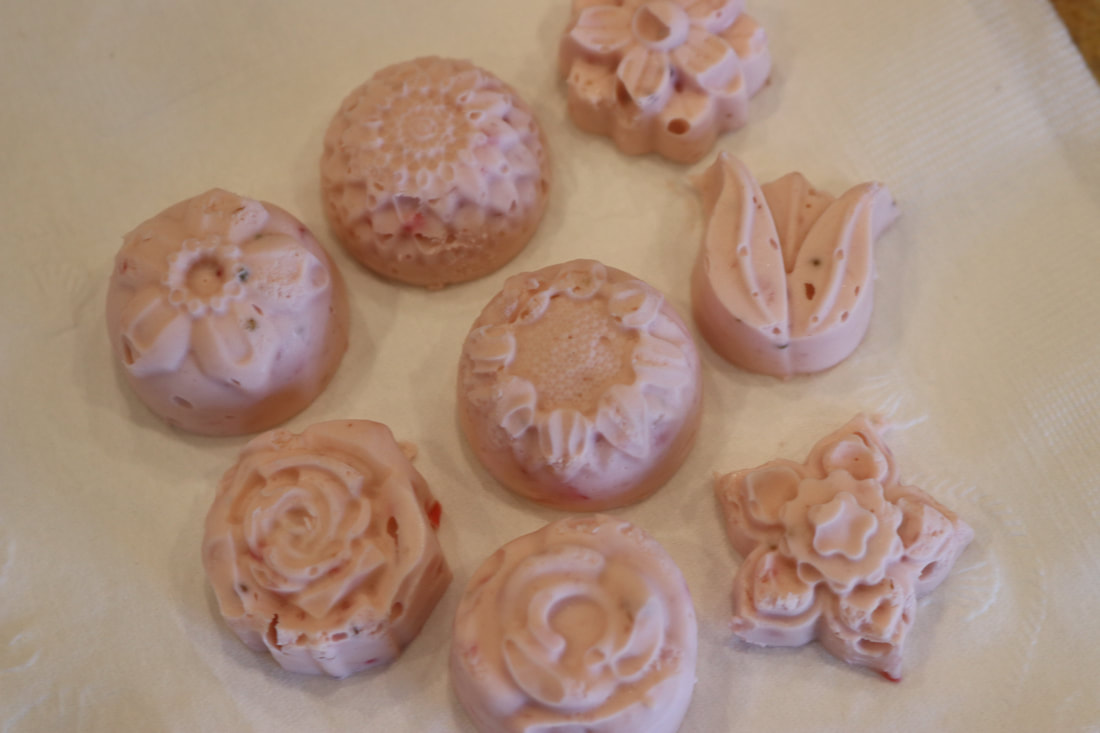
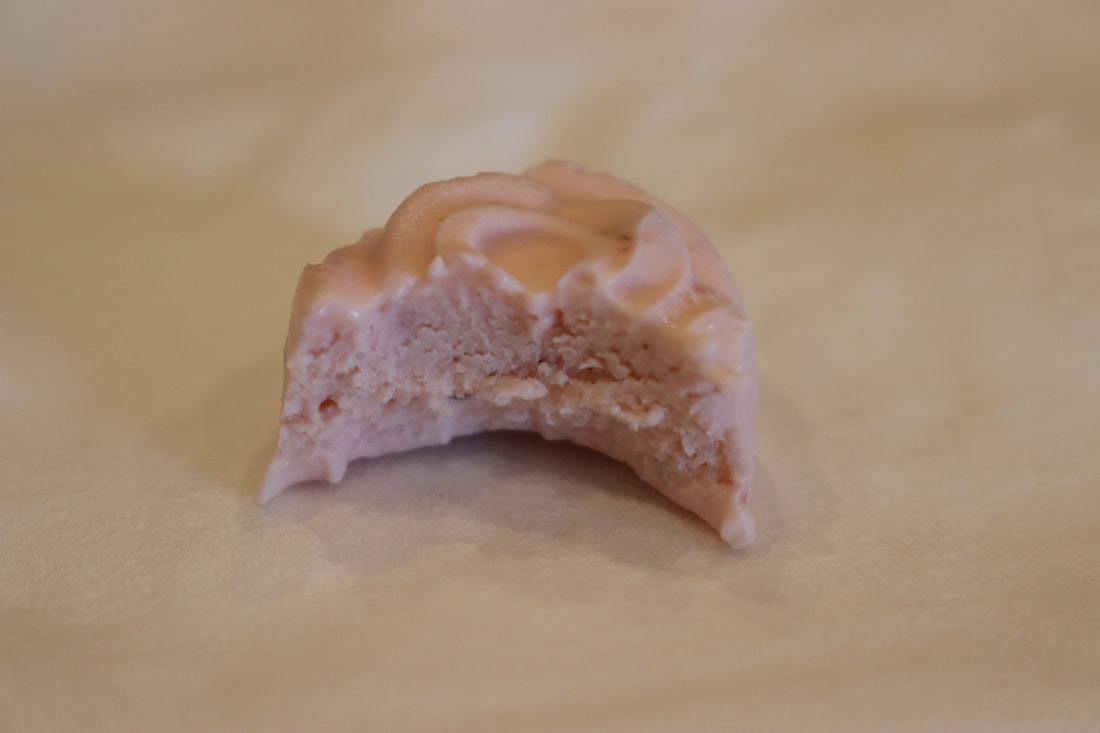
*Use organic ingredients when feasible! I'm currently on a fat bomb kick, and these are my first try at fat bombs! For me, Lyme disease makes it super difficult to gain weight, and so I'm currently on the lookout for any snack recipe that is full of healthy fats! This recipe is SUPER easy to make and only takes about 10 minutes of prep time! It's also organic, sugar-free, keto, paleo, and gluten-free! These babies are glorious little summer treats and taste like mini little cheesecake bites! Delicious! Easy! And Beautiful! My favorite combination! Keto Cheesecake Fat Bombs!Ingredients:
6 oz. organic cream cheese 4-5 medium strawberries (fresh) 4 Tbs. salted butter 3 Tbs. powdered monkfruit sweetener 2 tsp. vanilla extract Directions:
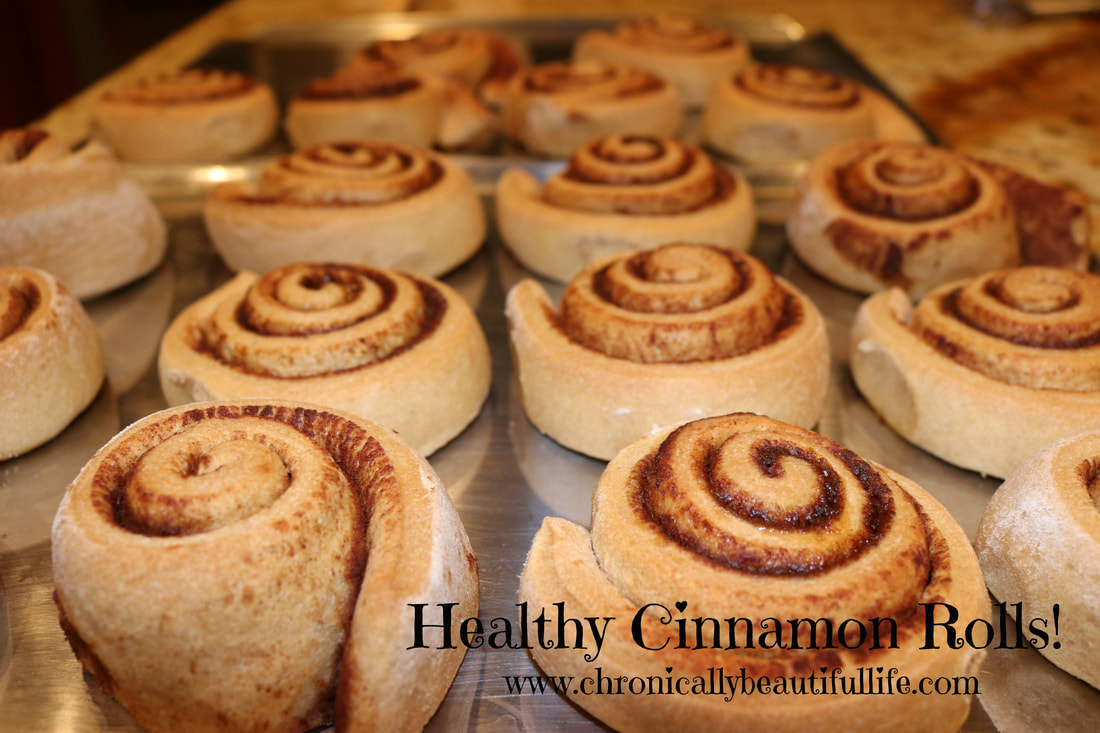
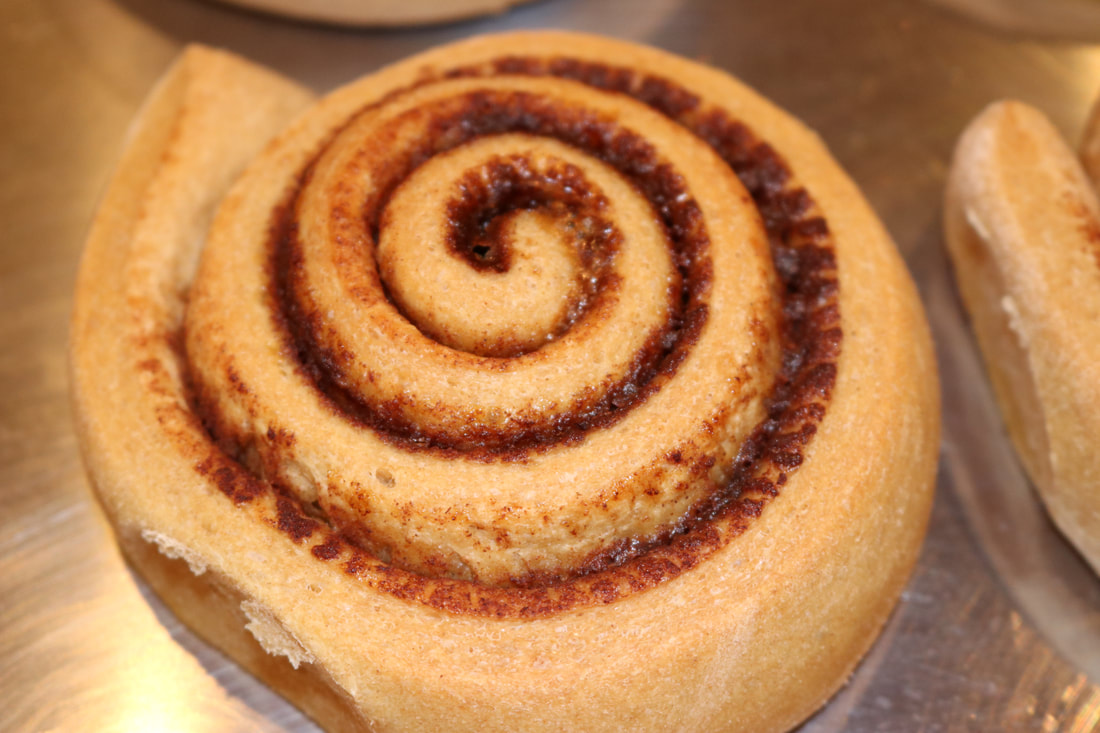
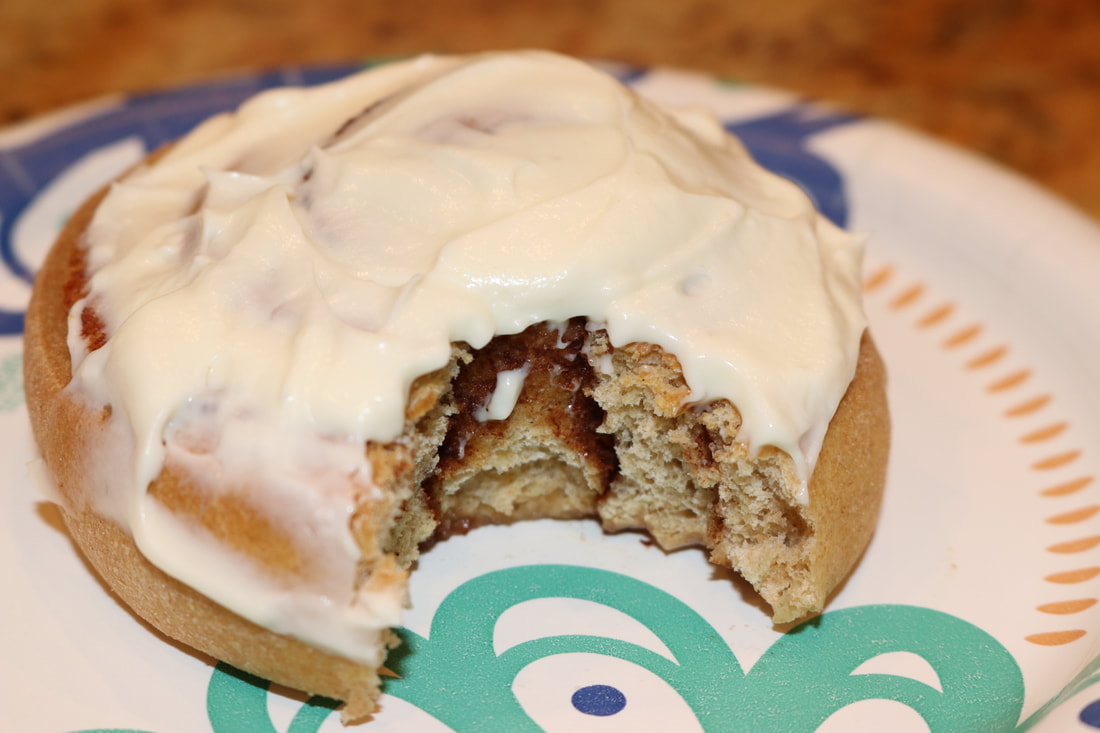
*Use organic ingredients when feasible Did you know that cinnamon can actually be used as a medicinal herb? It can be used as an anti-bacterial, and it's also known to kill stealth bacteria in our bodies like micoplasma! Who knew?! I have a lot of healthy recipes I've been trying lately that are going to go up on here soon, but I had to postpone all of those because this recent recipe I just made was ABSOLUTELY AMAZING! This recipe taught me so much about clean eating and how you don't have to eat bad tasting food to eat clean. These cinnamon rolls look, taste, smell, and make you feel amazing! I don't know why anybody would feel like they need processed sugars and other processed food in their lives when they can eat something this delicious and nourish their body with proper nutrients at the same time! These rolls are made with organic, whole wheat flour, and they're about 98% sugar free, and 100% refined-sugar free! The only refined sugar in these babies is a little bit of raw honey in the dough, and then the filling and frosting is sweetened with Lakanto sweetener which is not processed in your body the same way sugar is. Lakanto is an amazing sweetener that is made with Monk fruit which is a super food and filled with nutrients! You can purchase Lakanto here and you can also find it on Amazon! The BEST Healthy Cinnamon Rolls!Ingredients:
Dough: 1 cup warm coconut milk (110° F) 2 eggs 1/3 cup butter (melted) 4 1/2 cups organic whole wheat bread flour 1 tsp. salt 1/4 cup raw honey 2 1/2 tsp. yeast (do not use instant yeast! Instant yeast is highly processed) Filling: 1/2 cup golden Lakanto sweetener 2 1/2 Tbs. ground cinnamon 1/3 cup butter (melted) Frosting: 1 (8 oz.) package organic cream cheese 1/4 cup butter (softened) 1/2 cup powdered Lakanto sweetener 2 tsp. vanilla extract 1 pinch of salt Directions:
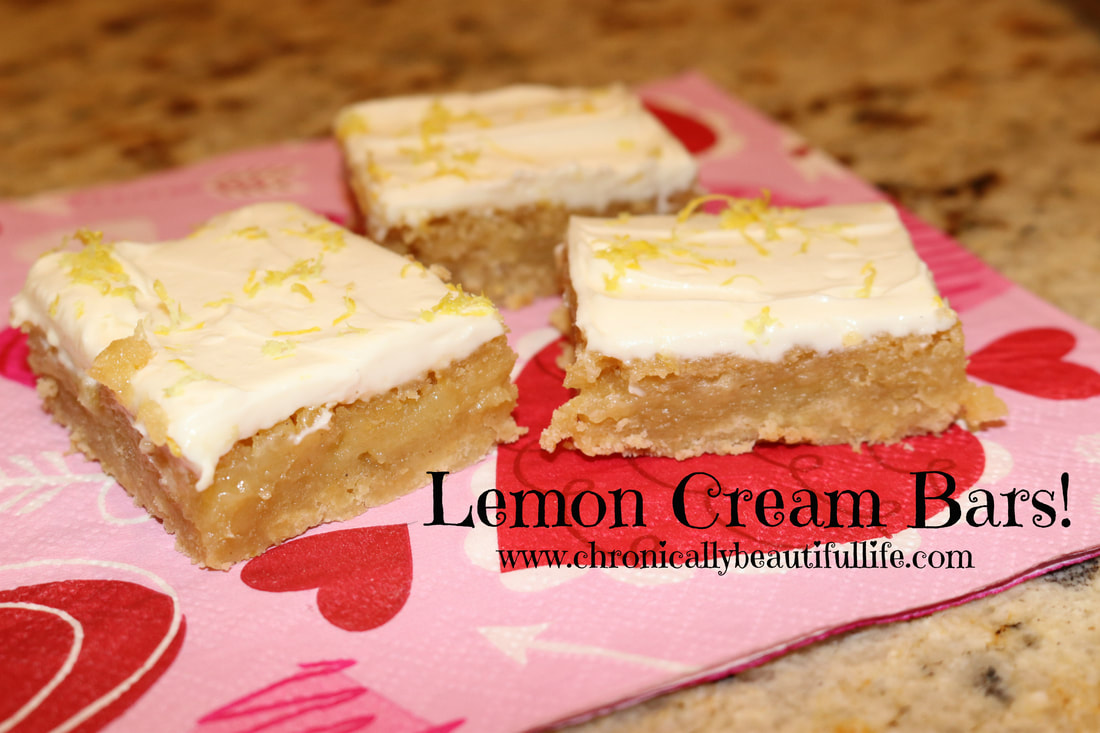
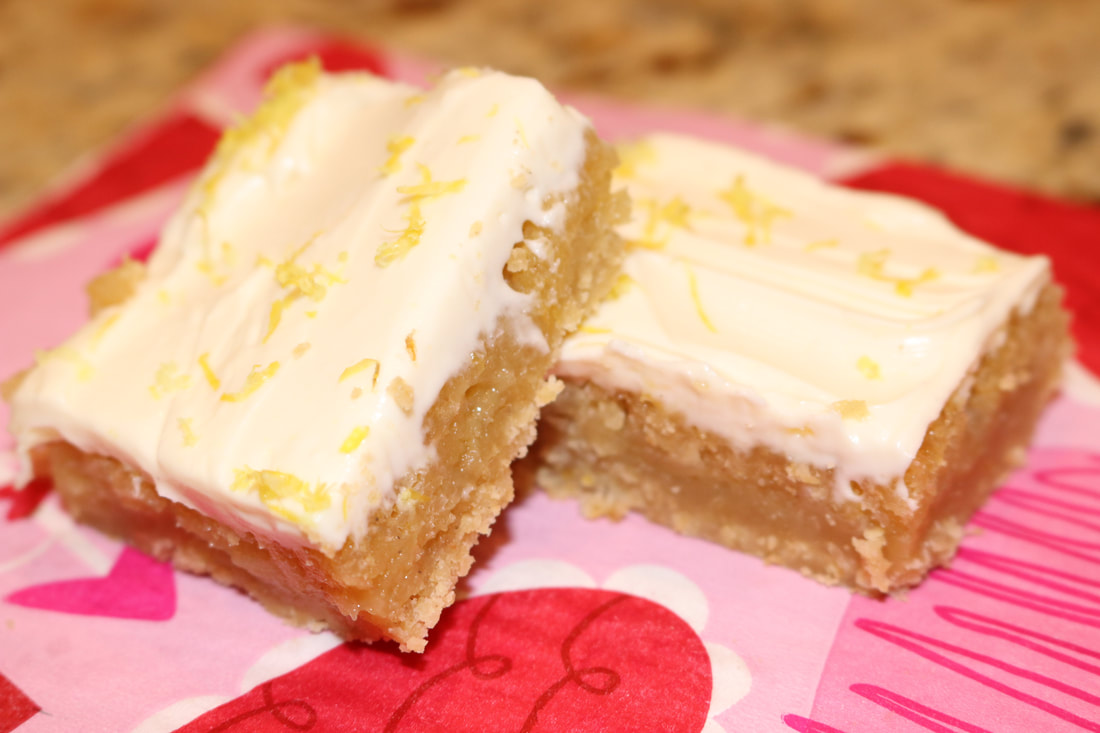
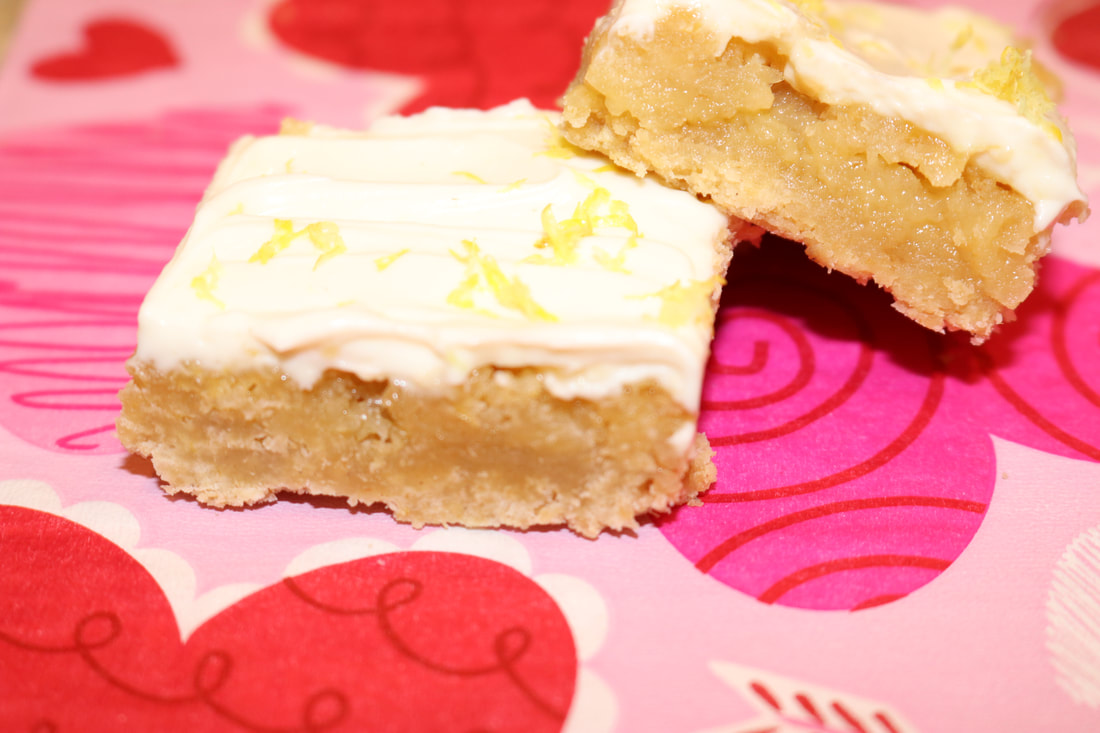
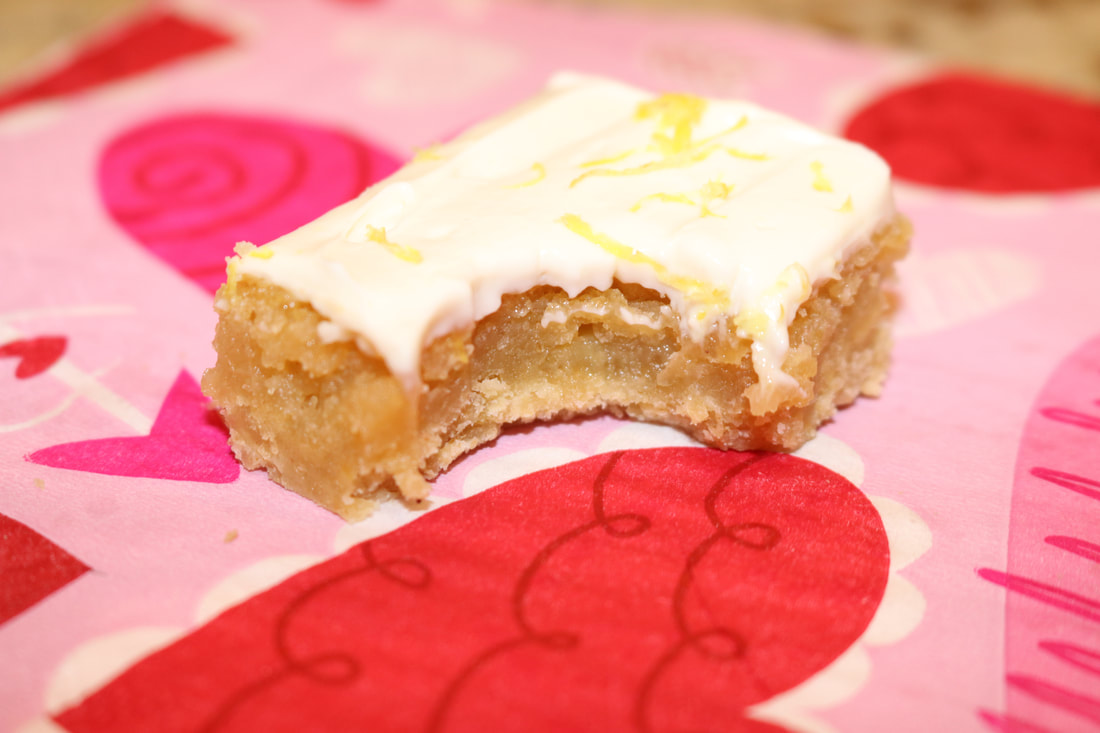
*These rolls stay super fresh for about five days if you store them in the fridge! Then when you're ready to eat them you can either warm them in your warming drawer on high for 10 mins. Or you can preheat your oven to 350°, turn it off once it's fully preheated, and place your rolls inside for about 10 mins. Then when you take them out it will be like having a freshly baked cinnamon roll! *Use organic ingredients when feasible. I'm seriously CRAVING citrus fruit lately! Lemons, limes, grapefruit, oranges, you name it... I crave it. I'm not totally sure why, but I do know that citrus kills cancer cells in your body and is a great source for vitamin C! So... these lemon bars are organic, refined sugar-free, and they pretty much melt in your mouth! I once had someone tell me that they are like ambrosia for your tongue! So they must be good right?! These bars are also super versatile so if you want to convert them to gluten-free or dairy-free it's super easy! I'll show you how in the recipe below! Lemon Cream Bars!Ingredients:
Crust: 1 1/2 cups whole wheat pastry flour 1/4 cup powdered Lakanto sweetener 1/2 tsp. real salt 2 tsp. lemon zest 3/4 cup cold butter, cut into pieces Filling: 4 eggs 1 cup raw honey 1/4 cup classic Lakanto sweetener 1 tsp. baking powder 1/3 cup lemon juice (about 2 large lemons worth) 1 heaping Tbs. lemon zest Topping: 1 8 oz package of cream cheese 1/4 cup powdered Lakanto sweetener 1 Tbs. maple syrup 2 tsp. vanilla extract extra lemon zest to sprinkle on top Directions:
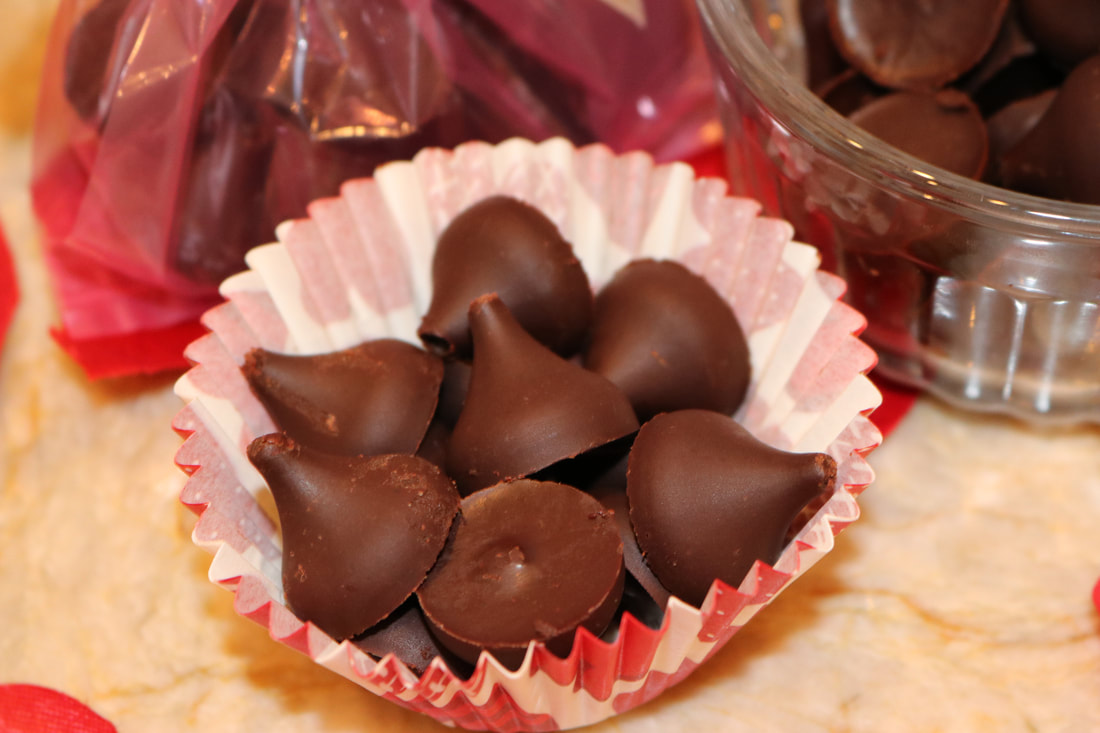
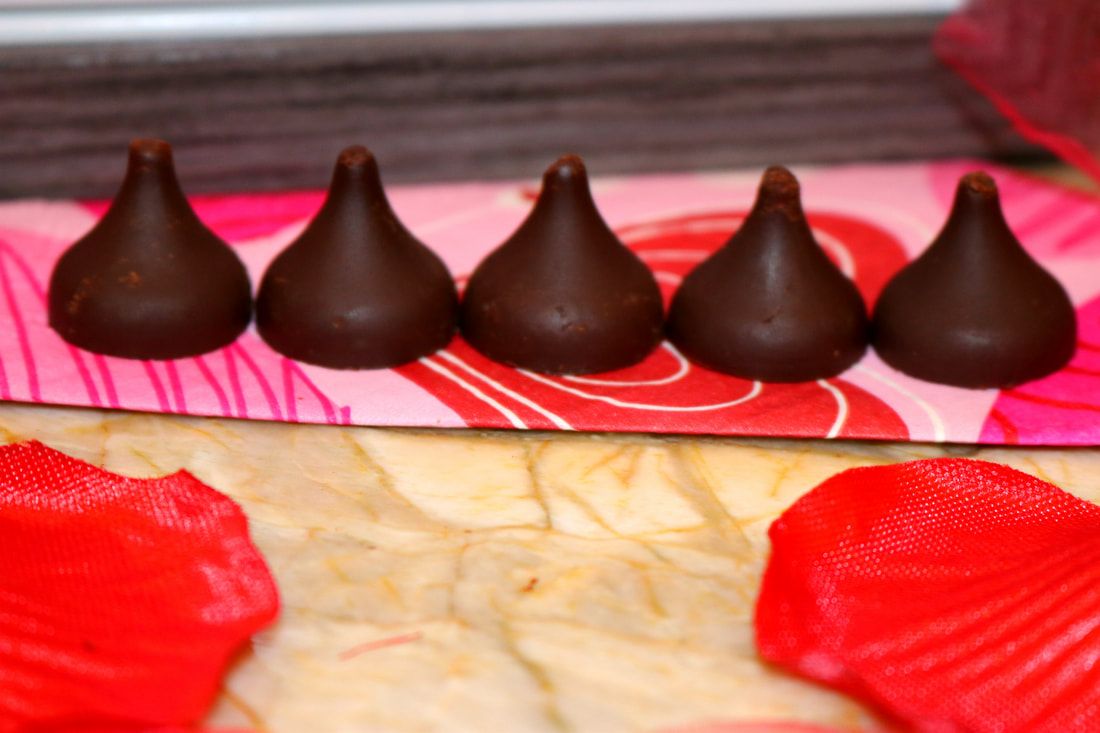
*Use organic ingredients when feasible. *Store bars in fridge. **What to make these bars gluten-free? Easy! Simply replace the pastry flour in the crust for almond flour. **What to make these bars dairy-free? Also super easy! Just replace the cream cheese with a couple cans of coconut cream! Okay, I know that it's still January and not quite Valentines season yet, BUT.... I LOVE Valentines day, and I needed something to cheer me up through these gray January days. So... Claire's Kisses were born!! These are a little different than my other chocolate recipes in that they are made with organic cacao wafers, and cacao is a super food that boosts mood, energy, and immune function! It's a common myth that eating healthy means that you don't eat anything that tastes good, and I'm here to say that you DO NOT have to deprive yourself just because you choose to eat and live a healthful life! Confession.... I used to be OBSESSED with Hershey's chocolate kisses! I was that girl in high school that always had a bag of them in my locker, and I probably consumed a handful a day. I wouldn't recommend that for anyone whether you have a chronic illness or not! So... I'm SUPER EXCITED about these because they're organic, refined sugar-free, and full of nutrients that your body will love! Stay tuned for different flavored chocolate recipes all through the month of February because this is for sure my new favorite recipe!! Also, thanks to A Bite of Healthy for helping me out with this recipe! My sister is the creator of this food blog, and she is a food GENIUS! So go check out her blog here. Claire's Chocolate Kisses!Ingredients:
1/2 cup cacao wafers 4 1/2 Tbs. maple syrup 2 tsp. vanilla extract 3 Tbs. coconut butter 1 tsp. coconut oil Directions:
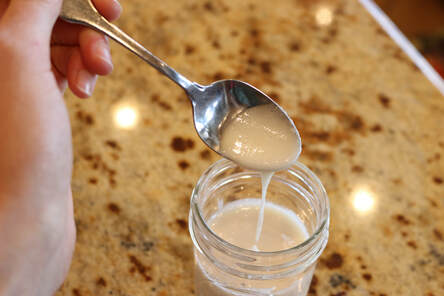
*Use organic ingredients when feasible. I would HIGHLY ENCOURAGE you to make your own coconut butter! It's a super simple process and it makes enough coconut butter to fill a small jar!
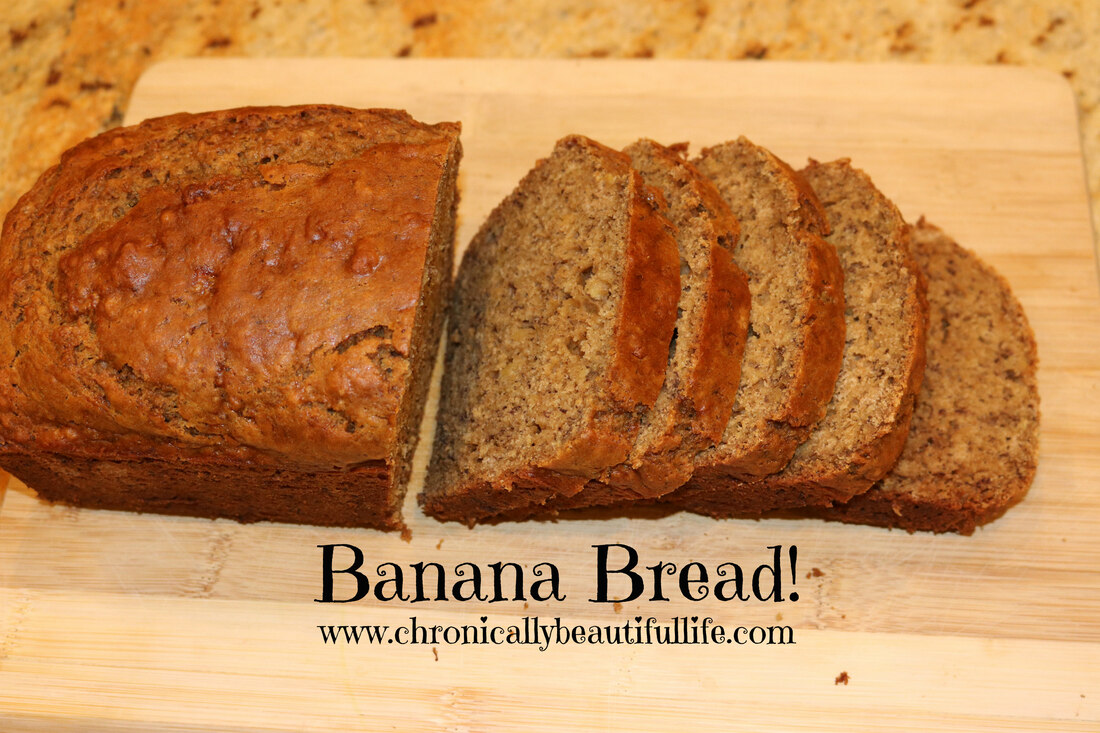
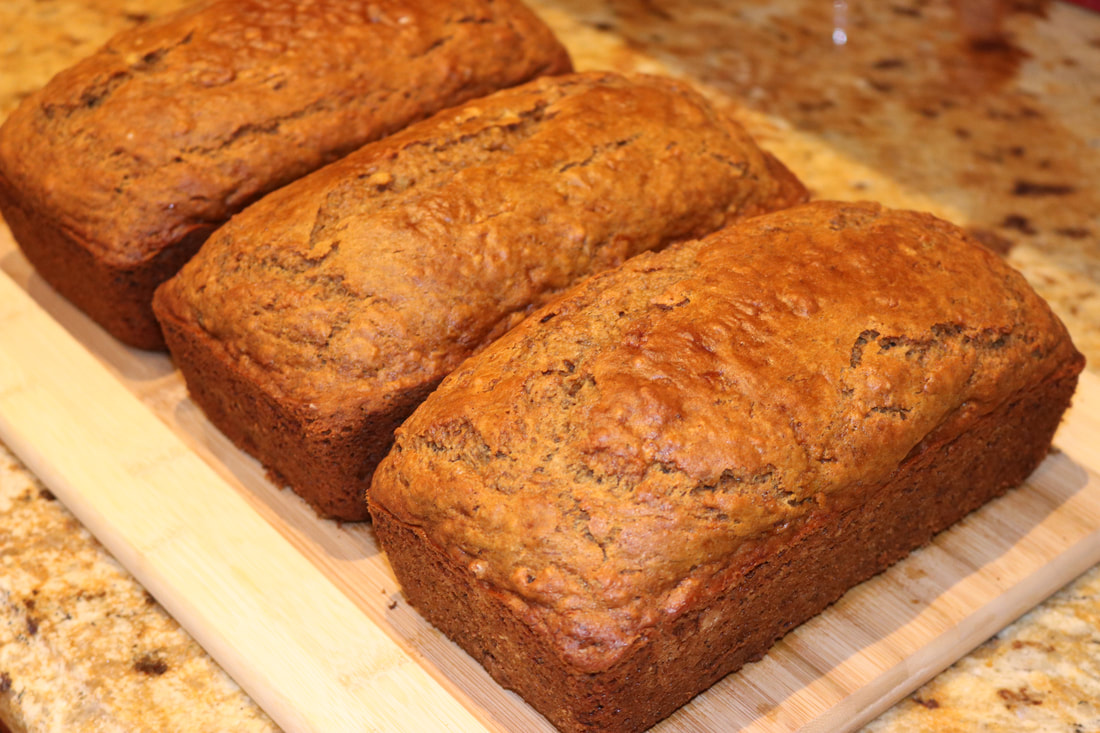
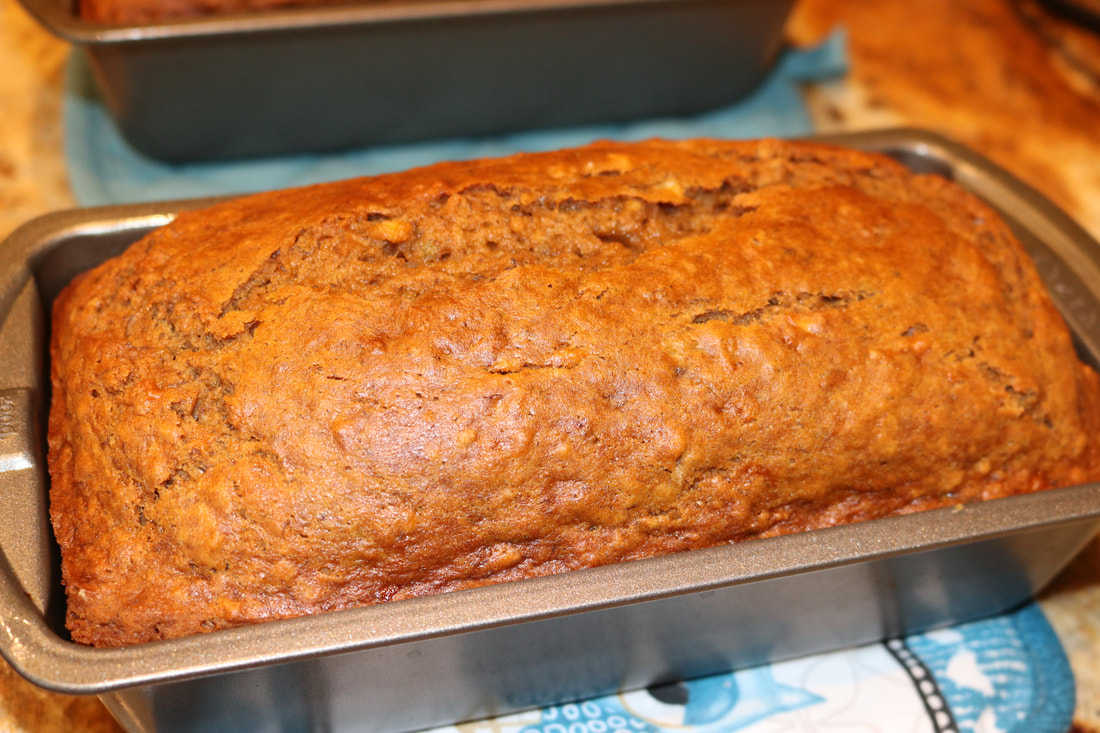
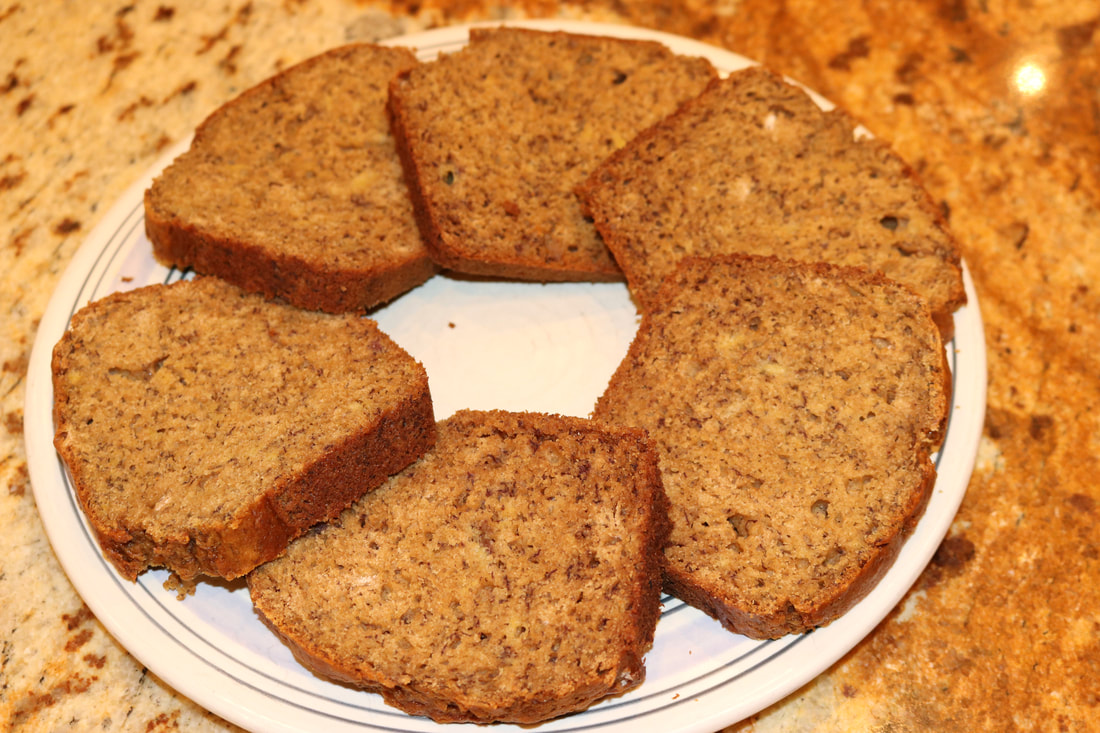
All you have to do is take two cups of shredded coconut and blend it in a small blender on high until coconut reaches a creamy texture! Store it in the fridge when you're done and enjoy it in lots of your healthy recipes! I've always found it quite the struggle to keep sweet breads and cake moist when you're cooking refined sugar-free. With that said, I finally found a banana bread recipe that is super moist, healthy, refined sugar-free, and absolutely delicious! I love banana bread, and this recipe will be a favorite for your kids and your family! Healthy Banana Bread!Ingredients:
2/3 cup grapeseed oil 1 cup raw honey 4 eggs 2 cups mashed banana (about 4-5 large bananas) 1/2 cup unsweetened coconut milk 2 tsp. baking soda 2 tsp. vanilla extract 1 tsp. salt 1 tsp. ground cinnamon 3 1/2 cups whole wheat flour Directions:
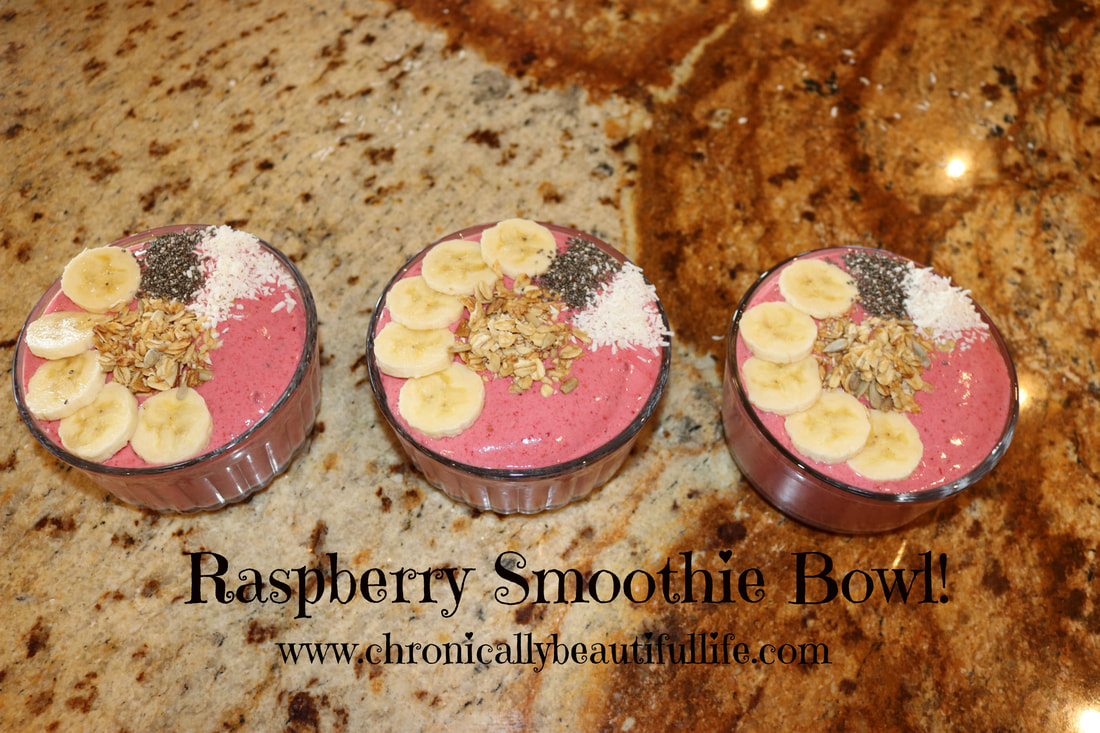
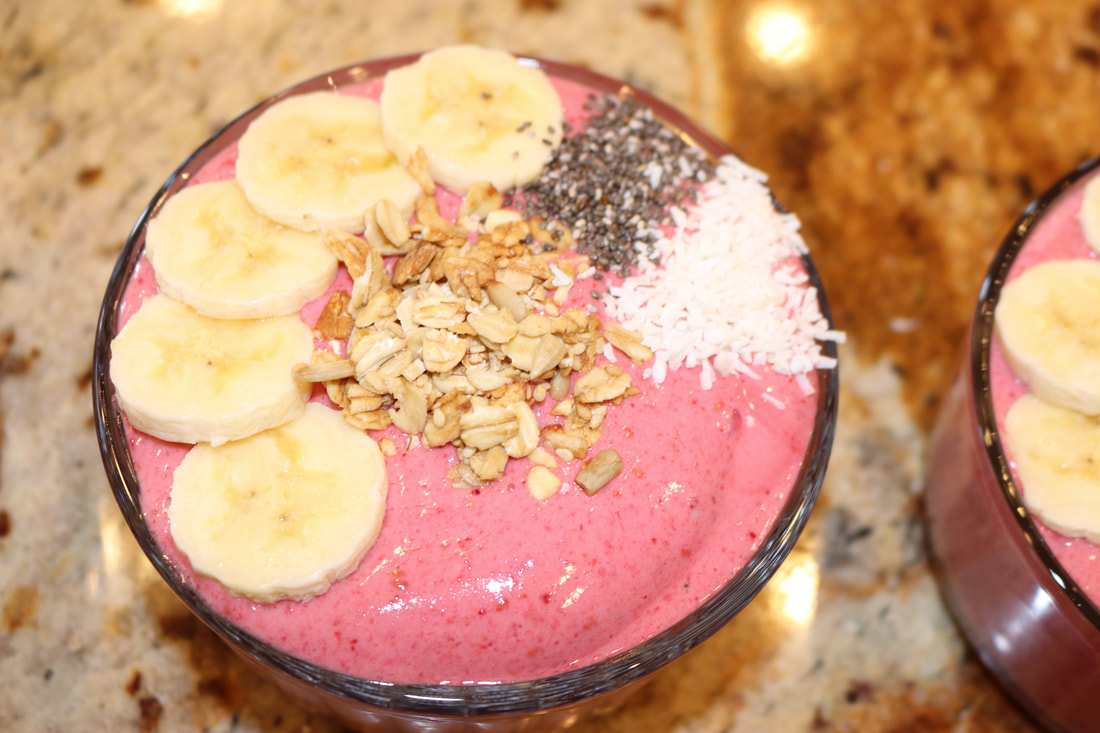
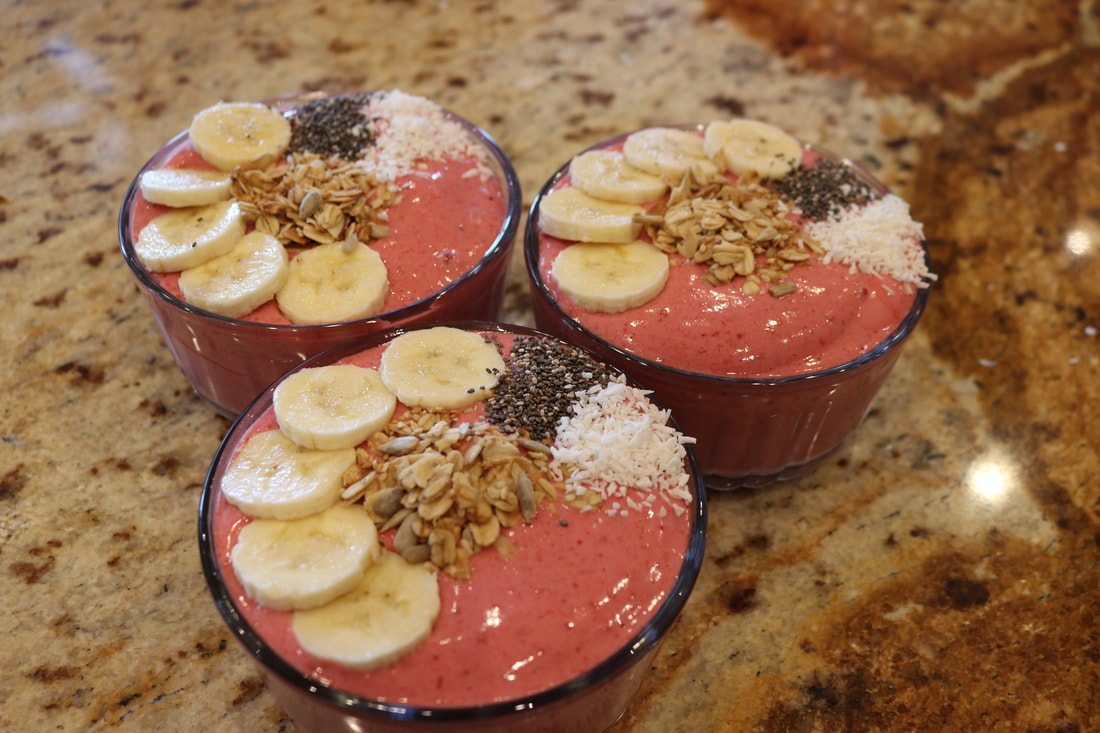
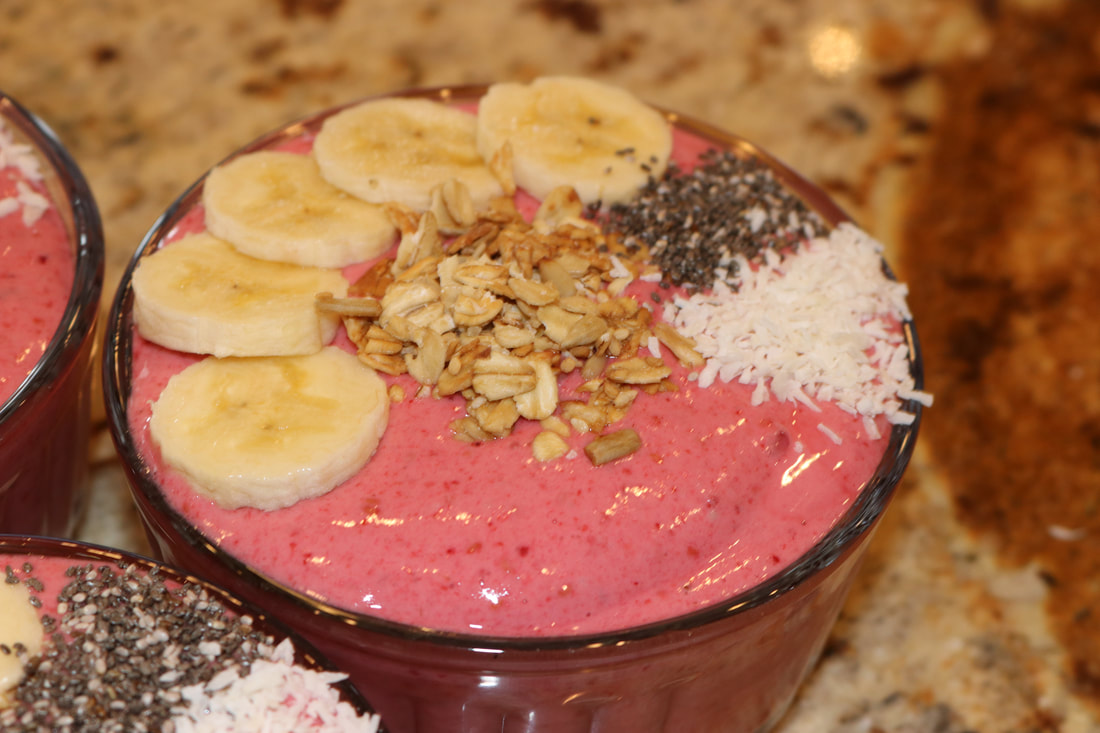
*Yields two loafs. *Use organic ingredients when feasible. I have always wanted to try making a smoothie bowl, and I finally got the chance! I was looking for a really simple smoothie bowl recipe, and I realized that there isn't much to choose from when it comes to simple smoothies, so I created one myself and here it is! This is a raspberry banana smoothie, and you can basically top it with whatever you'd like! I also used whey powder in the smoothie which is known for detoxing heavy metals out of the gut! Detox and deliciousness! Yay! I topped these with fresh banana, chia-seeds, shredded coconut, and granola. All the ingredients in this recipe are organic and refined-sugar free!! (Keep in mind that this recipe serves three people. So three small bowls worth!) Raspberry Banana Smoothie Bowl!Ingredients:
2 large bananas 1 cup unsweetened coconut milk 1 Tbs. vanilla extract 1/8 cup maple syrup 3 cups frozen raspberries 1 Tbs. whey protein powder organic sugar free granola (you can use your own homemade or find the kind I used here) extra banana chia-seeds shredded coconut Directions:
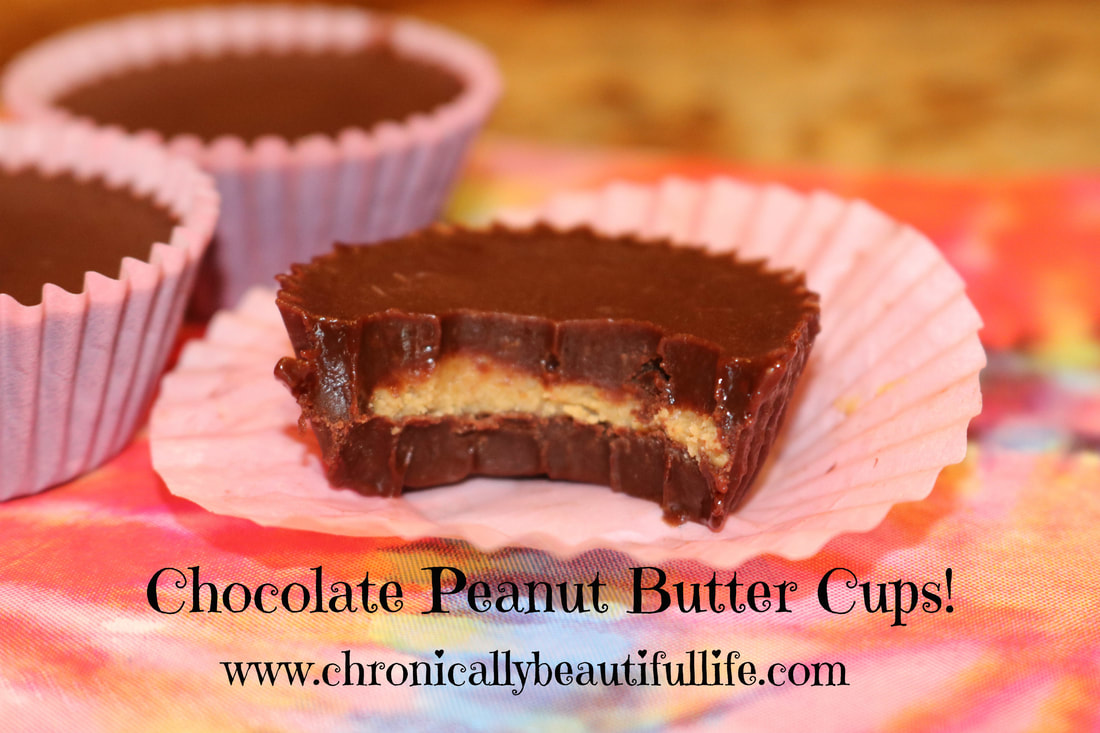
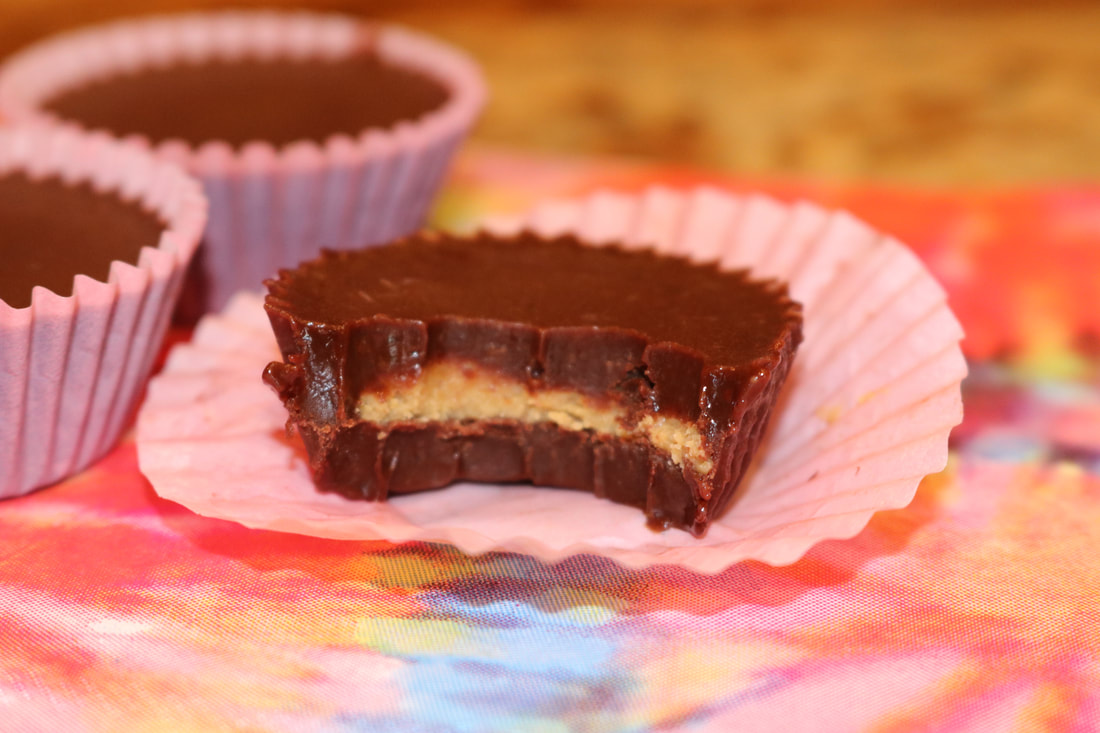
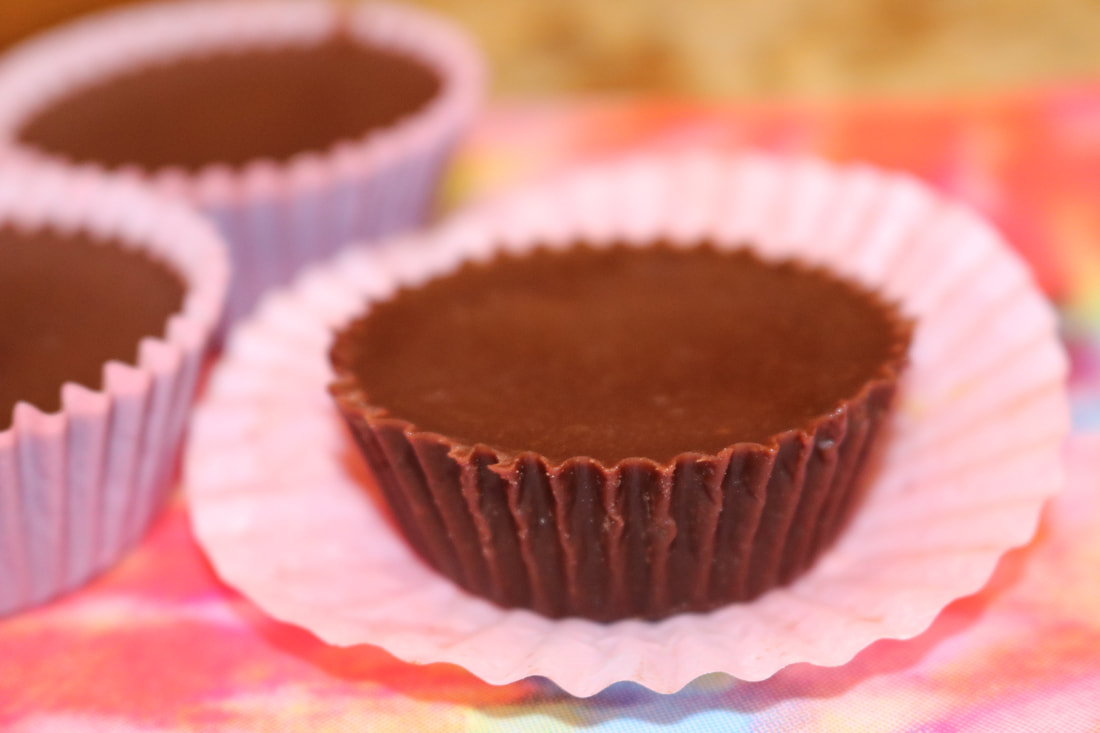
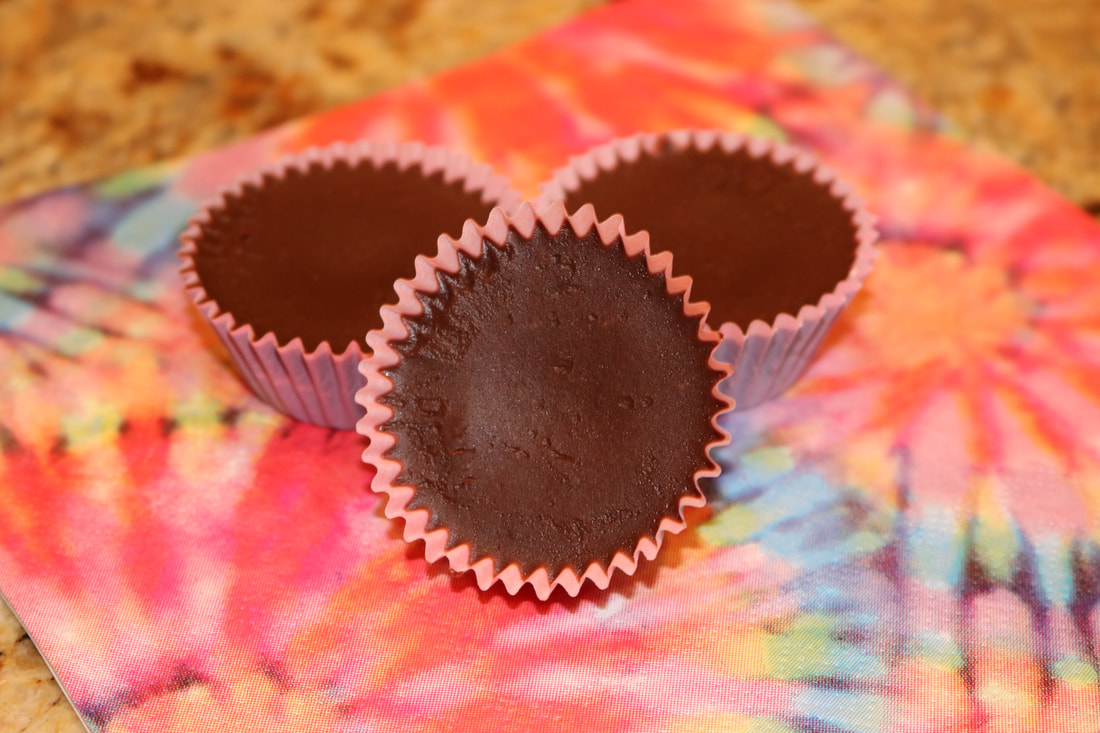
Hello! This is your friendly sugar free chocoholic, and I'm here to tell you that IT IS POSSIBLE to eat chocolate and be healthy! This is one of my FAVORITE recipes, and I have to consciously decide to only eat one a day because they taste so similar to store-bought candy! These are so yummy, creamy, and filled with peanut butter! What a great combination! ;) These are also organic, and refined sugar-free like always, and makes a great treat for the holidays! Chocolate Peanut Butter Cups!Ingredients:
1/2 cup coconut oil 1/2 cup almond butter 1/2 cup raw honey 2 tsp. vanilla extract 1/2 cup cocoa powder (at least 80% cacao, sifted) 1/2 cup organic peanut butter 1/4 cup powdered Lakanto 1 tsp vanilla extract Directions:
*Makes 24 chocolates *Store in refrigerator |
Welcome to My Kitchen!Food is one of the greatest forms of science, art, medicine, and sustenance all at the same time! It's what feeds our lives and pumps through our blood. It's what connects us and what gives us energy to fulfill our purpose. It is for that reason that I have a deep passion for discovering, cooking, and eating only the most nutrient dense foods. In my kitchen, we only use organic, whole ingredients that feed the body, as well as the mind and soul. My hope is to inspire healing through healthy AND delicious food that feeds not only our stomachs, but also our hunger for connection and quality of life.
Archives
March 2022
Categories
All
|
Blogs |
Chronically Claire |
|
Disclaimer: For Educational and Informational Purposes Only. The information provided by Chronically Beautiful is for educational and informational purposes only, and is made available to you as self-help tools for your own use. All and any information given on my website is for the purpose of sharing information to help you help yourself, and not for me to take on any other role as any health professional.







 RSS Feed
