
Chronically Delicious! |

|
|
Chronically Delicious! |
|
|
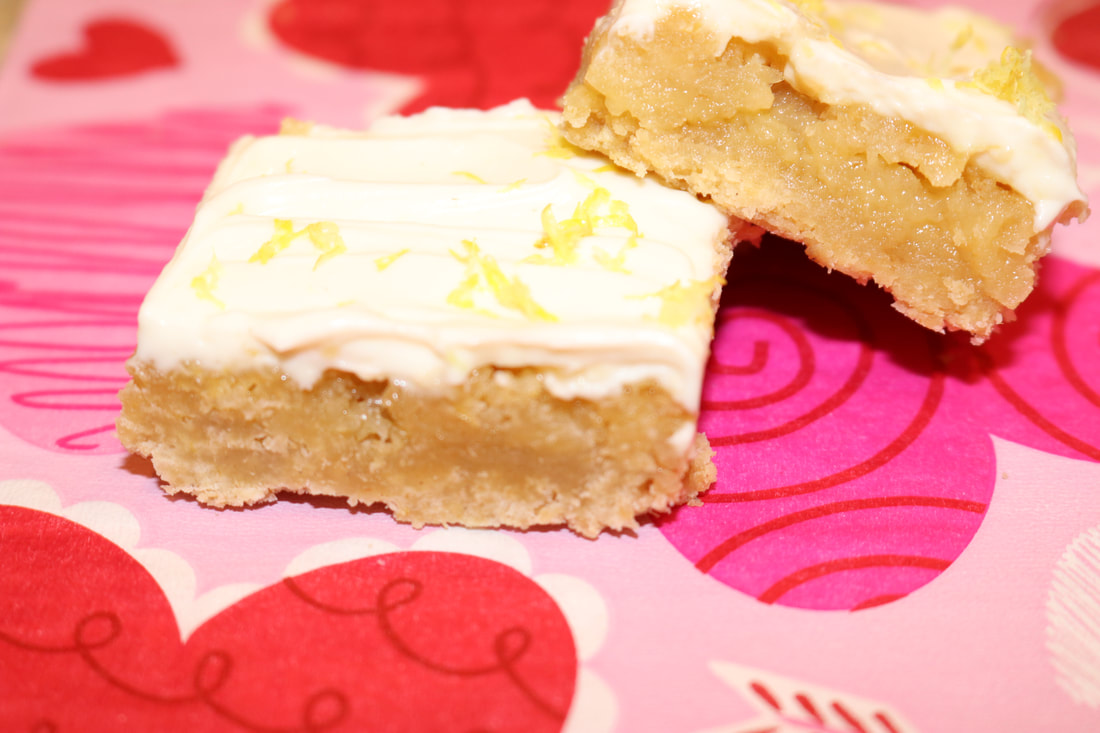
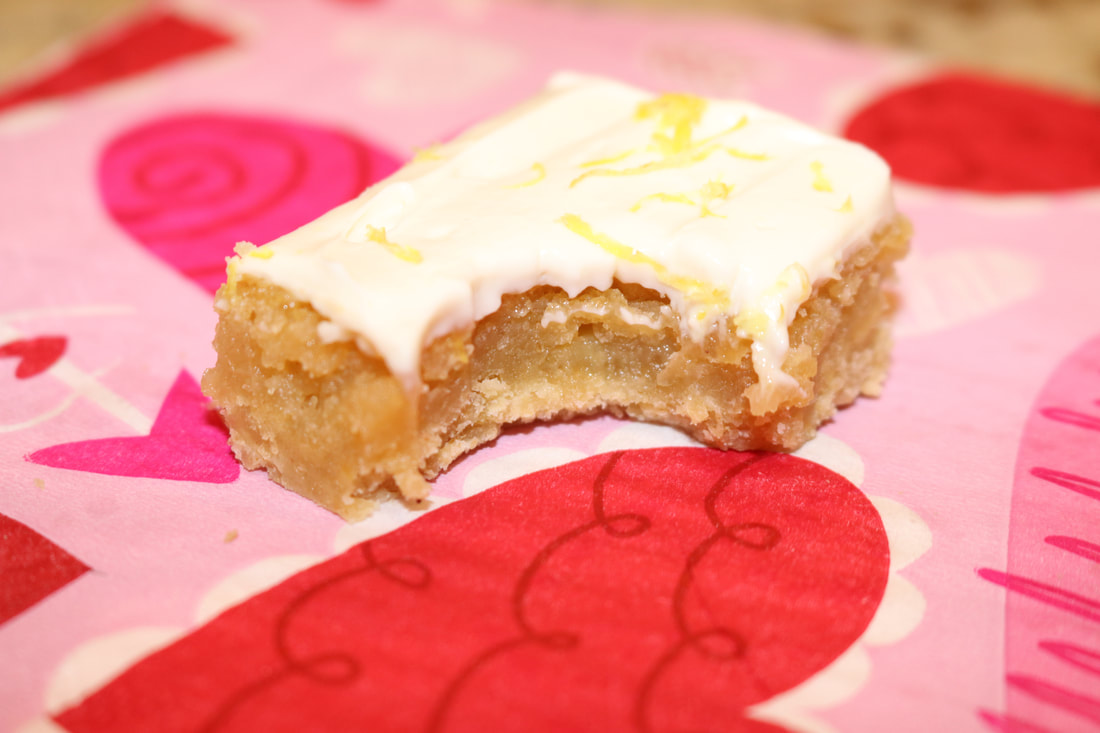
 I'm seriously CRAVING citrus fruit lately! Lemons, limes, grapefruit, oranges, you name it... I crave it. I'm not totally sure why, but I do know that citrus kills cancer cells in your body and is a great source for vitamin C! So... these lemon bars are organic, refined sugar-free, and they pretty much melt in your mouth! I once had someone tell me that they are like ambrosia for your tongue! So they must be good right?! These bars are also super versatile so if you want to convert them to gluten-free or dairy-free it's super easy! I'll show you how in the recipe below! Lemon Cream Bars!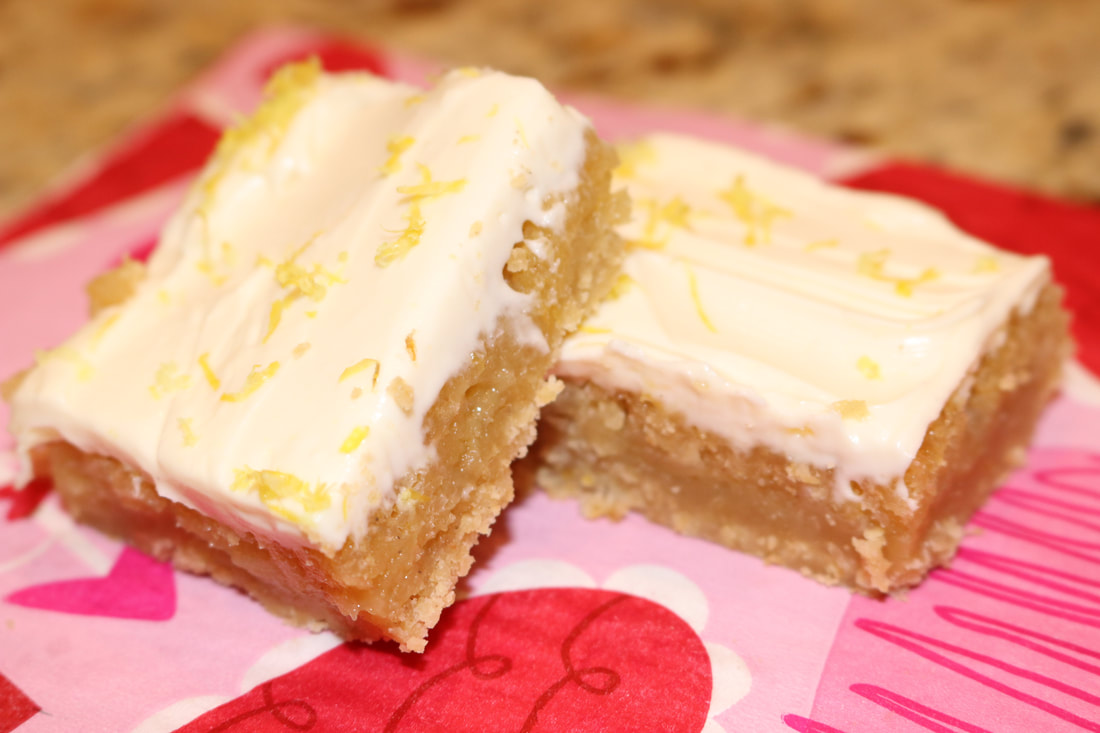
Ingredients:
Crust: 1 1/2 cups whole wheat pastry flour 1/4 cup powdered Lakanto sweetener 1/2 tsp. real salt 2 tsp. lemon zest 3/4 cup cold butter, cut into pieces Filling: 4 eggs 1 cup raw honey 1/4 cup classic Lakanto sweetener 1 tsp. baking powder 1/3 cup lemon juice (about 2 large lemons worth) 1 heaping Tbs. lemon zest Topping: 1 8 oz package of cream cheese 1/4 cup powdered Lakanto sweetener 1 Tbs. maple syrup 2 tsp. vanilla extract extra lemon zest to sprinkle on top Directions:
*Use organic ingredients when feasible. *Store bars in fridge. **What to make these bars gluten-free? Easy! Simply replace the pastry flour in the crust for almond flour. **What to make these bars dairy-free? Also super easy! Just replace the cream cheese with a couple cans of coconut cream!
0 Comments
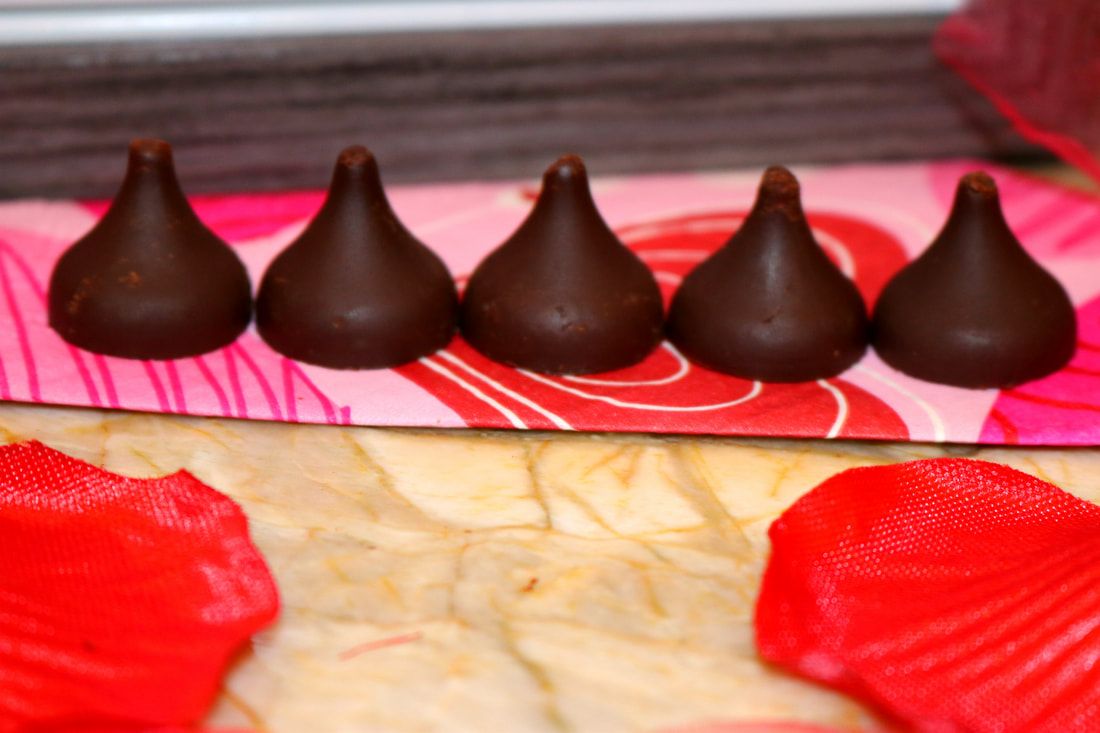
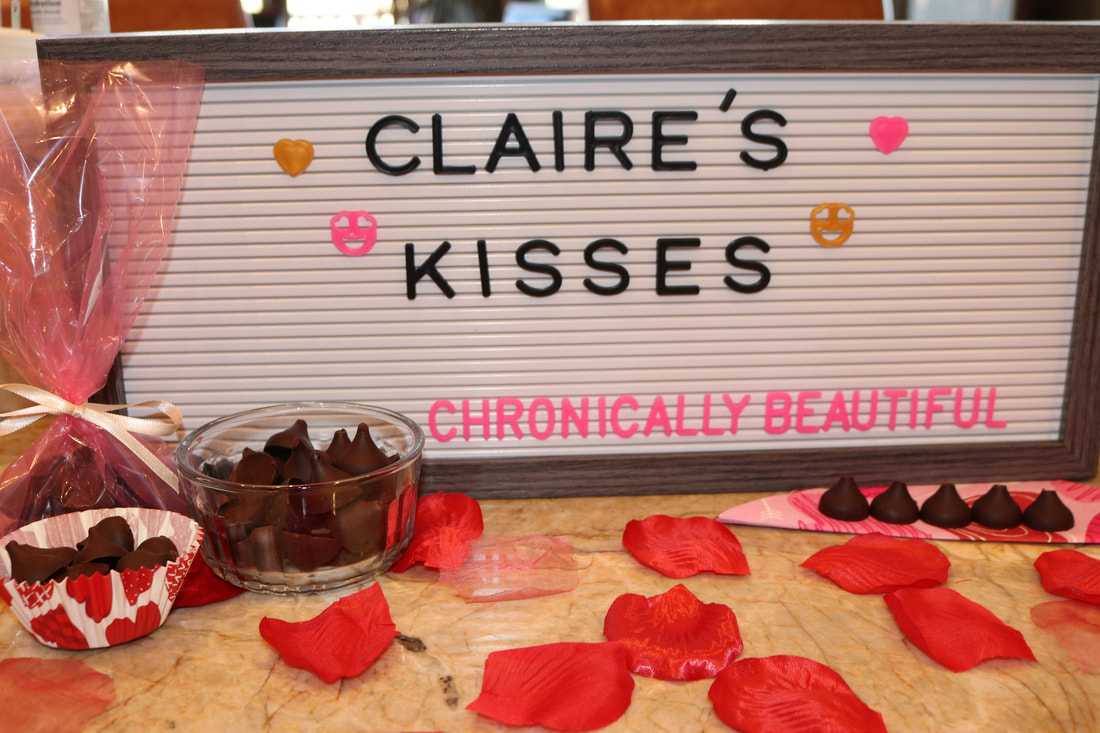 Okay, I know that it's still January and not quite Valentines season yet, BUT.... I LOVE Valentines day, and I needed something to cheer me up through these gray January days. So... Claire's Kisses were born!! These are a little different than my other chocolate recipes in that they are made with organic cacao wafers, and cacao is a super food that boosts mood, energy, and immune function! It's a common myth that eating healthy means that you don't eat anything that tastes good, and I'm here to say that you DO NOT have to deprive yourself just because you choose to eat and live a healthful life! Confession.... I used to be OBSESSED with Hershey's chocolate kisses! I was that girl in high school that always had a bag of them in my locker, and I probably consumed a handful a day. I wouldn't recommend that for anyone whether you have a chronic illness or not! So... I'm SUPER EXCITED about these because they're organic, refined sugar-free, and full of nutrients that your body will love! Stay tuned for different flavored chocolate recipes all through the month of February because this is for sure my new favorite recipe!! Also, thanks to A Bite of Healthy for helping me out with this recipe! My sister is the creator of this food blog, and she is a food GENIUS! So go check out her blog here. Claire's Chocolate Kisses!
Ingredients:
1/2 cup cacao wafers 4 1/2 Tbs. maple syrup 2 tsp. vanilla extract 3 Tbs. coconut butter 1 tsp. coconut oil Directions:
*Use organic ingredients when feasible.
I would HIGHLY ENCOURAGE you to make your own coconut butter! It's a super simple process and it makes enough coconut butter to fill a small jar!
All you have to do is take two cups of shredded coconut and blend it in a small blender on high until coconut reaches a creamy texture! Store it in the fridge when you're done and enjoy it in lots of your healthy recipes! 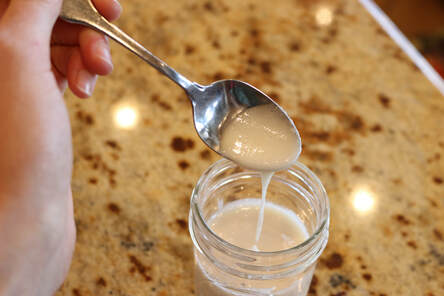
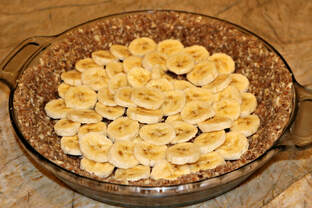
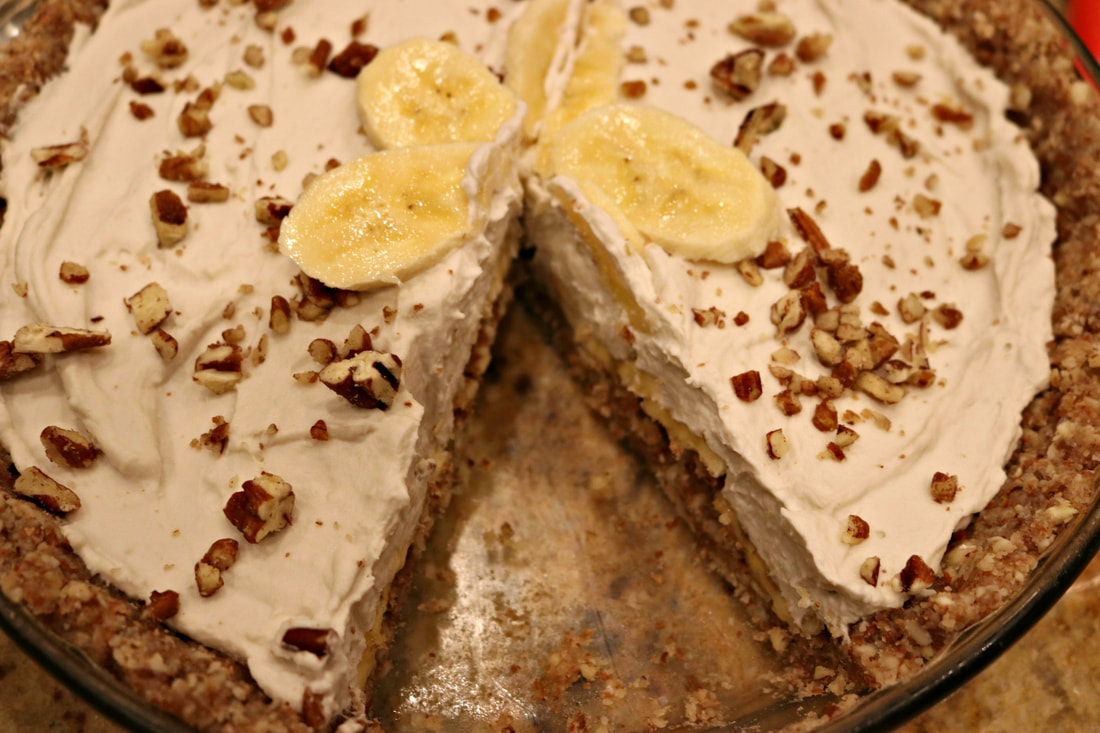
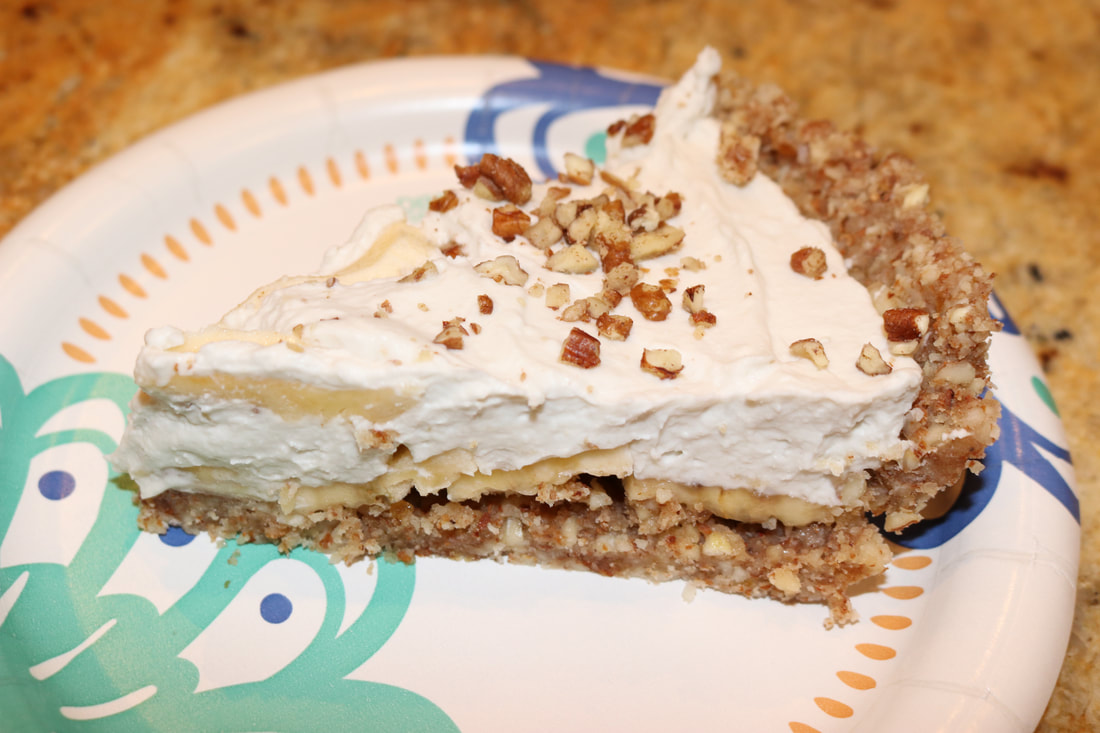
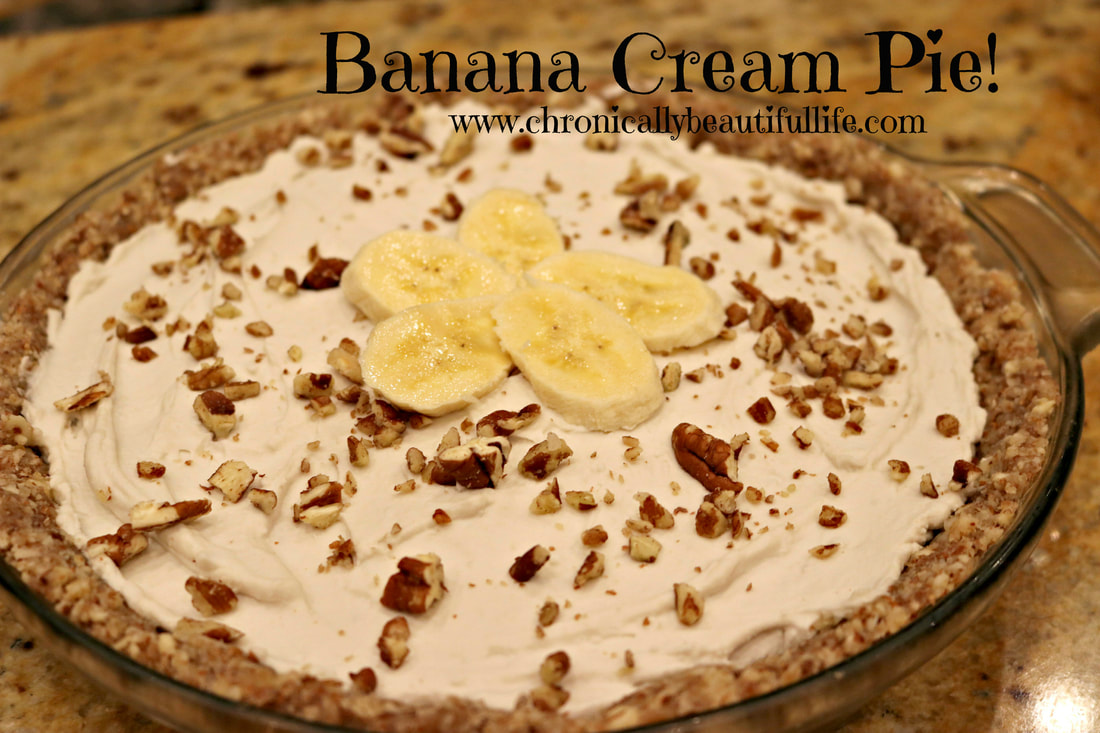 This is me trying my hand at gluten free and dairy free delights! The banana cream pie is super easy to make and it's no bake, gluten free, dairy free, sugar free, and organic! I was actually super surprised at how delicious it turned out! This is a healthy pie that you won't want to miss! I originally found this recipe here, but I tweaked it a bit to my liking. But go check out Paleo Bailey and her delicious healthy recipes! Healthy Banana Cream Pie!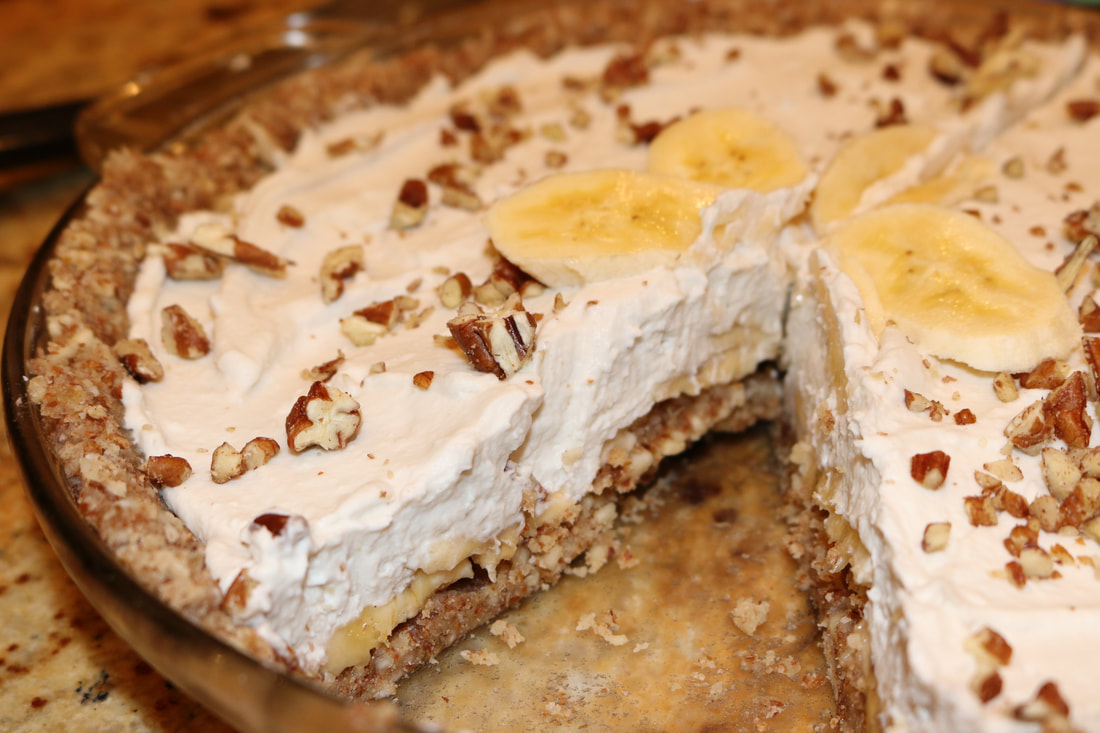
Ingredients:
Crust: 1 1/2 cup almonds 1/2 cup almond flour 7 Medjool dates, pitted 2 Tbs. coconut oil, melted 1/2 tsp. cinnamon pinch of salt Filling: 2 14 oz. cans full-fat coconut cream (refrigerate for a couple of hours prior to use) 2-3 bananas, sliced 1/4 cup + 2 Tbs. pure maple syrup 1 Tbs. vanilla extract 1/2 tsp. cinnamon chopped pecan and extra sliced banana for topping Directions:
*Use organic ingredients when feasible!
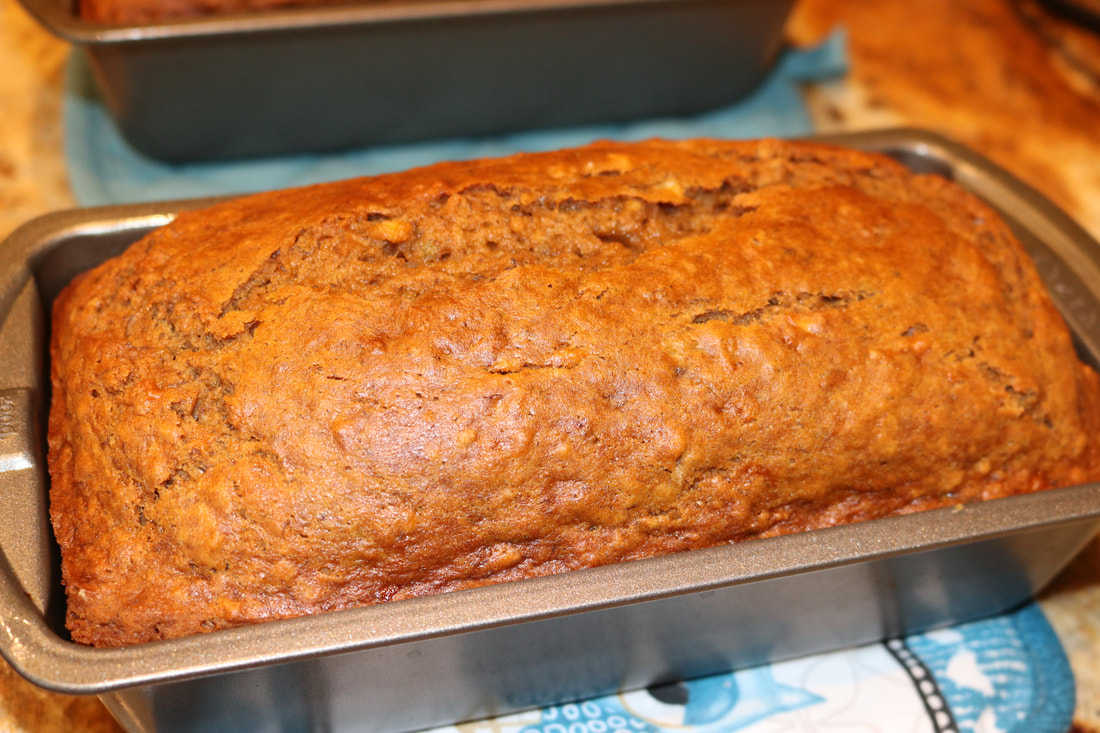
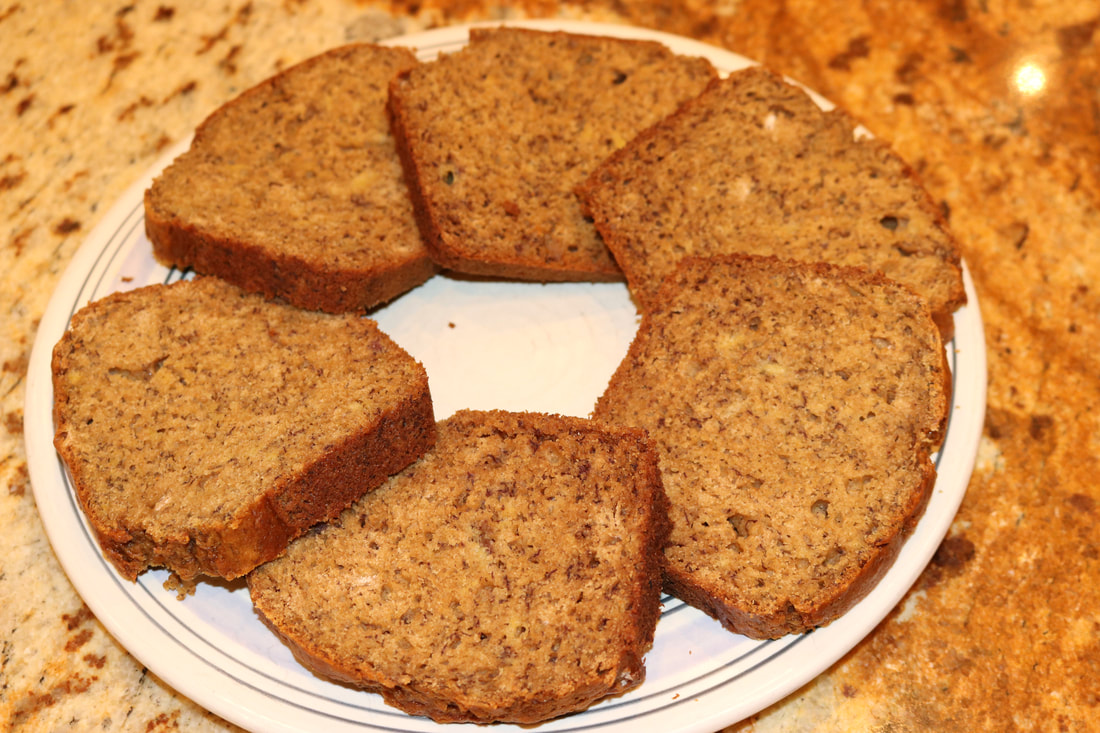
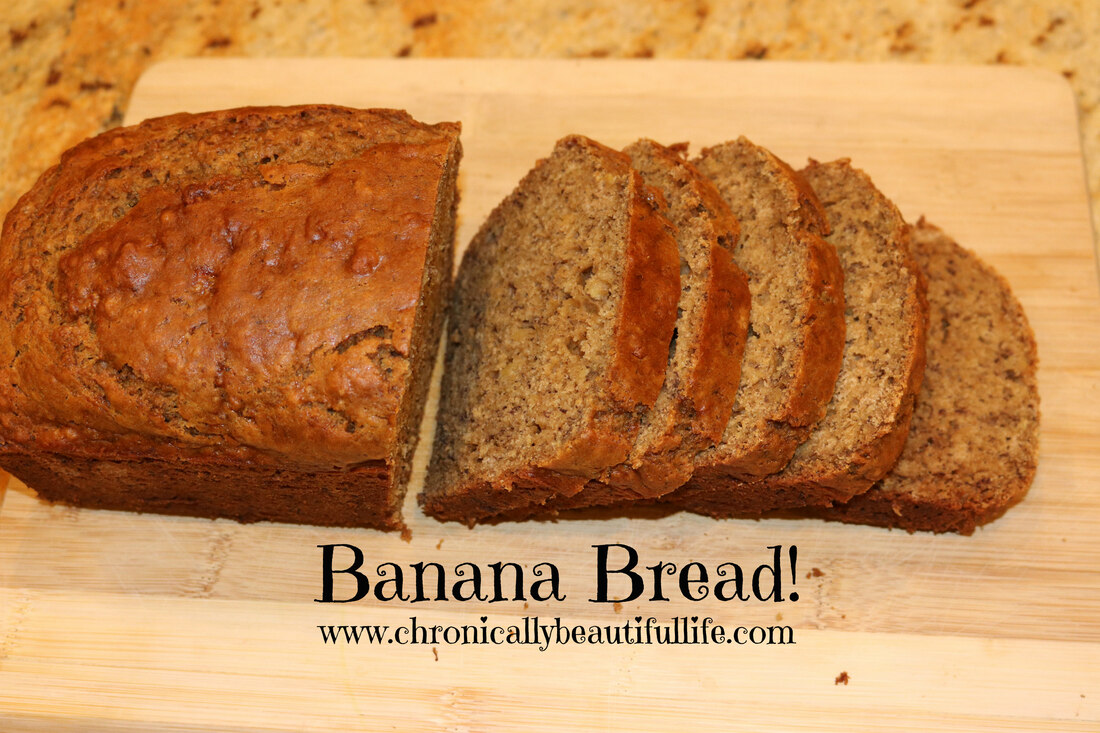 I've always found it quite the struggle to keep sweet breads and cake moist when you're cooking refined sugar-free. With that said, I finally found a banana bread recipe that is super moist, healthy, refined sugar-free, and absolutely delicious! I love banana bread, and this recipe will be a favorite for your kids and your family! Healthy Banana Bread!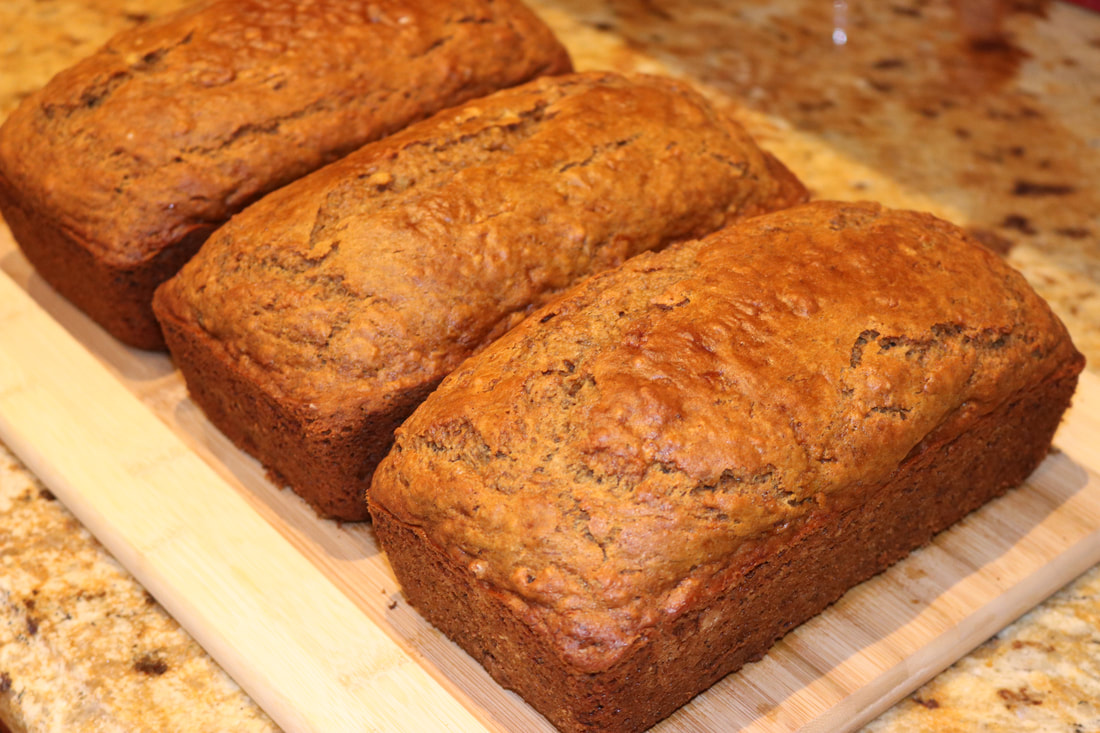
Ingredients:
2/3 cup grapeseed oil 1 cup raw honey 4 eggs 2 cups mashed banana (about 4-5 large bananas) 1/2 cup unsweetened coconut milk 2 tsp. baking soda 2 tsp. vanilla extract 1 tsp. salt 1 tsp. ground cinnamon 3 1/2 cups whole wheat flour Directions:
*Yields two loafs. *Use organic ingredients when feasible.
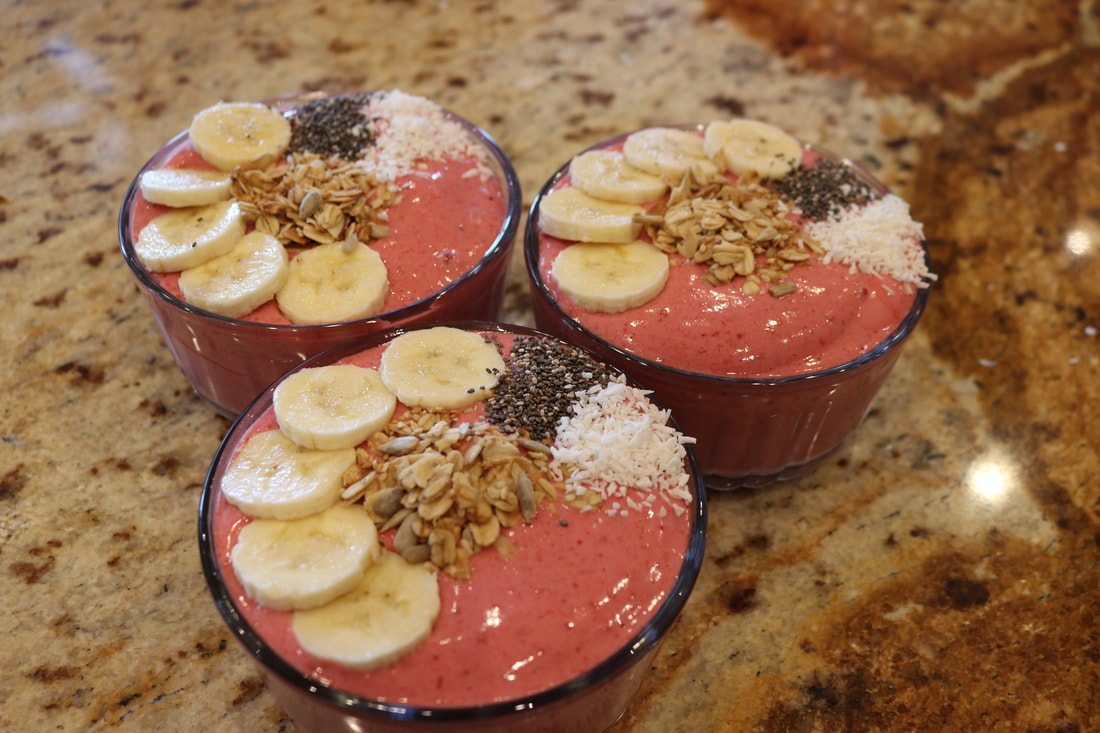
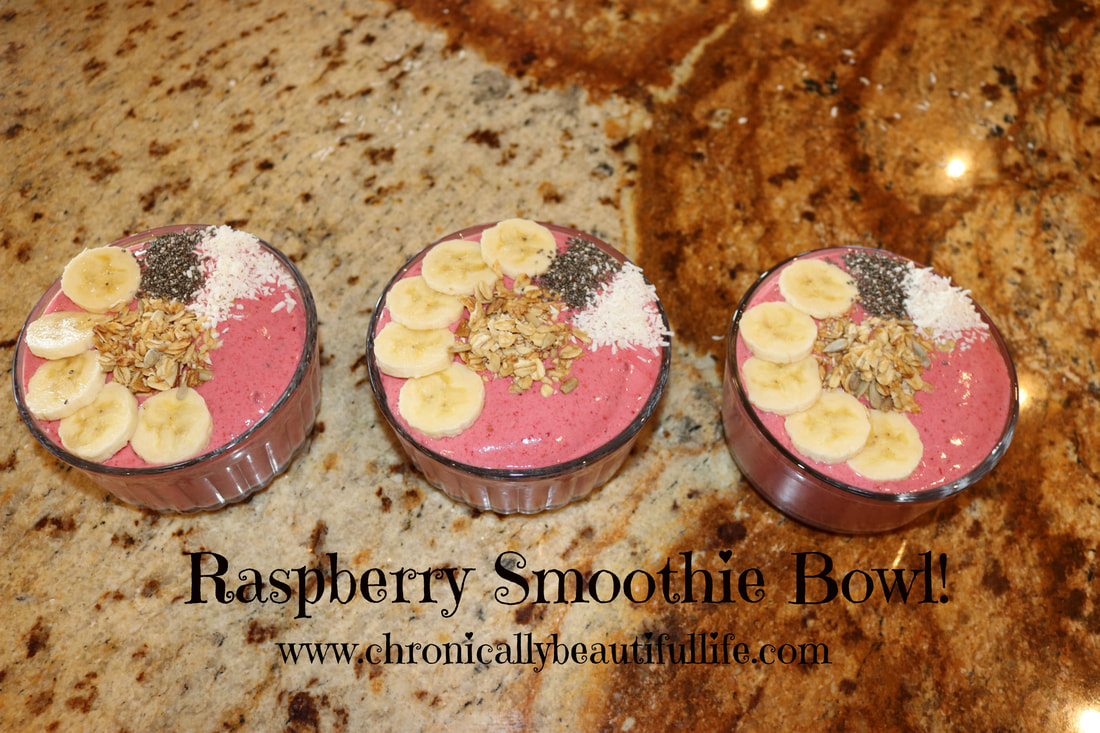 I have always wanted to try making a smoothie bowl, and I finally got the chance! I was looking for a really simple smoothie bowl recipe, and I realized that there isn't much to choose from when it comes to simple smoothies, so I created one myself and here it is! This is a raspberry banana smoothie, and you can basically top it with whatever you'd like! I also used whey powder in the smoothie which is known for detoxing heavy metals out of the gut! Detox and deliciousness! Yay! I topped these with fresh banana, chia-seeds, shredded coconut, and granola. All the ingredients in this recipe are organic and refined-sugar free!! (Keep in mind that this recipe serves three people. So three small bowls worth!) Raspberry Banana Smoothie Bowl!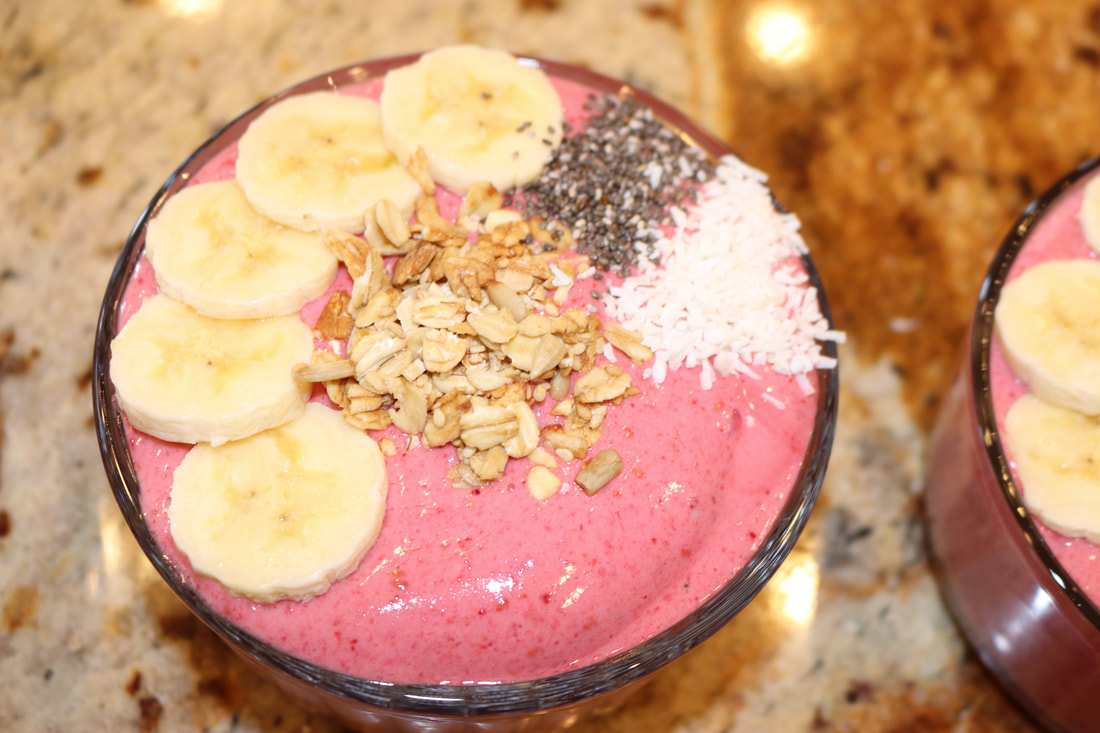
Ingredients:
2 large bananas 1 cup unsweetened coconut milk 1 Tbs. vanilla extract 1/8 cup maple syrup 3 cups frozen raspberries 1 Tbs. whey protein powder organic sugar free granola (you can use your own homemade or find the kind I used here) extra banana chia-seeds shredded coconut Directions:
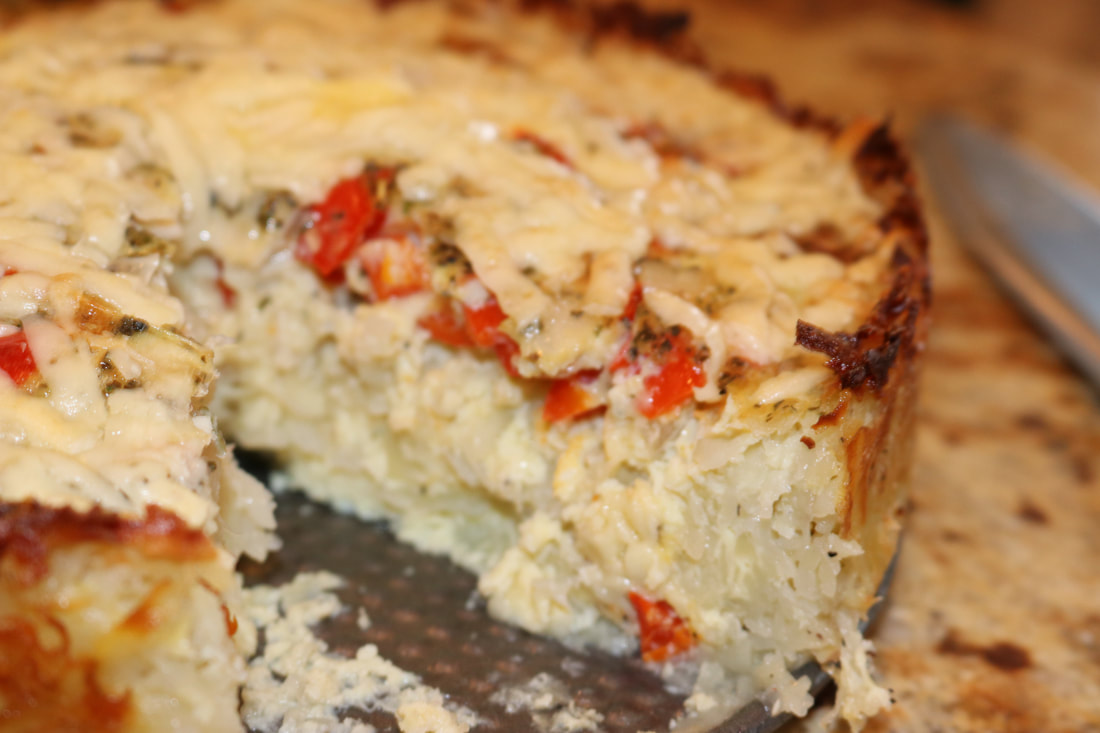
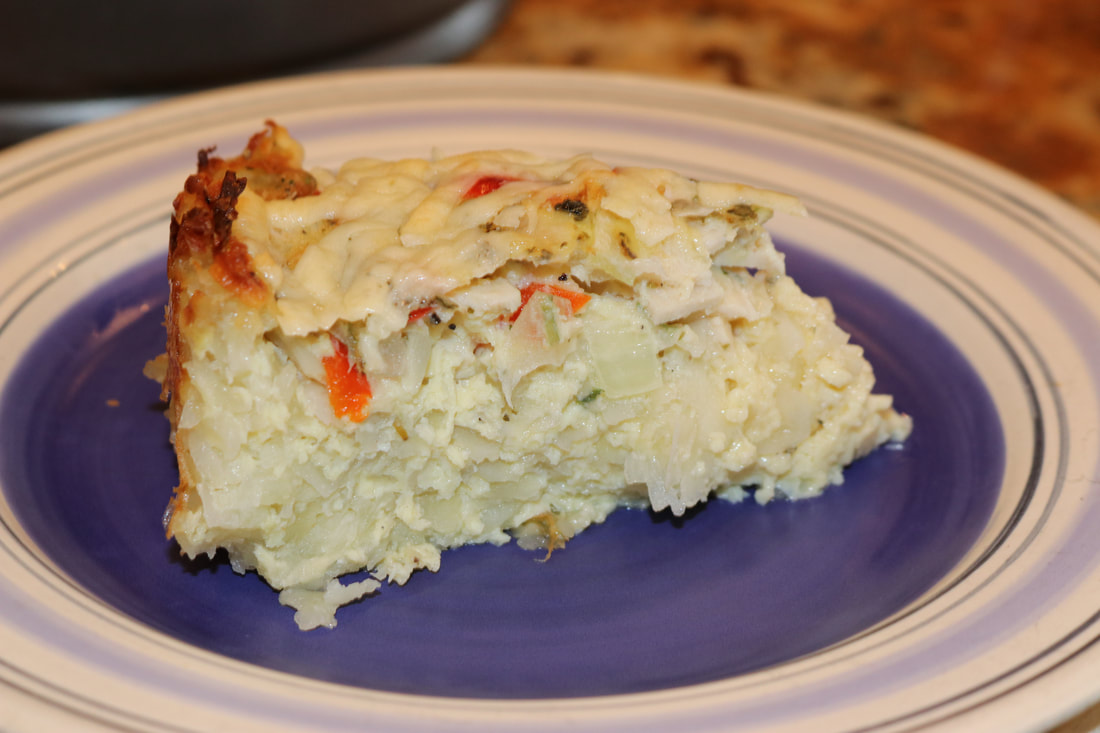
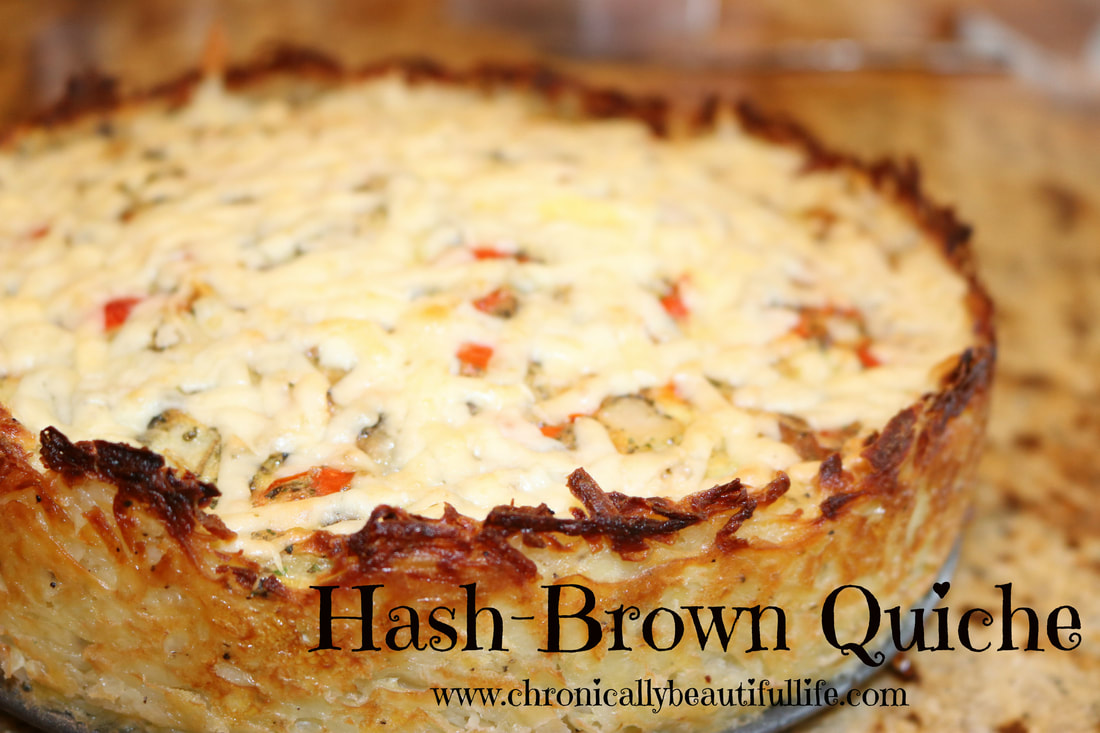 My first quiche! Okay, first of all... making quiche is a learning experience. Second of all, quiche takes a long time to cook, so if you're planning to eat it that day, PLAN AHEAD! Third, I had so much fun making this even if it's totally crazy and just came off the top of my head! Ha! This quiche is made with farm fresh, organic free-range eggs. It's also made with all organic veggies, and the hash-brown crust is made with home-grown, organic potatoes! It's also very versatile so you can pretty much throw whatever you like in it! I think adding olives, tomatoes, and other kinds of peppers would be a great addition to this recipe! This recipe is also topped with fresh, organic, Parmesan cheese, but if that's not an option for you cheddar cheese would work just as well! Hash-Brown Quiche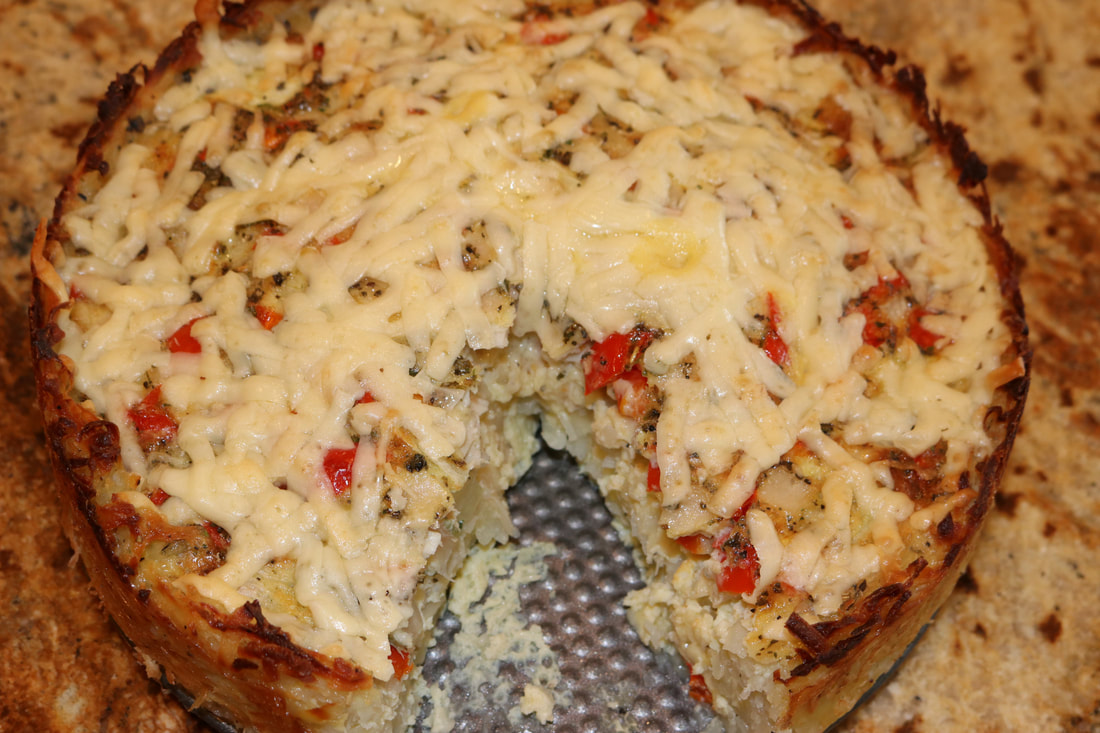
Ingredients:
Hash-Brown Crust: 3 cups freshly grated potatoes (about 3-4 large potatoes) 1/4 cup butter (melted) 3 tsp. salt 1/2 tsp. pepper Quiche: 8 eggs 1 cup dairy unsweetened coconut milk 1/4 cup diced onion (about a half of a small onion) 1/2 cup diced mini sweet peppers (about 4 small peppers) 3/4 cup diced sliced turkey (omit if you prefer vegetarian quiche) 2 tsp. salt 1 tsp. Italian spice 1/2 tsp. pepper 3/4 cup (split into 1/4 in the mixture, and 1/2 to sprinkle on top) Directions:
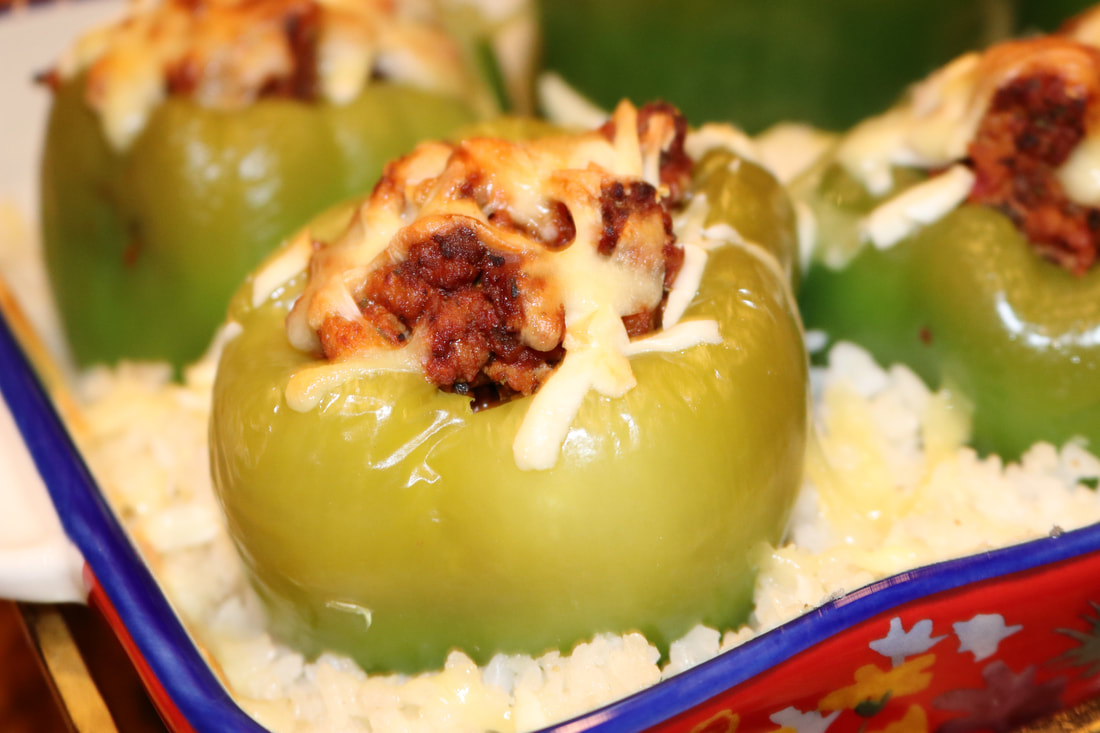
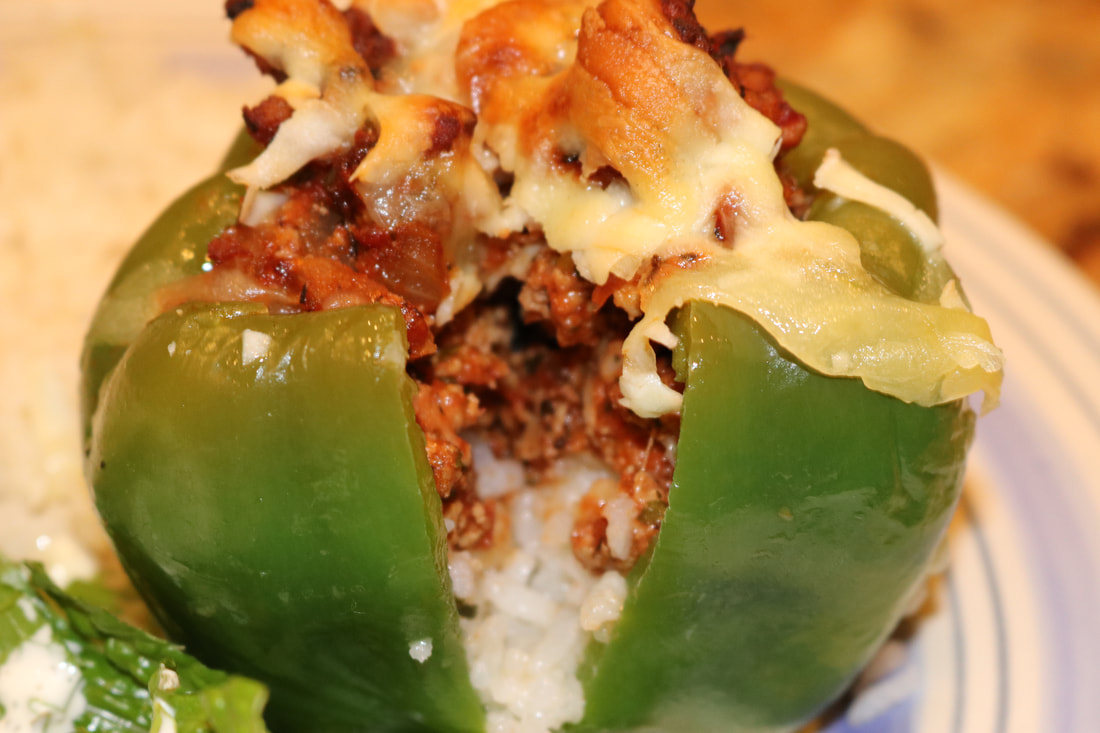
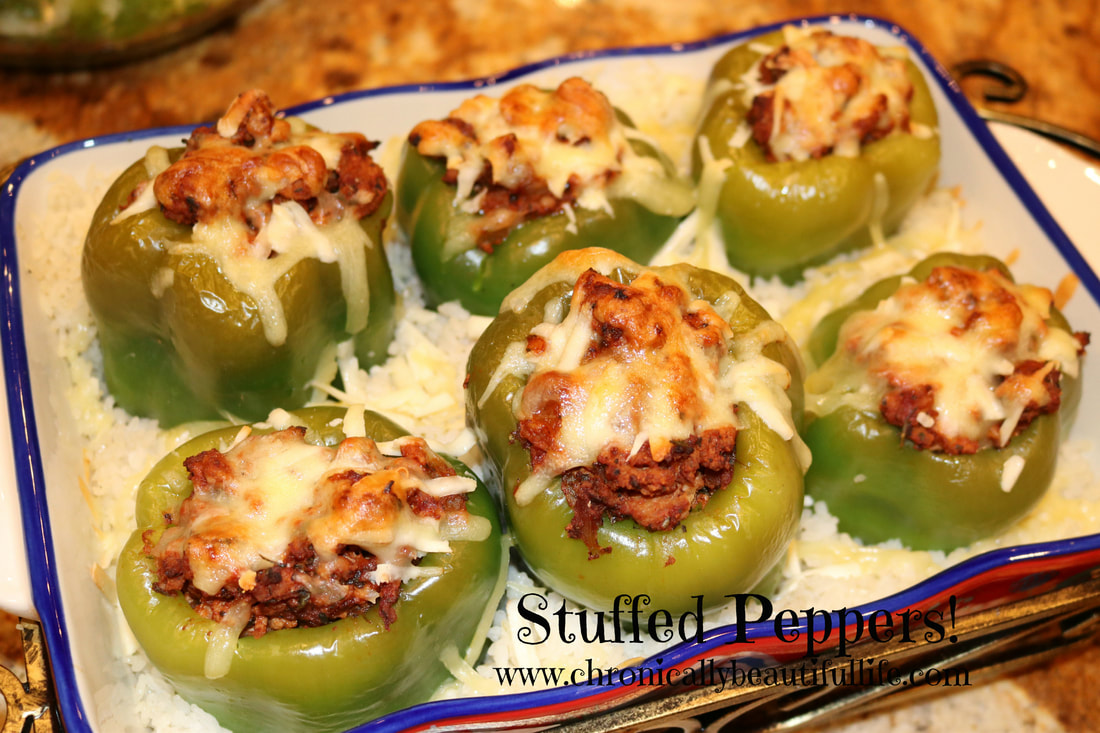 I think one of the wonderful things that have come from my Lyme life has been a deeper appreciation for healthy food that I've gained. I absolutely love all the flavors and smells that come from healthy food that I never even noticed before! There's a certain art and beauty that comes from the food we consume, and that beauty not only feeds our bodies but feeds our hearts as well! I made these peppers tonight on a whim and they were absolutely delicious! They're perfect for the meat eaters that try to eat only small amounts of meat, and they are filled with flavor from my homemade Italian seasoning! They're also really easy to make and can be easily whipped up for dinner on nights where you haven't had time to think about it (hence making them on a whim tonight! Ha!). Stuffed Peppers!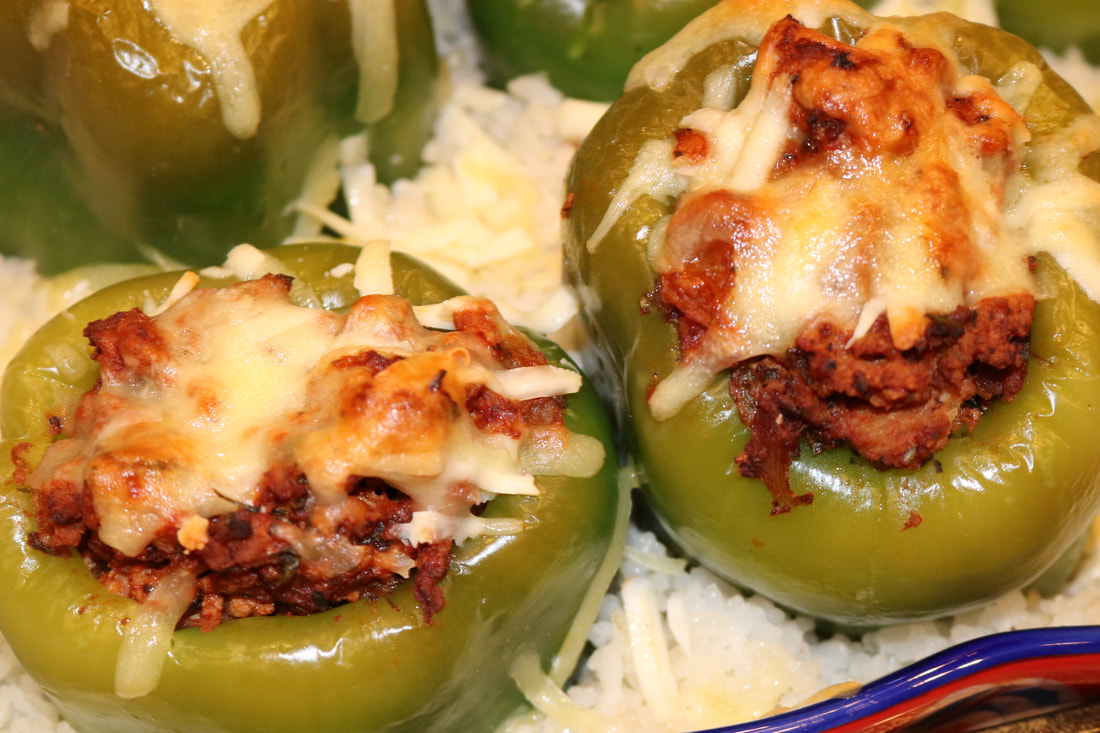
Ingredients:
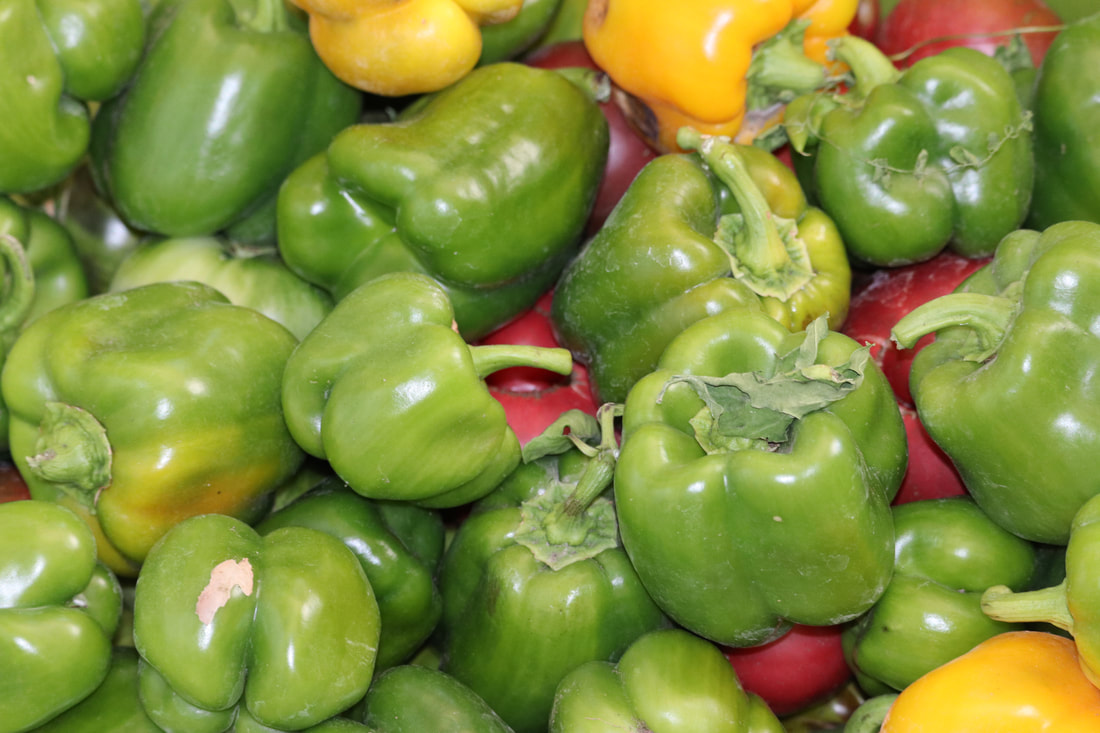
6 large bell peppers 2 cups of your favorite rice 1 lb. ground turkey 1 Tbs. grapeseed oil (or avocado oils works too) 1 tsp. garlic powder 1 small onion (diced) 1/2 cup crushed tomatoes (you can used canned or you can lightly run some fresh tomatoes through a blender) 4 tsp. Italian seasoning 1 tsp. salt 1/2 tsp. pepper 1/2 cup shredded Parmesan cheese 1/2 cup cheddar cheese Directions:
**Use organic ingredients when feasible. For Italian Seasoning: 3 Tbs. dried parsley 3 Tbs. dried basil 2 1/2 Tbs. dried oregano 1 Tbs. garlic powder 1 tsp. dried thyme 1 tsp. onion powder 1 tsp. dried rosemary 1/4 tsp. black pepper Mix together in a small bowl with a spoon. I got about a 16 oz. jar's worth of seasoning. *I used all organic herbs, and make sure you smell this blend after it's all made because it smells AMAZING!!!
|
Welcome to My Kitchen!
Food is one of the greatest forms of science, art, medicine, and sustenance all at the same time! It's what feeds our lives and pumps through our blood. It's what connects us and what gives us energy to fulfill our purpose. It is for that reason that I have a deep passion for discovering, cooking, and eating only the most nutrient dense foods. In my kitchen, we only use organic, whole ingredients that feed the body, as well as the mind and soul. My hope is to inspire healing through healthy AND delicious food that feeds not only our stomachs, but also our hunger for connection and quality of life.
Archives
March 2022
Categories
All
Remember, when we spend our money on the most nutritious and whole ingredients, our dollars become our vote for healthier living, and happier lifestyles.

|
Blogs |
Chronically Claire |
|

|


 RSS Feed