
Chronically Delicious! |

|
|
Chronically Delicious! |
|
|
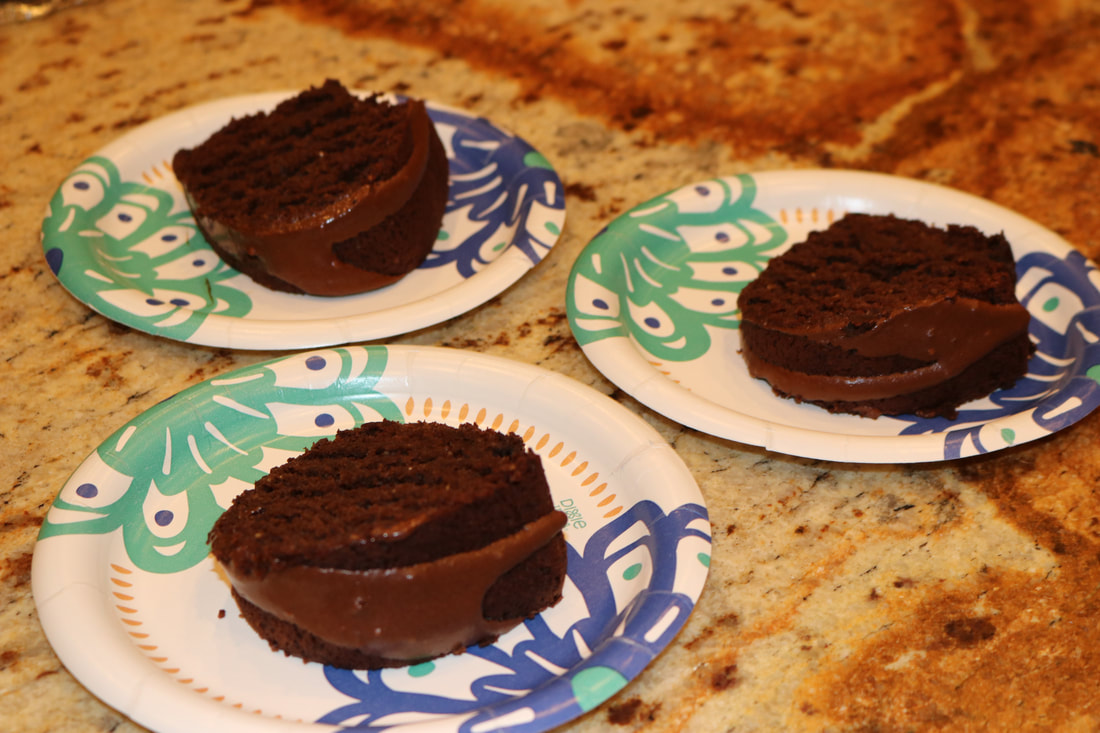
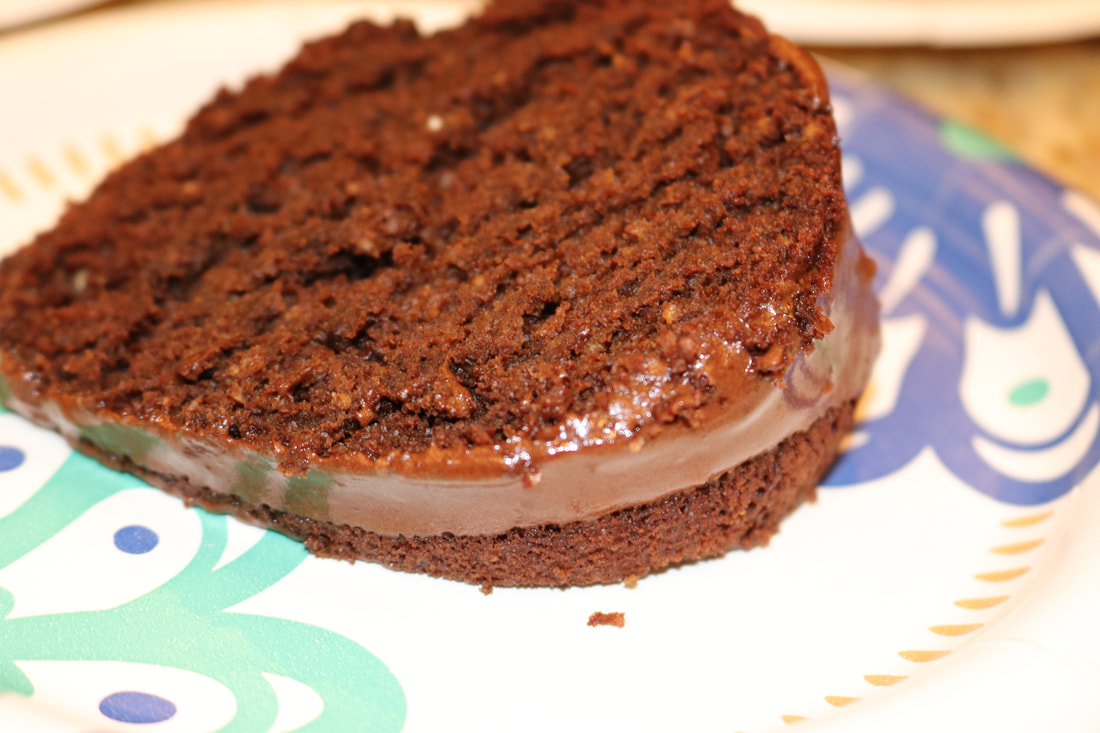
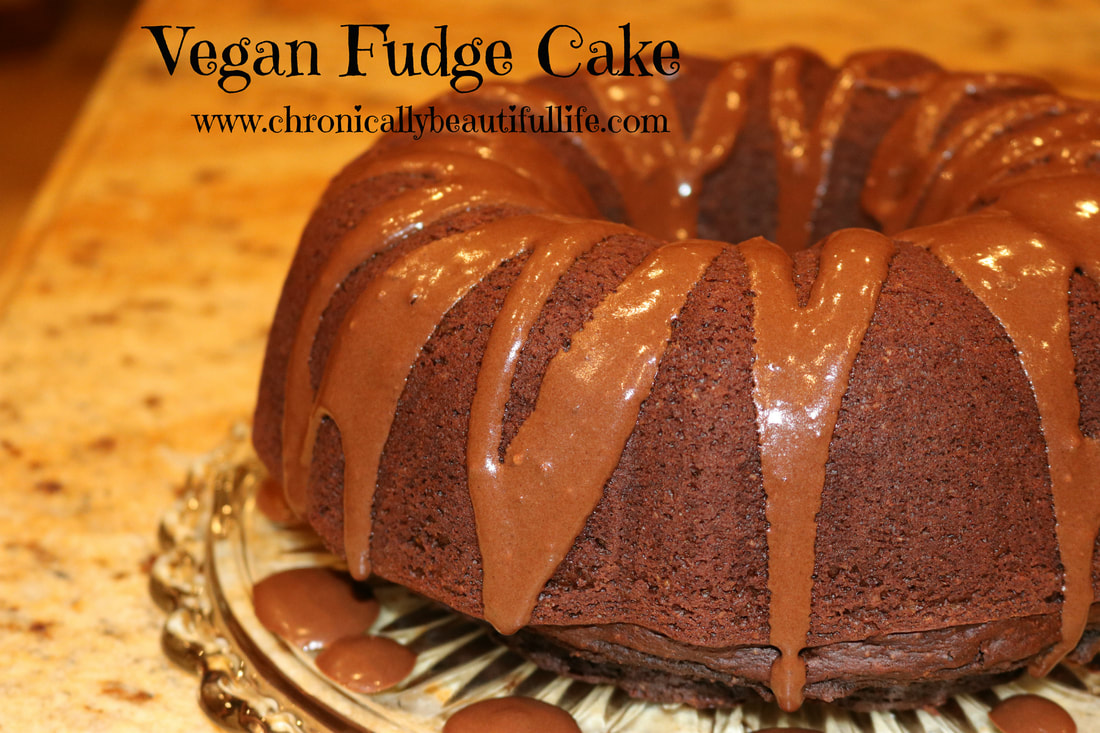 Who doesn't LOVE chocolate!? I've always been a chocolate lover and when I was diagnosed with Lyme I thought I would have to give up chocolate for good! The good news is that I really only gave it up for a year, and I found healthy ways to eat chocolate in small proportions so it doesn't make me sick! This chocolate cake was a hit for my whole family and it's completely organic, refined-sugar free, AND vegan! Yep, that's right! No animal products in this cake! I also have found in my healthy baking pursuit that it's really difficult to make healthy cakes that aren't super dry, but I've FINALLY mastered a refined sugar-free recipe that is super moist and very fudgy on the inside! Even the glaze is sugar free and it adds the final finishing touch to this beautiful cake! I also used cacao powder in this recipe instead of cocoa. Cacao is considered a super food and helps boost your mood and your immune system! Eating chocolate in the right amounts can be good for your body! What a relief!! Vegan Fudge Cake!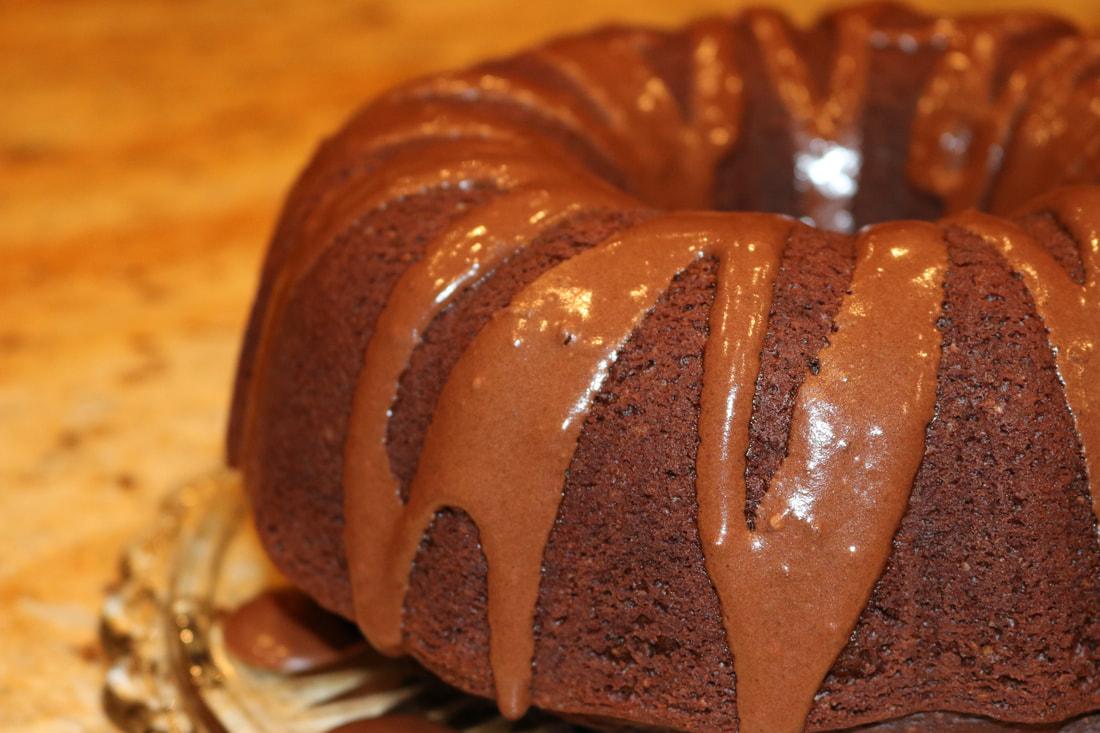
Ingredients:
2 cups coconut milk 2 Tbs. apple cider vinegar 1/2 cup raw honey 1/2 organic maple syrup 2/3 cup organic grapeseed oil 2 Tbs. pure vanilla extract (Yes that's correct! Bring on the flavor!) 1 cup whole wheat pastry flour 2 cups whole wheat bread flour 2/3 cup cacao powder (sifted) 2 tsp. baking soda 1 1/4 tsp. salt Chocolate Glaze: 2 Tbs. coconut oil, melted (or if you don't mind it not being vegan you can use organic butter) 1/4 cup powdered Lakanto sweetener 1 Tbs. cacao powder 2-3 Tbs. coconut milk 1 tsp. vanilla extract Directions:
*Use organic ingredients when feasible.
0 Comments
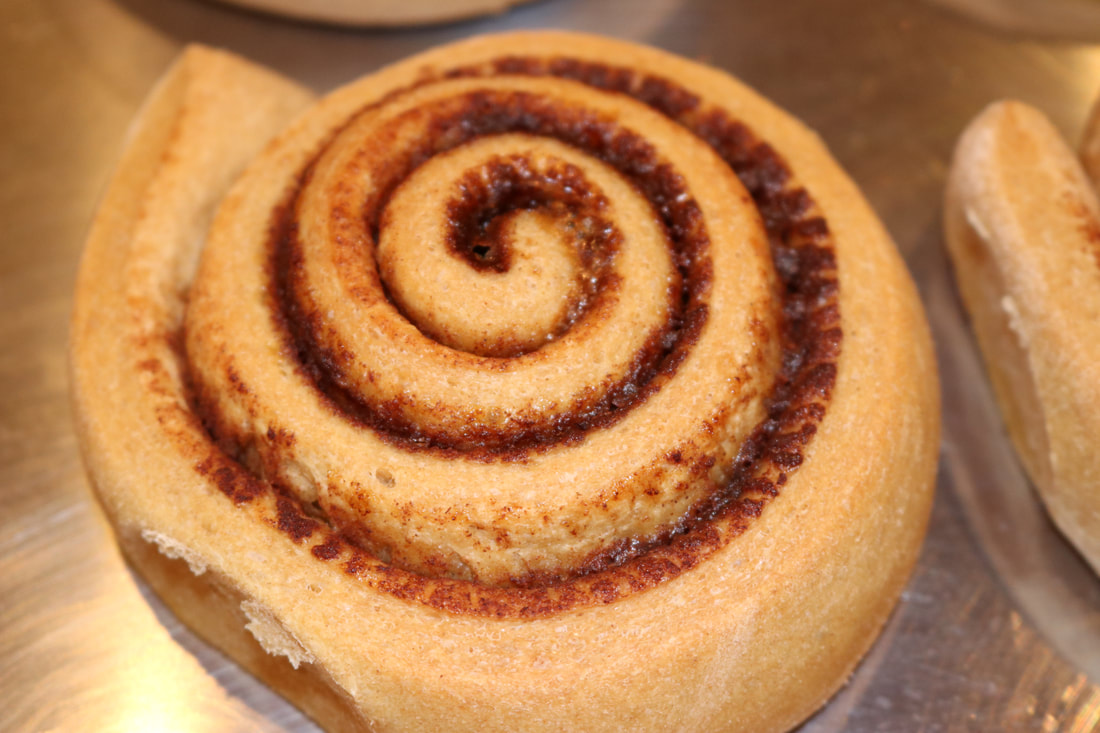
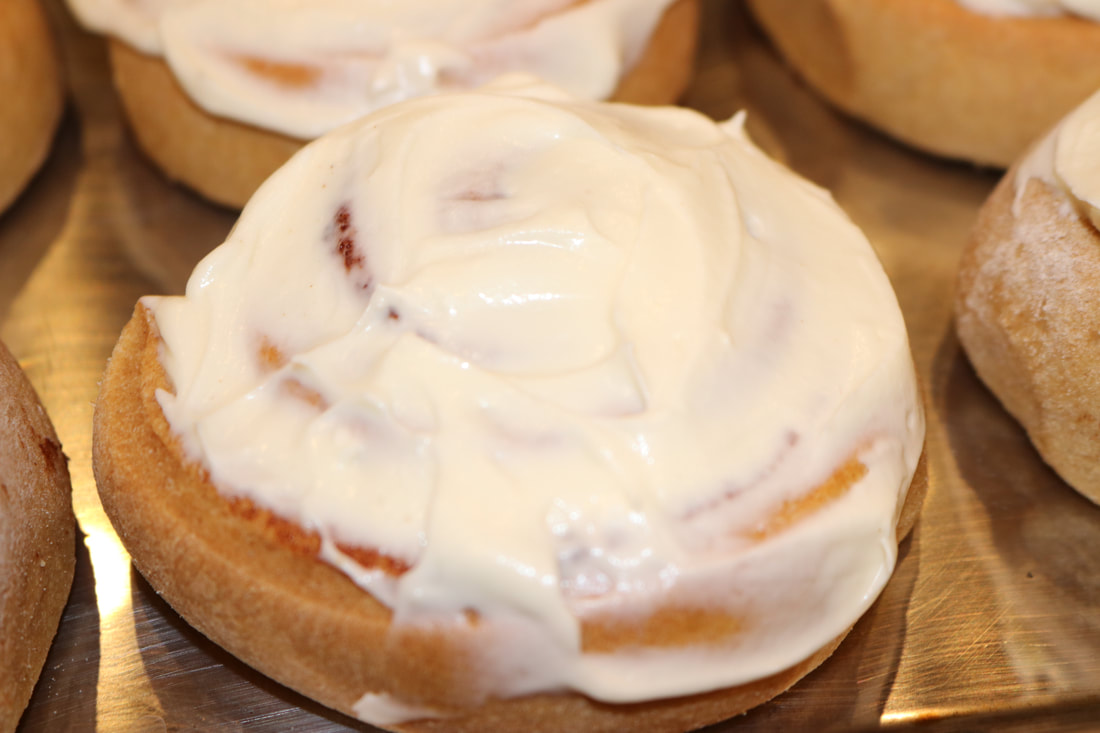
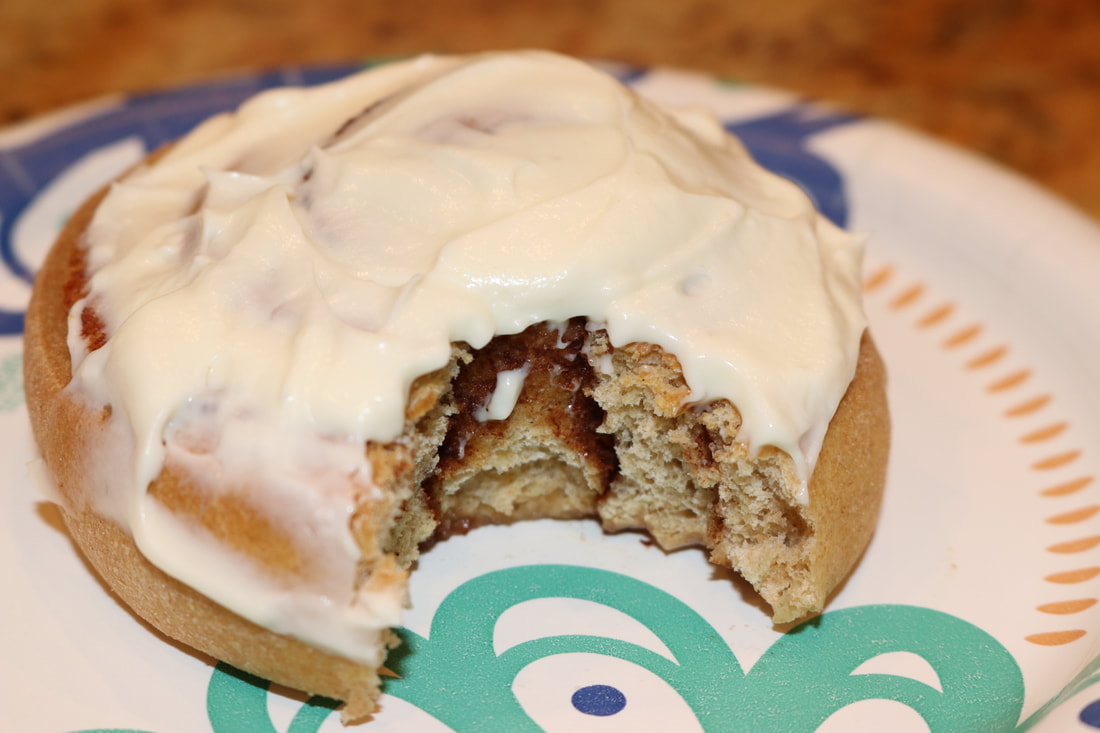
 Did you know that cinnamon can actually be used as a medicinal herb? It can be used as an anti-bacterial, and it's also known to kill stealth bacteria in our bodies like micoplasma! Who knew?! I have a lot of healthy recipes I've been trying lately that are going to go up on here soon, but I had to postpone all of those because this recent recipe I just made was ABSOLUTELY AMAZING! This recipe taught me so much about clean eating and how you don't have to eat bad tasting food to eat clean. These cinnamon rolls look, taste, smell, and make you feel amazing! I don't know why anybody would feel like they need processed sugars and other processed food in their lives when they can eat something this delicious and nourish their body with proper nutrients at the same time! These rolls are made with organic, whole wheat flour, and they're about 98% sugar free, and 100% refined-sugar free! The only refined sugar in these babies is a little bit of raw honey in the dough, and then the filling and frosting is sweetened with Lakanto sweetener which is not processed in your body the same way sugar is. Lakanto is an amazing sweetener that is made with Monk fruit which is a super food and filled with nutrients! You can purchase Lakanto here and you can also find it on Amazon! The BEST Healthy Cinnamon Rolls!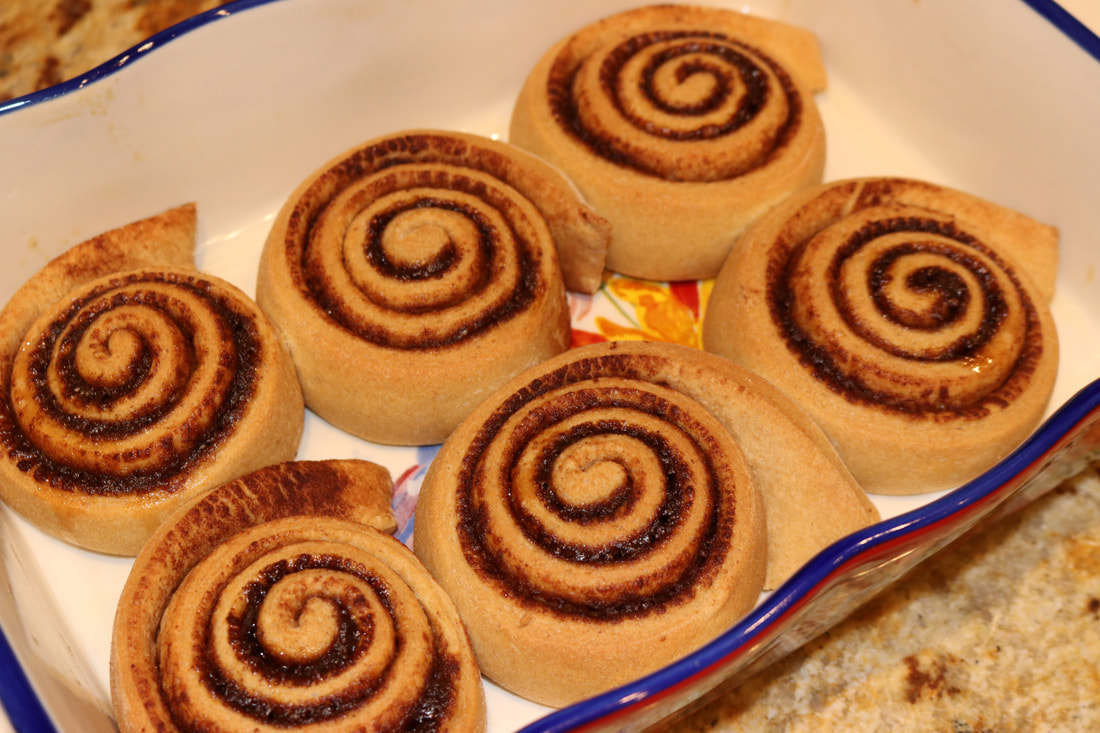
Ingredients:
Dough: 1 cup warm coconut milk (110° F) 2 eggs 1/3 cup butter (melted) 4 1/2 cups organic whole wheat bread flour 1 tsp. salt 1/4 cup raw honey 2 1/2 tsp. yeast (do not use instant yeast! Instant yeast is highly processed) Filling: 1/2 cup golden Lakanto sweetener 2 1/2 Tbs. ground cinnamon 1/3 cup butter (melted) Frosting: 1 (8 oz.) package organic cream cheese 1/4 cup butter (softened) 1/2 cup powdered Lakanto sweetener 2 tsp. vanilla extract 1 pinch of salt Directions:
*These rolls stay super fresh for about five days if you store them in the fridge! Then when you're ready to eat them you can either warm them in your warming drawer on high for 10 mins. Or you can preheat your oven to 350°, turn it off once it's fully preheated, and place your rolls inside for about 10 mins. Then when you take them out it will be like having a freshly baked cinnamon roll! *Use organic ingredients when feasible.
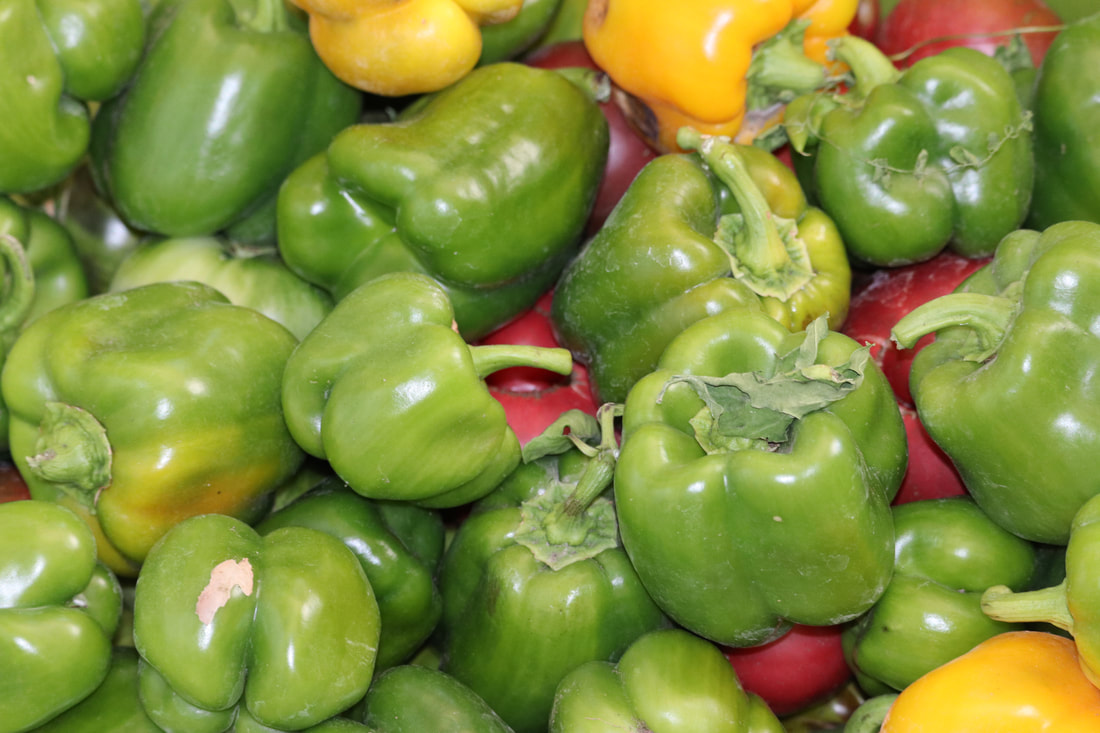
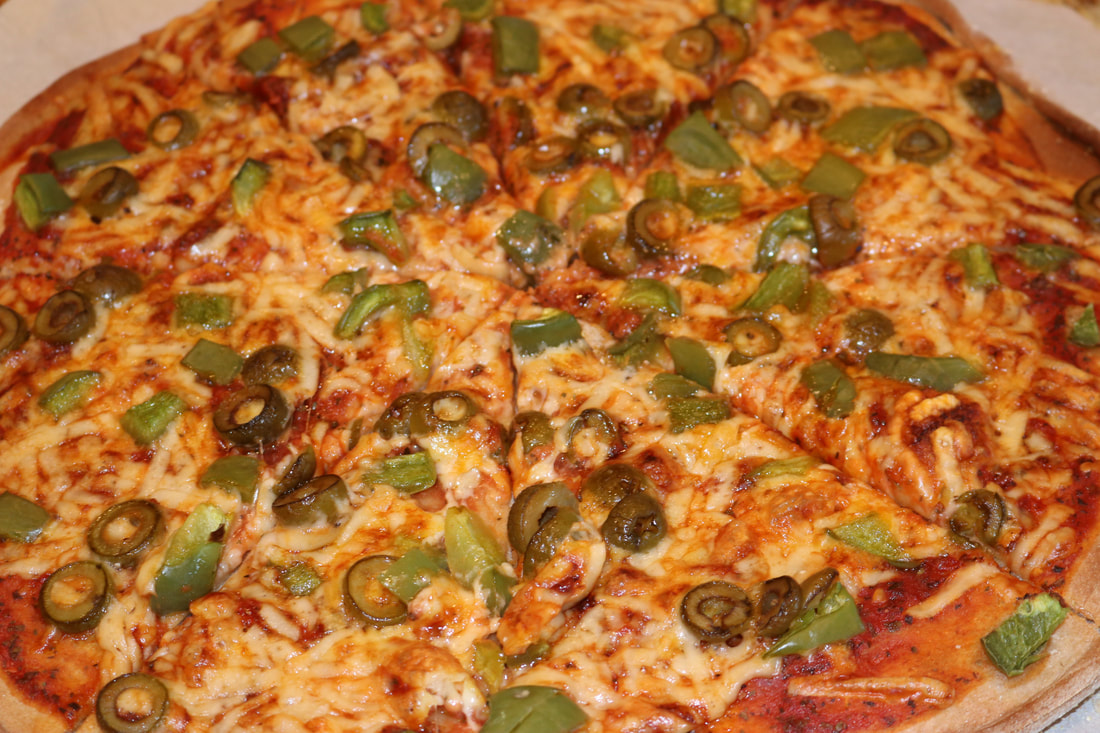
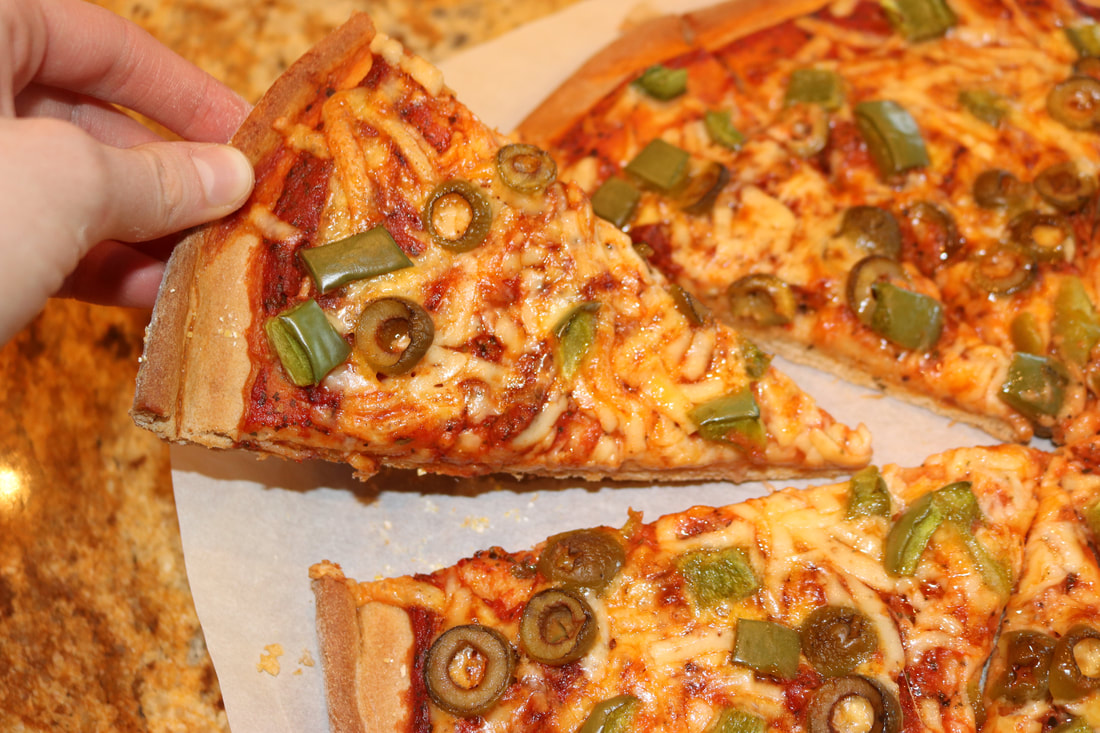
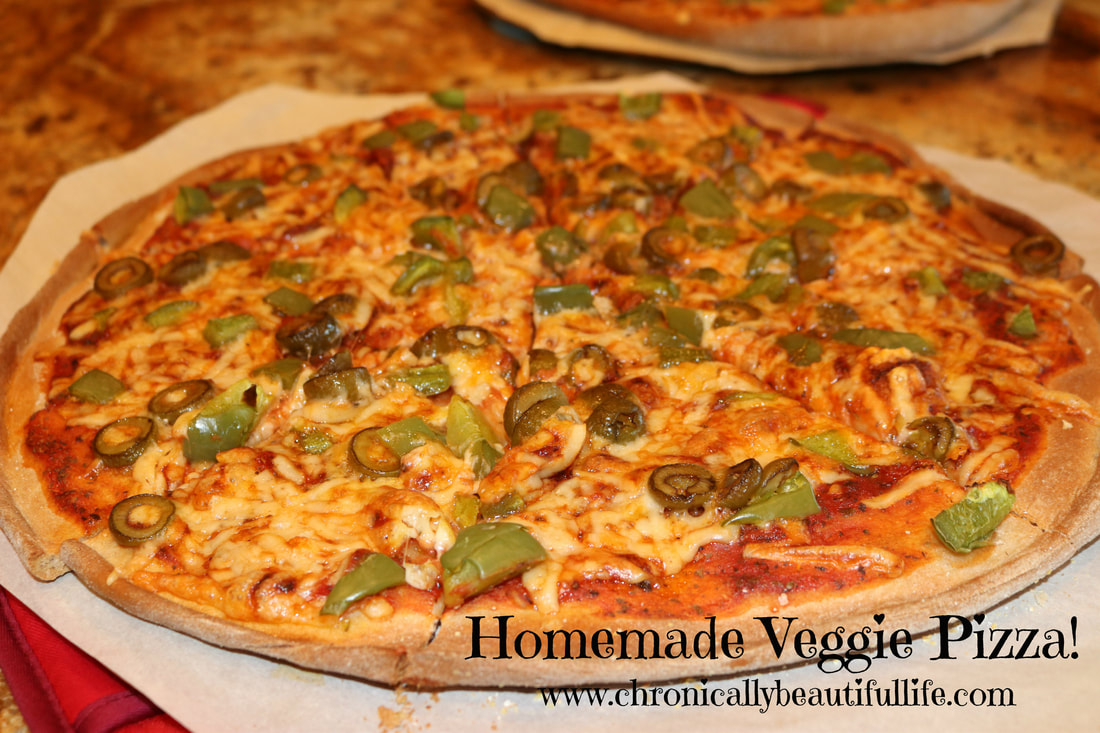 Every kid's favorite food... pizza!! This is one of my favorite recipes for a Friday night, mainly because pizza is perfect weekend food, and pizza is really easy to make vegetarian if you're trying to cut down your meat intake. I generally eat meat only three times a week, so this is a delicious option for one of the meat-free nights of the week! This pizza is also completely organic and refined sugar-free! This is also my PERFECTED crust recipe! I love cooking gluten-free, but not all of my recipes are gluten free because I believe that whole, organic grain is healthy and full of necessary nutrients. So, this crust is made with whole wheat flour, and it's the perfect mix of crunchy on the outside, and soft on the inside! Also, you can top with ANYTHING you like! I topped this one with olives and peppers. But I've also used fresh pineapple, mushrooms, cilantro, fresh tomatoes, really anything you like! Homemade Pizza!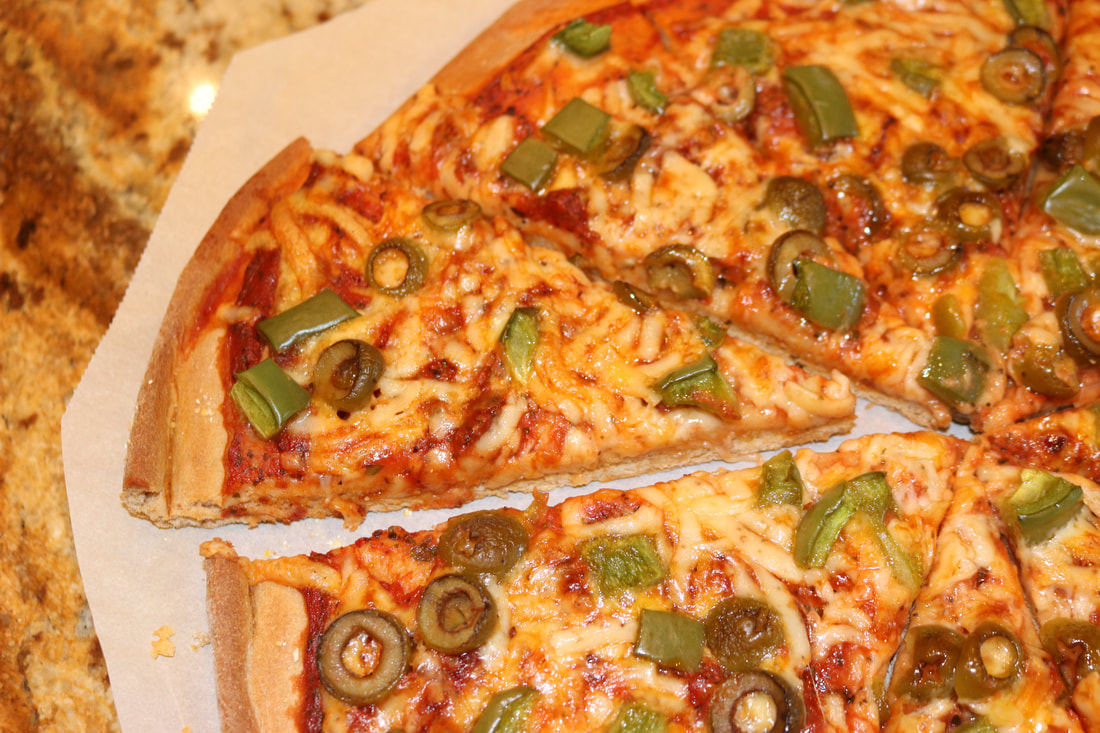
Ingredients:
Dough: 1 1/3 cup warm water (between 100-110°F) 2 1/4 tsp. active dry yeast 1 Tbs. raw honey 2 Tbs. olive oil 3/4 tsp. salt 3 1/2 cups whole wheat bread flour sprinkle of cornmeal for dusting Sauce: 1 12 oz. can organic tomato sauce 1/4 cup water 2 tsp. salt 1 tsp. garlic powder 1 tsp. onion powder 1 Tbs. Italian seasoning 1 Tbs. basil Cheese Desired Toppings Directions:
*Use Organic ingredients when feasible.
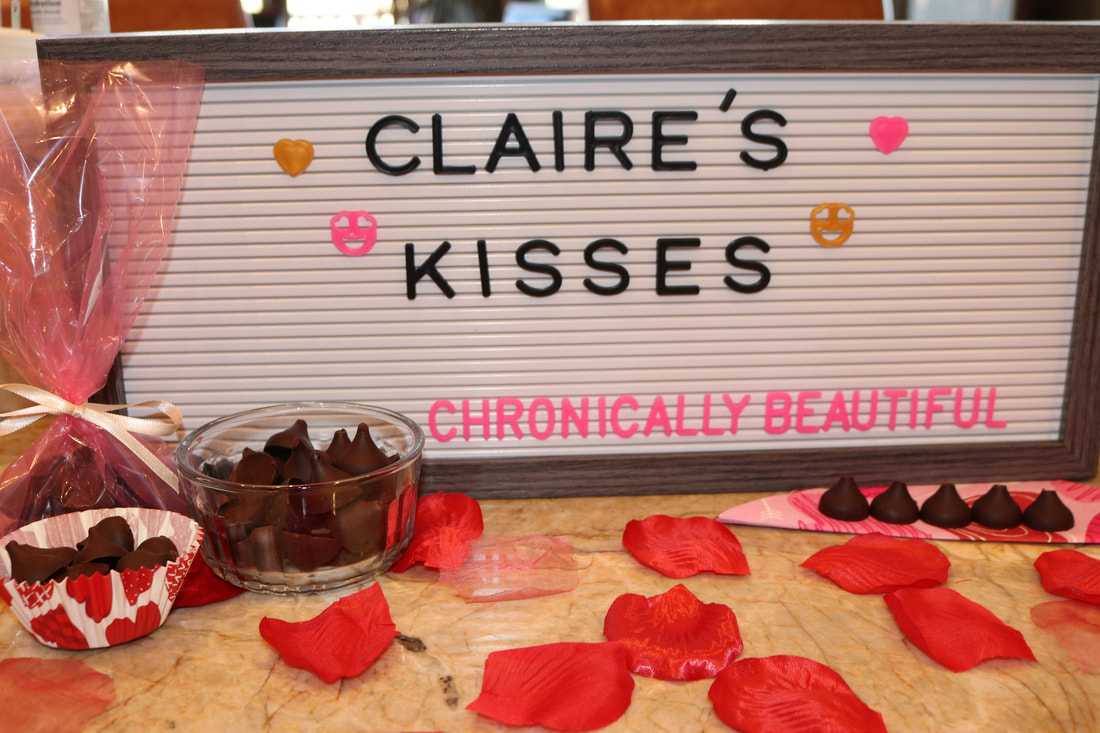 Okay, I know that it's still January and not quite Valentines season yet, BUT.... I LOVE Valentines day, and I needed something to cheer me up through these gray January days. So... Claire's Kisses were born!! These are a little different than my other chocolate recipes in that they are made with organic cacao wafers, and cacao is a super food that boosts mood, energy, and immune function! It's a common myth that eating healthy means that you don't eat anything that tastes good, and I'm here to say that you DO NOT have to deprive yourself just because you choose to eat and live a healthful life! Confession.... I used to be OBSESSED with Hershey's chocolate kisses! I was that girl in high school that always had a bag of them in my locker, and I probably consumed a handful a day. I wouldn't recommend that for anyone whether you have a chronic illness or not! So... I'm SUPER EXCITED about these because they're organic, refined sugar-free, and full of nutrients that your body will love! Stay tuned for different flavored chocolate recipes all through the month of February because this is for sure my new favorite recipe!! Also, thanks to A Bite of Healthy for helping me out with this recipe! My sister is the creator of this food blog, and she is a food GENIUS! So go check out her blog here. Claire's Chocolate Kisses!
Ingredients:
1/2 cup cacao wafers 4 1/2 Tbs. maple syrup 2 tsp. vanilla extract 3 Tbs. coconut butter 1 tsp. coconut oil Directions:
*Use organic ingredients when feasible.
I would HIGHLY ENCOURAGE you to make your own coconut butter! It's a super simple process and it makes enough coconut butter to fill a small jar!
All you have to do is take two cups of shredded coconut and blend it in a small blender on high until coconut reaches a creamy texture! Store it in the fridge when you're done and enjoy it in lots of your healthy recipes! 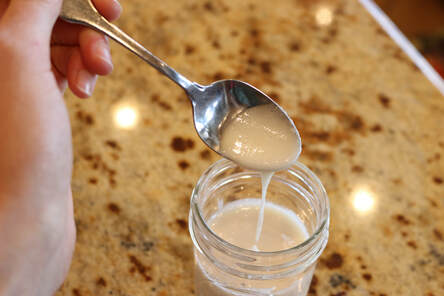
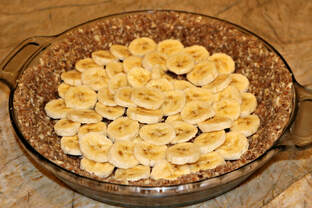
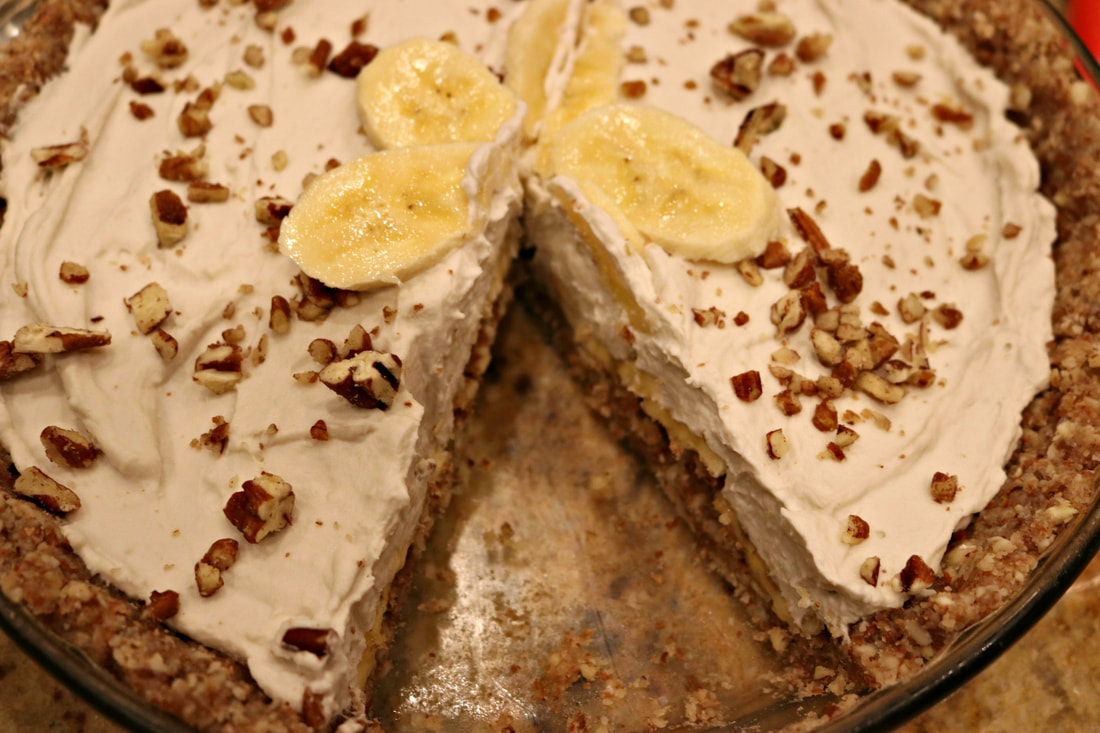
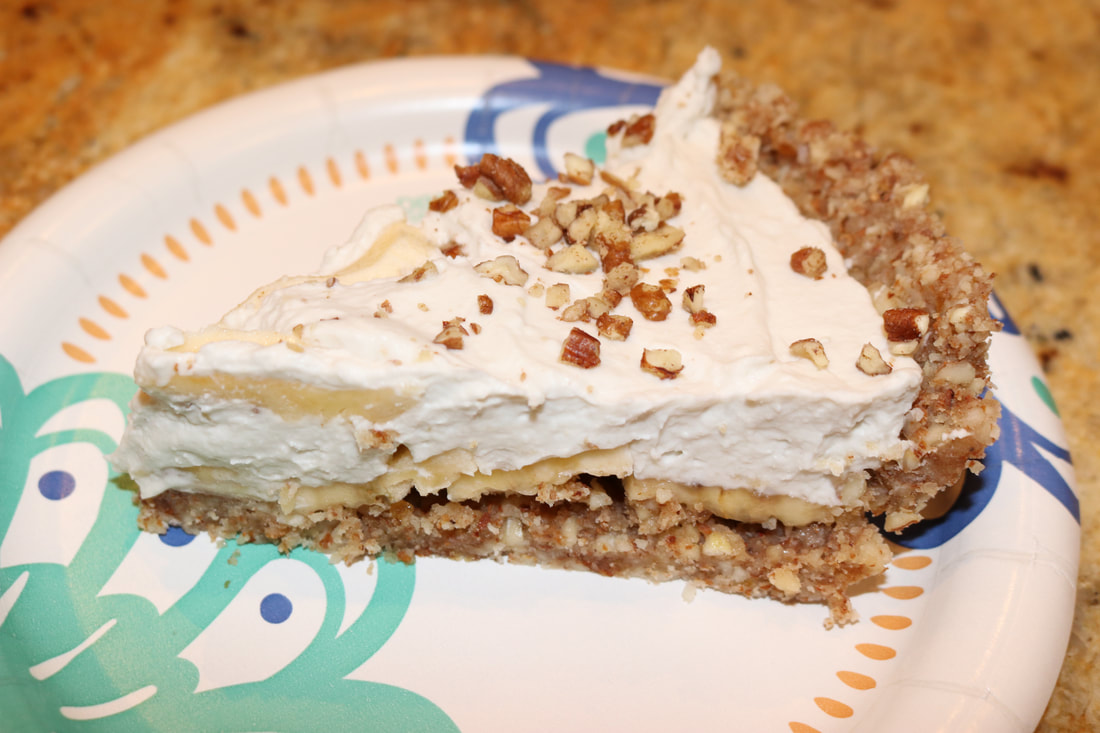
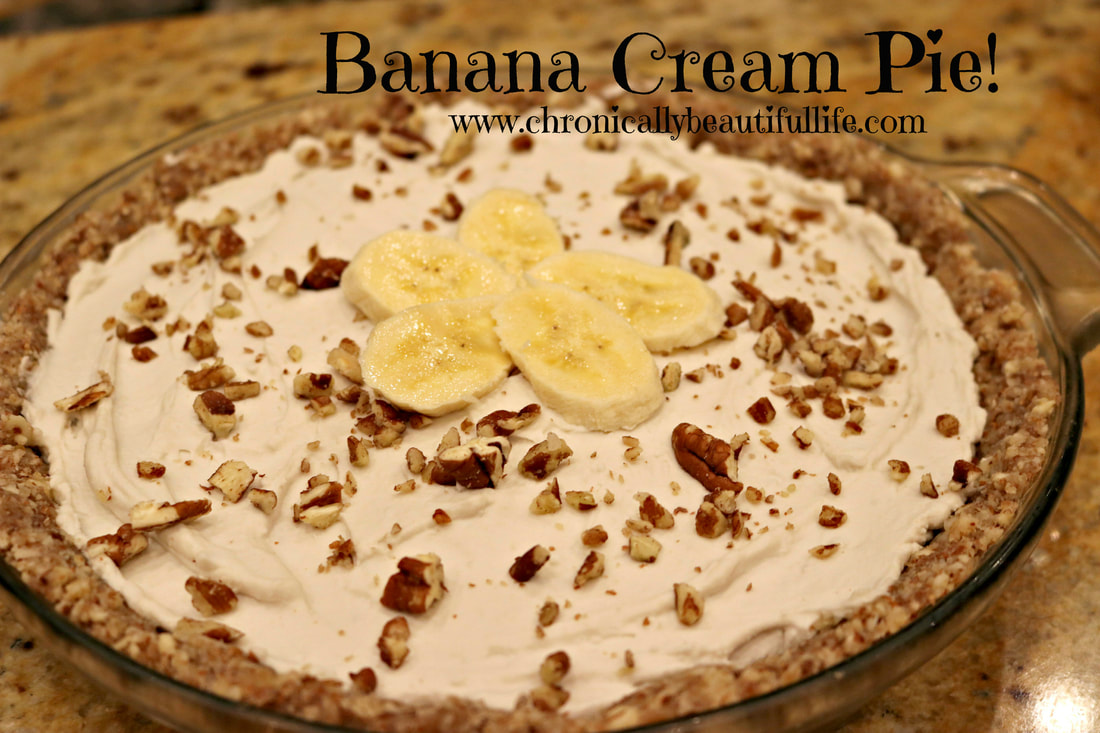 This is me trying my hand at gluten free and dairy free delights! The banana cream pie is super easy to make and it's no bake, gluten free, dairy free, sugar free, and organic! I was actually super surprised at how delicious it turned out! This is a healthy pie that you won't want to miss! I originally found this recipe here, but I tweaked it a bit to my liking. But go check out Paleo Bailey and her delicious healthy recipes! Healthy Banana Cream Pie!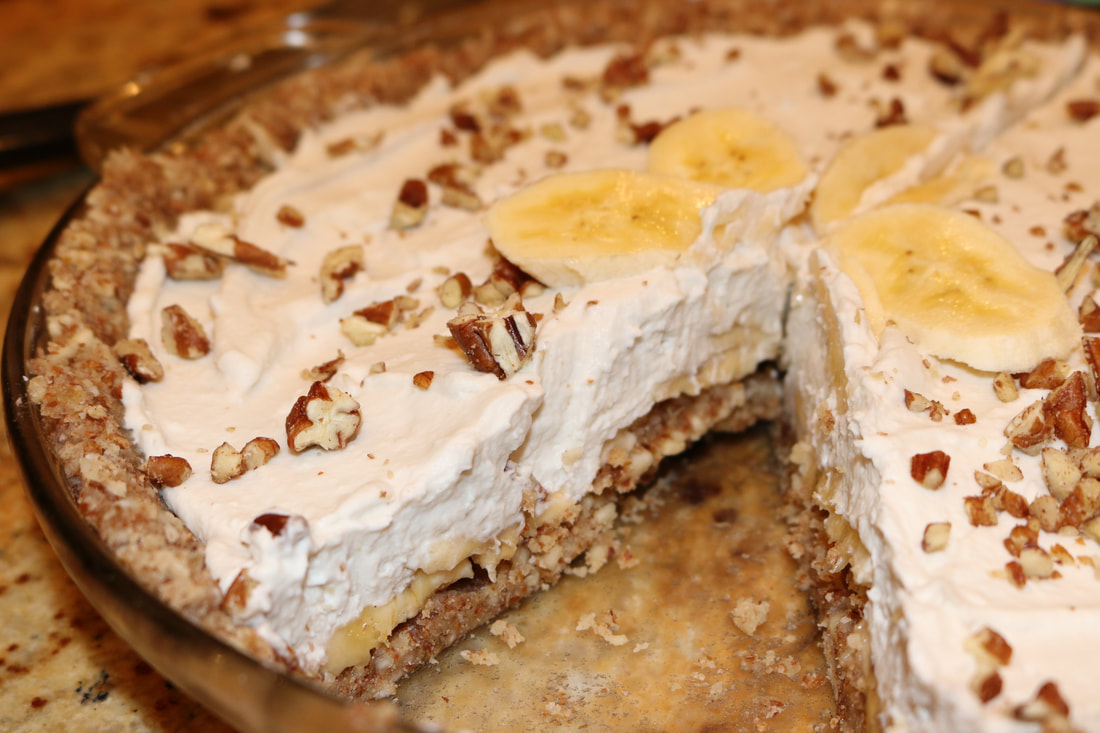
Ingredients:
Crust: 1 1/2 cup almonds 1/2 cup almond flour 7 Medjool dates, pitted 2 Tbs. coconut oil, melted 1/2 tsp. cinnamon pinch of salt Filling: 2 14 oz. cans full-fat coconut cream (refrigerate for a couple of hours prior to use) 2-3 bananas, sliced 1/4 cup + 2 Tbs. pure maple syrup 1 Tbs. vanilla extract 1/2 tsp. cinnamon chopped pecan and extra sliced banana for topping Directions:
*Use organic ingredients when feasible!
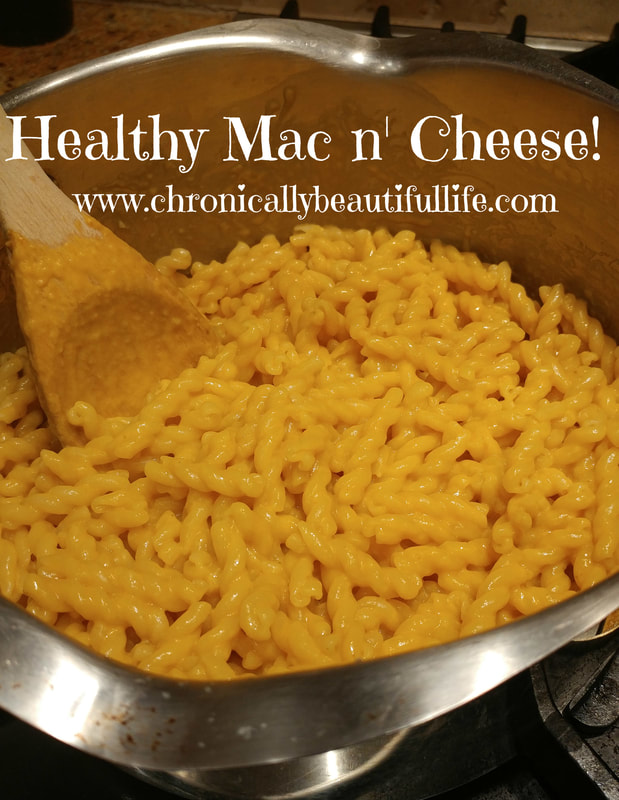 Healthy macaroni and cheese?! Does that even exist?! Yes my friends, it does! And I have the perfect recipe for you! Even Lyme patients still enjoy their comfort food! ;) This mac n' cheese tastes better than the stuff that comes in a box, it lacks all of the chemicals and additives that can harm our bodies, and it's filled with nutrients that feeds our bodies, and our souls! ;) This recipe gave me a chance to travel back in time to my childhood when mac n' cheese was a staple at my house, and now it's something that my family enjoys regularly. Take your taste buds on a journey with this cheesy delight! 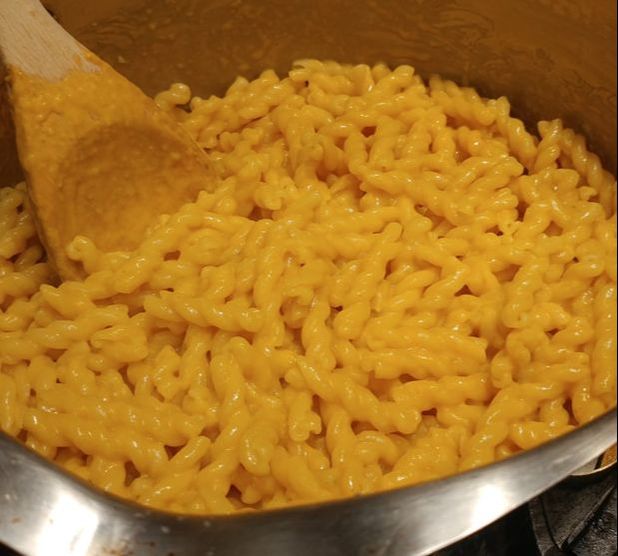
Ingredients:
1 lb macaroni or pasta of choice 6 Tbs. butter (preferably grass-fed) 2 tsp. garlic powder 1 tsp. onion powder 1 cup pumpkin puree (not pumpkin pie filling) 1/3 heavy whipping cream (organic) 1/3 cup unsweetened coconut milk 2 tsp. salt 1 1/2 cup sharp shredded cheese Directions:
*If you desire a sauce that is less thick, you can add water a tablespoon at a time until you have your desired consistency. *You can always add more salt to taste. I also like topping mine with basil and other herb mixes. 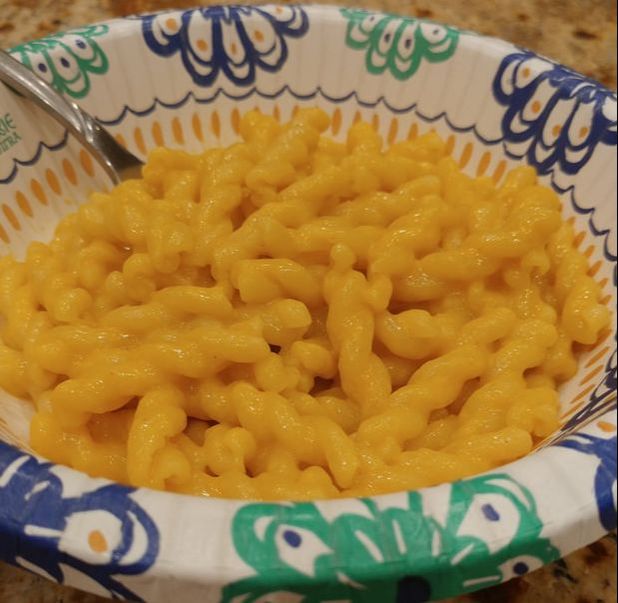
|
Welcome to My Kitchen!
Food is one of the greatest forms of science, art, medicine, and sustenance all at the same time! It's what feeds our lives and pumps through our blood. It's what connects us and what gives us energy to fulfill our purpose. It is for that reason that I have a deep passion for discovering, cooking, and eating only the most nutrient dense foods. In my kitchen, we only use organic, whole ingredients that feed the body, as well as the mind and soul. My hope is to inspire healing through healthy AND delicious food that feeds not only our stomachs, but also our hunger for connection and quality of life.
Archives
March 2022
Categories
All
Remember, when we spend our money on the most nutritious and whole ingredients, our dollars become our vote for healthier living, and happier lifestyles.

|
Blogs |
Chronically Claire |
|

|


 RSS Feed