
Chronically Delicious! |

|
|
Chronically Delicious! |
|
|
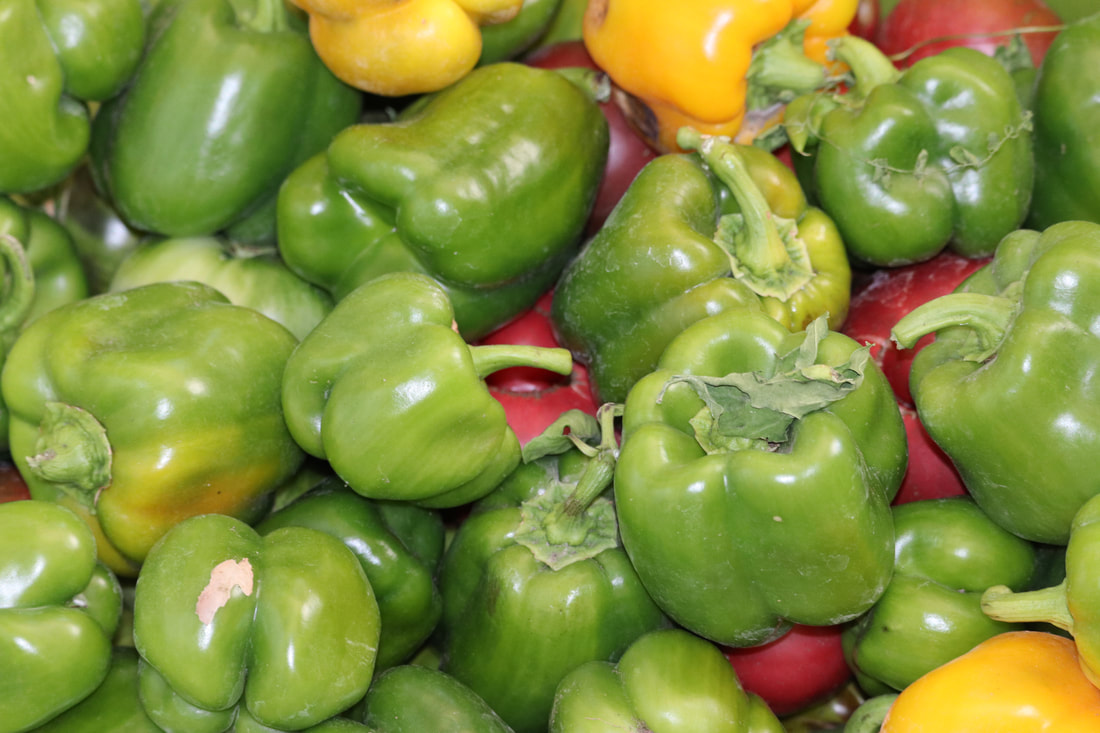
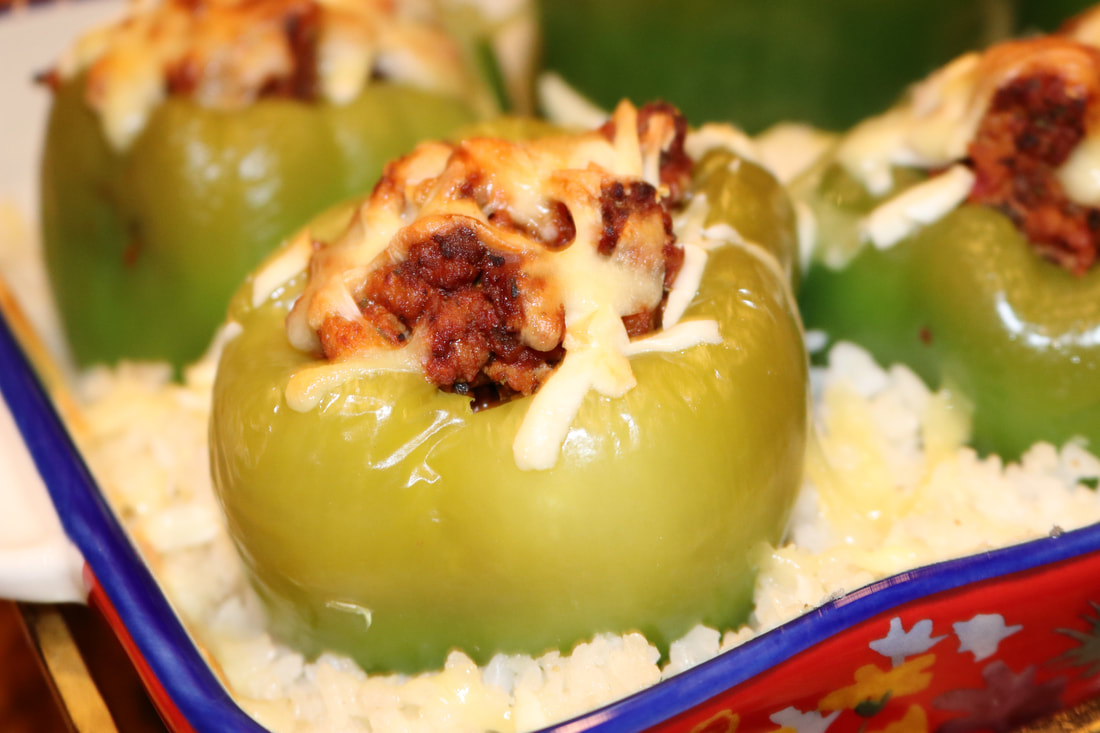
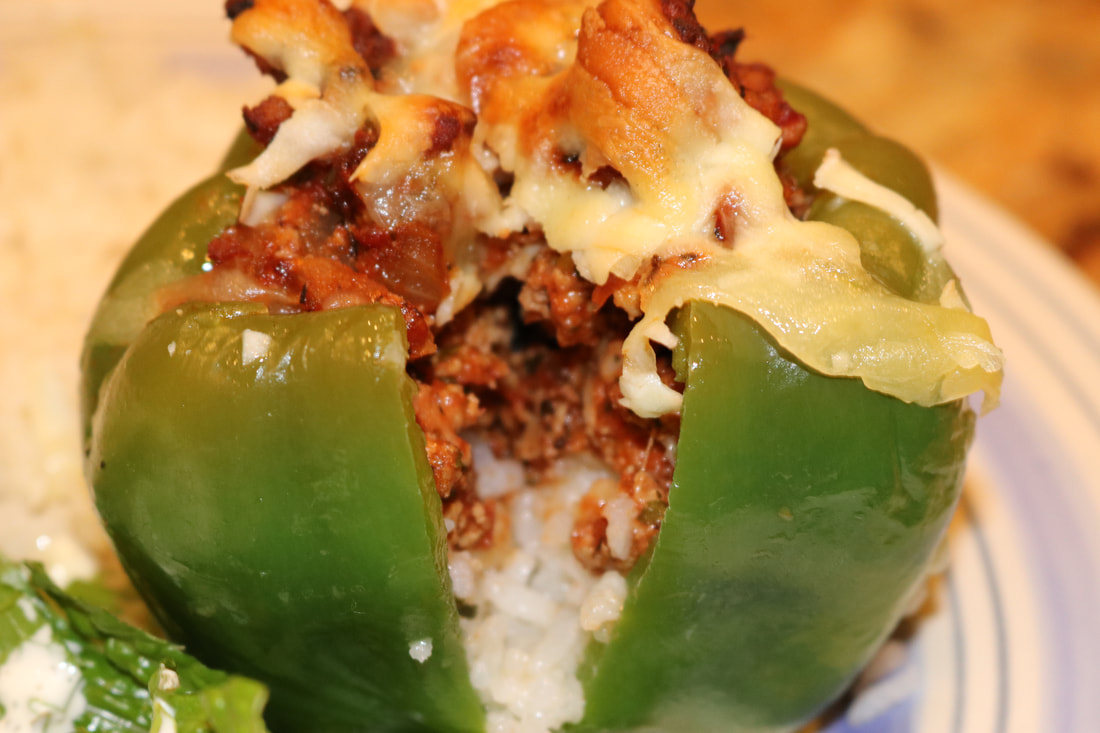
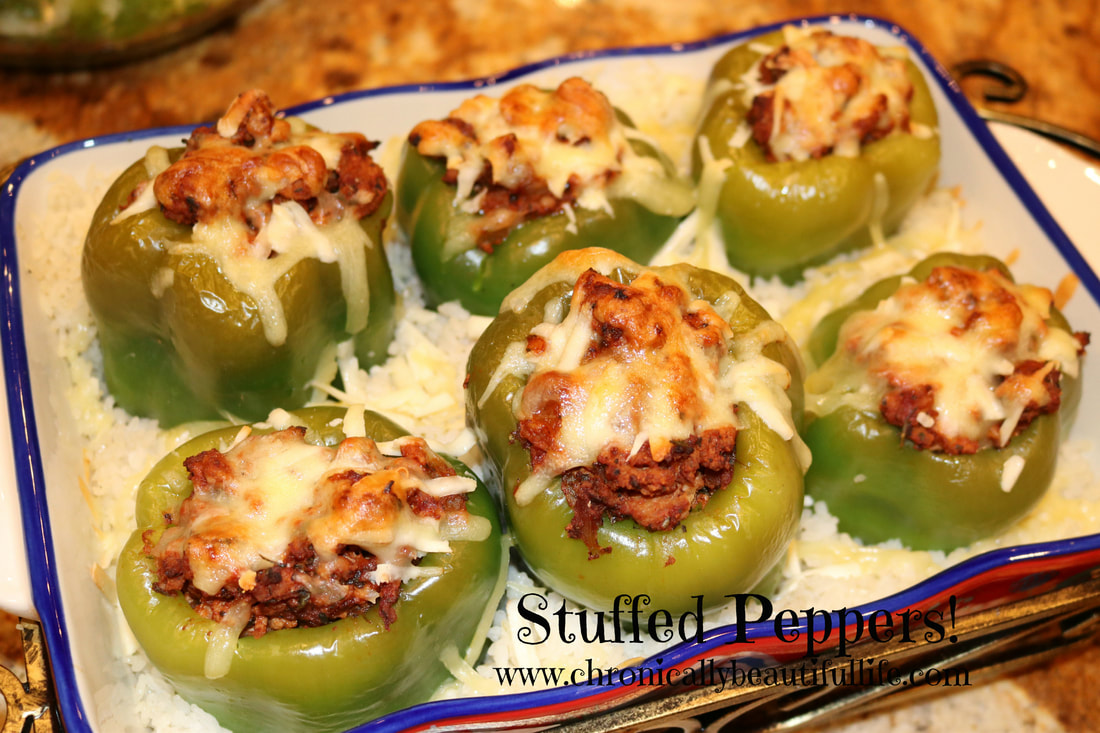 I think one of the wonderful things that have come from my Lyme life has been a deeper appreciation for healthy food that I've gained. I absolutely love all the flavors and smells that come from healthy food that I never even noticed before! There's a certain art and beauty that comes from the food we consume, and that beauty not only feeds our bodies but feeds our hearts as well! I made these peppers tonight on a whim and they were absolutely delicious! They're perfect for the meat eaters that try to eat only small amounts of meat, and they are filled with flavor from my homemade Italian seasoning! They're also really easy to make and can be easily whipped up for dinner on nights where you haven't had time to think about it (hence making them on a whim tonight! Ha!). Stuffed Peppers!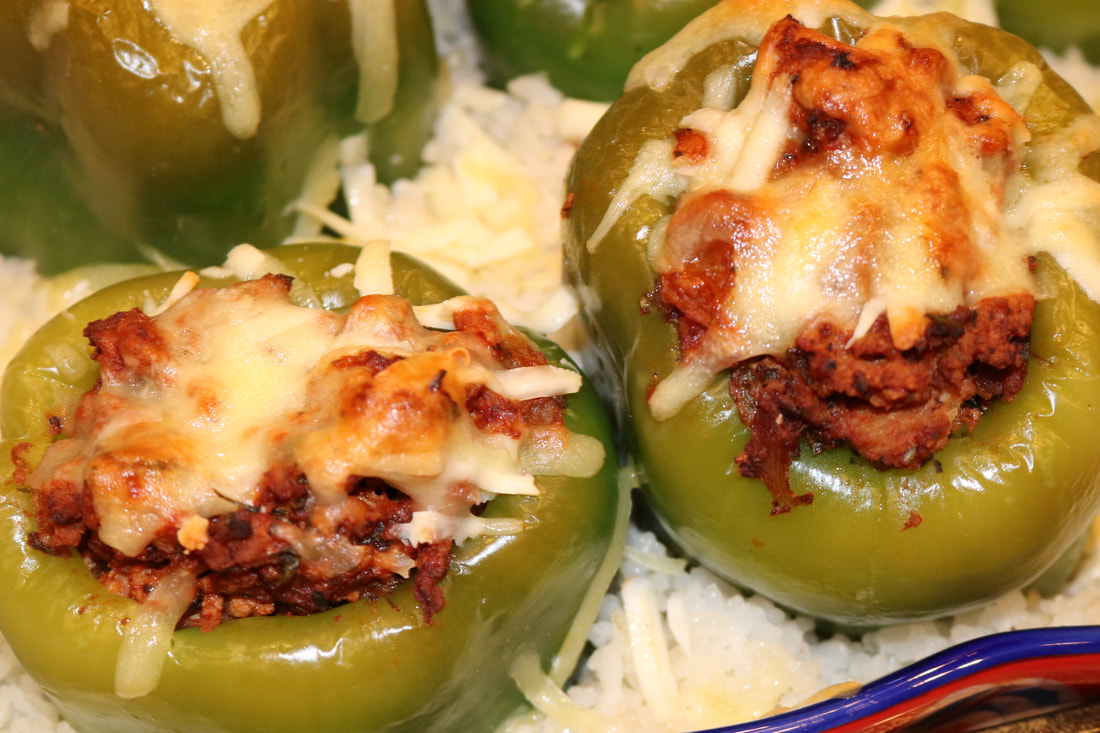
Ingredients:
6 large bell peppers 2 cups of your favorite rice 1 lb. ground turkey 1 Tbs. grapeseed oil (or avocado oils works too) 1 tsp. garlic powder 1 small onion (diced) 1/2 cup crushed tomatoes (you can used canned or you can lightly run some fresh tomatoes through a blender) 4 tsp. Italian seasoning 1 tsp. salt 1/2 tsp. pepper 1/2 cup shredded Parmesan cheese 1/2 cup cheddar cheese Directions:
**Use organic ingredients when feasible. For Italian Seasoning: 3 Tbs. dried parsley 3 Tbs. dried basil 2 1/2 Tbs. dried oregano 1 Tbs. garlic powder 1 tsp. dried thyme 1 tsp. onion powder 1 tsp. dried rosemary 1/4 tsp. black pepper Mix together in a small bowl with a spoon. I got about a 16 oz. jar's worth of seasoning. *I used all organic herbs, and make sure you smell this blend after it's all made because it smells AMAZING!!!
0 Comments
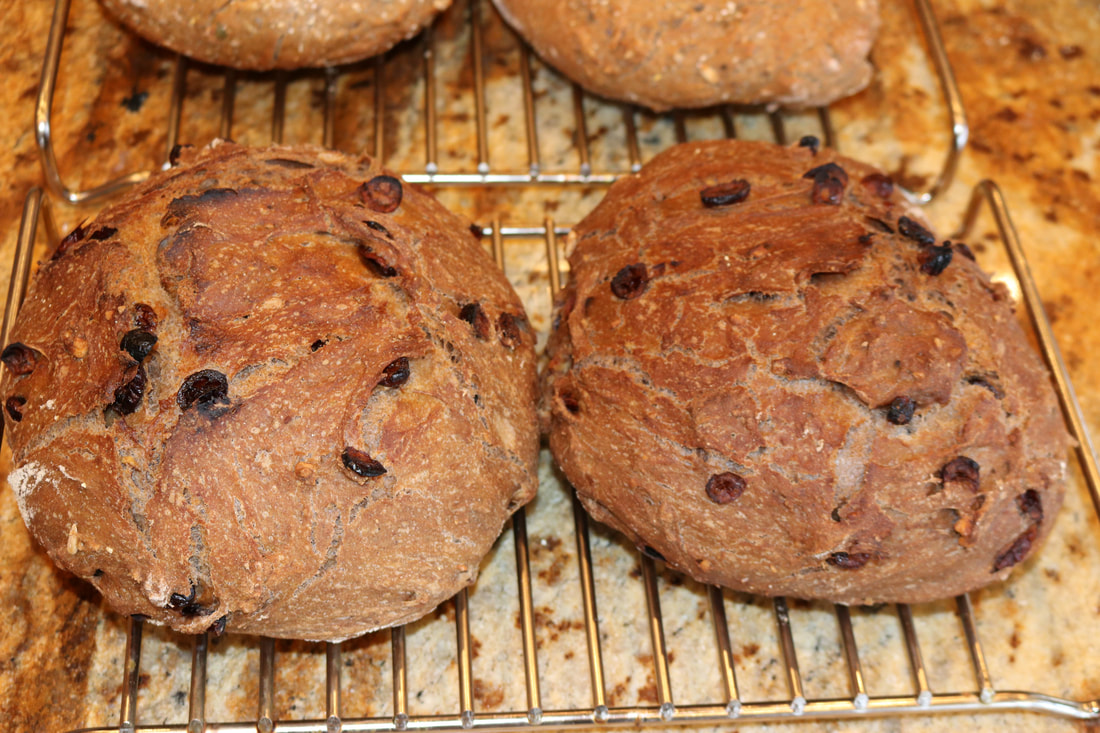
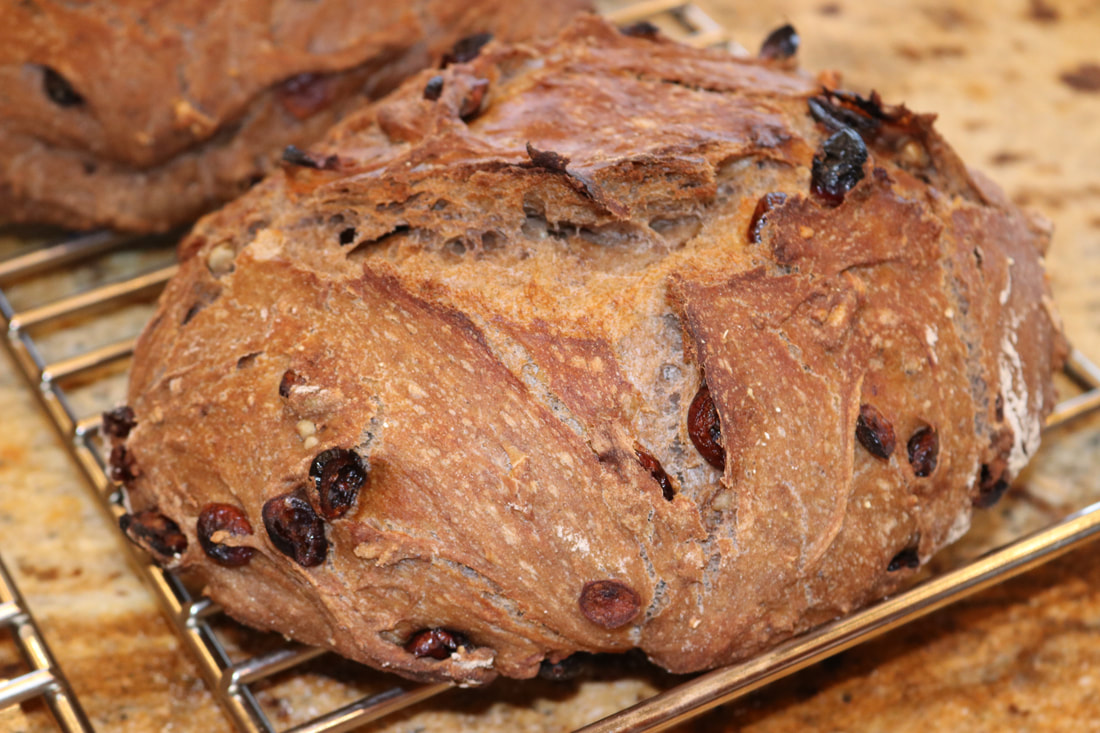
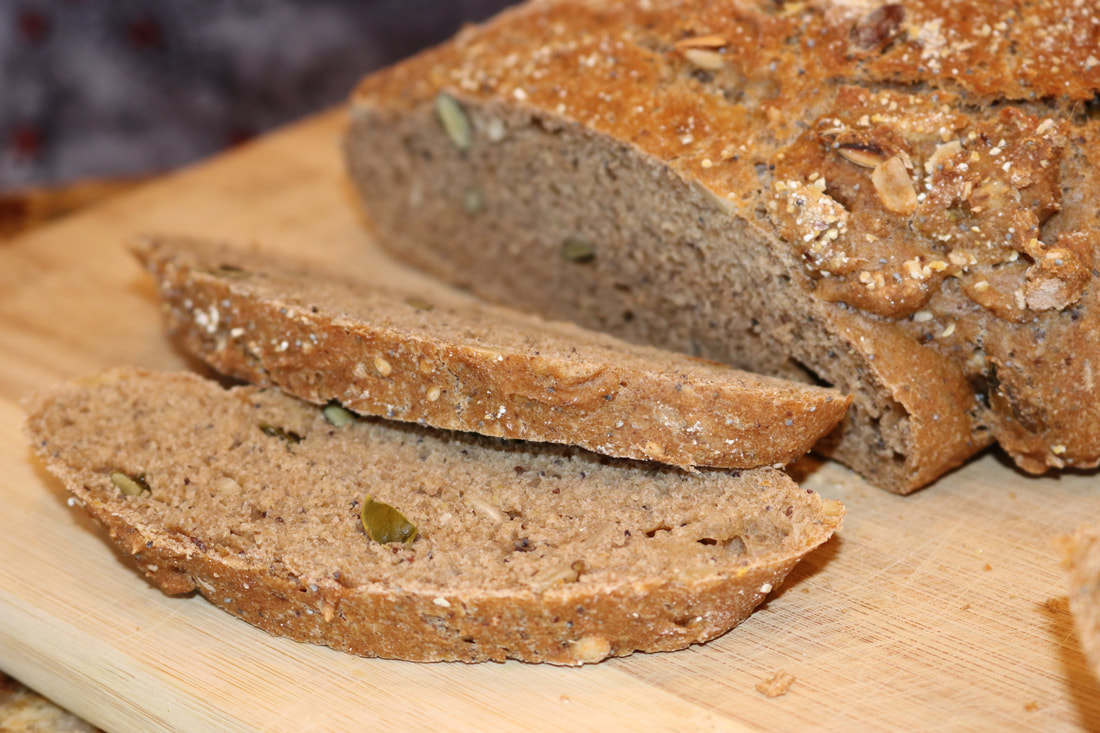
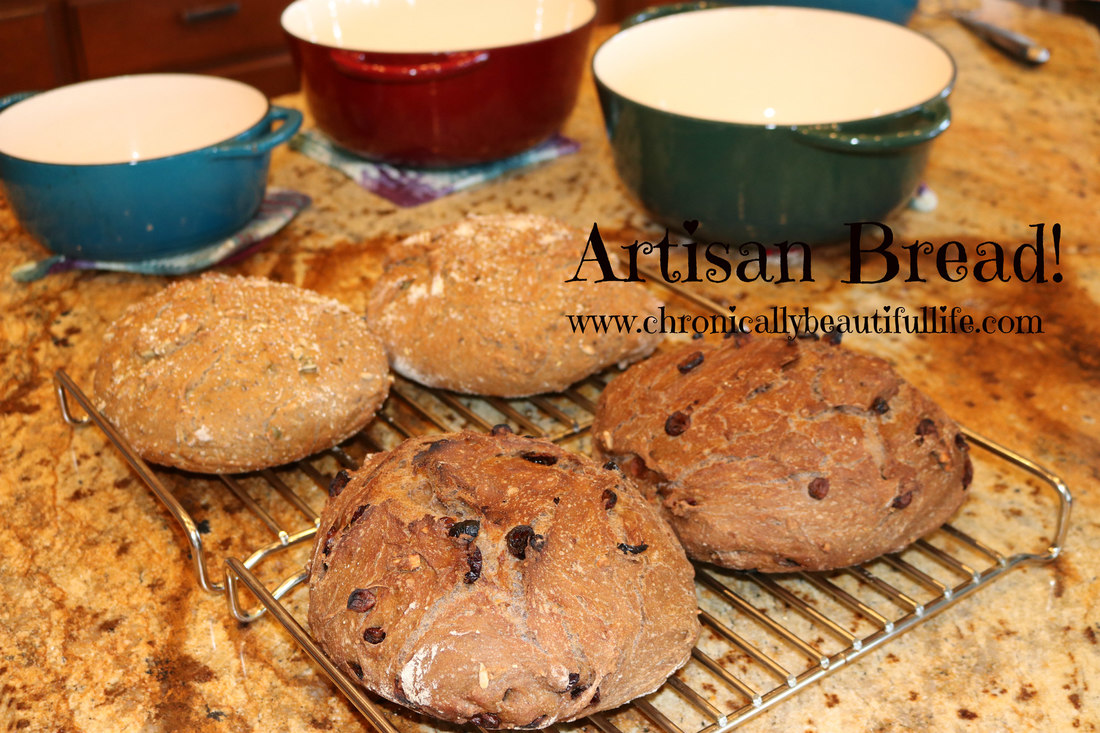 There's nothing like the smell of fresh baked bread enveloping the entire house! These breads are SO YUMMY and super easy to make! They don't require any kneading and your body will love you for the health benefits of these breads! These breads are made with ancient grains, like kamut and spelt, which are full of nutrients that feeds your body just as well as it satisfies your taste buds! They are also made with all organic ingredients, and there is zero refined sugars in them! These breads are perfect for the Christmas season and the whole family will love them! Cardamom Cranberry Bread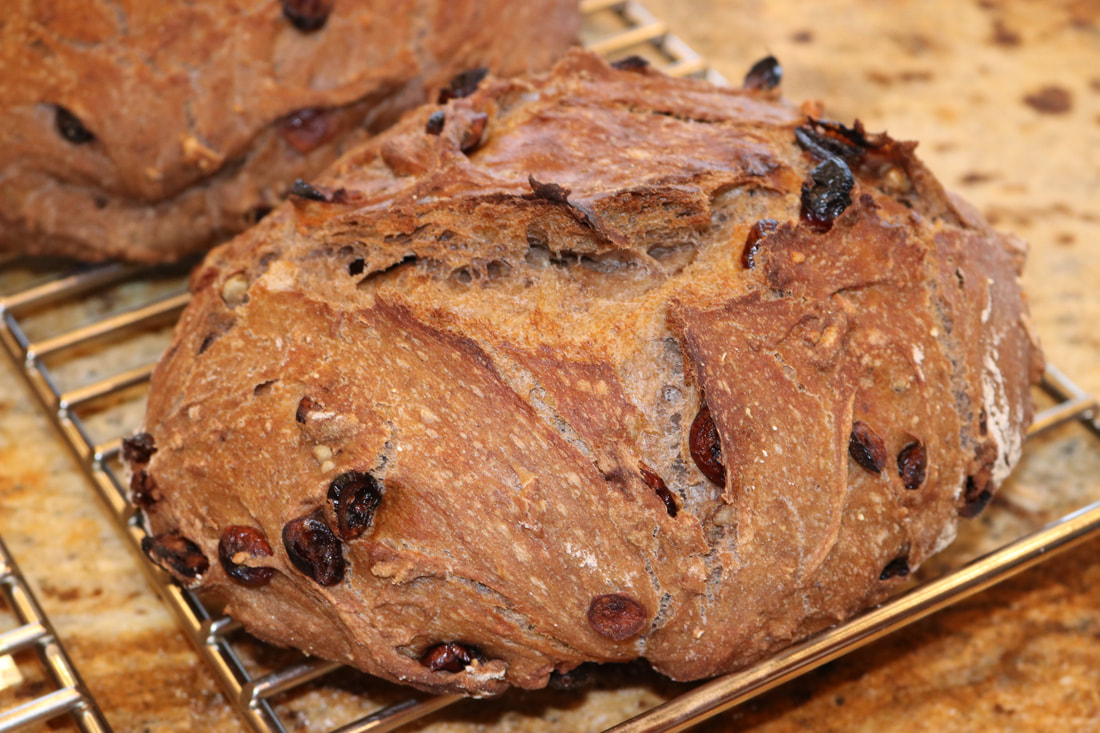
Ingredients:
3 cups whole wheat bread flour** 3/4 cup dried cranberries 1/2 cup chopped walnuts 1 3/4 tsp. ground cardamom 1/2 tsp. active dry yeast 1 3/4 cups cool water coarse cornmeal for dusting Directions:
**You may have to adjust the water and flour measurements depending on your flour. If the dough is too dry add water. If it's too wet add flour. Dough should be a wet sticky mass.
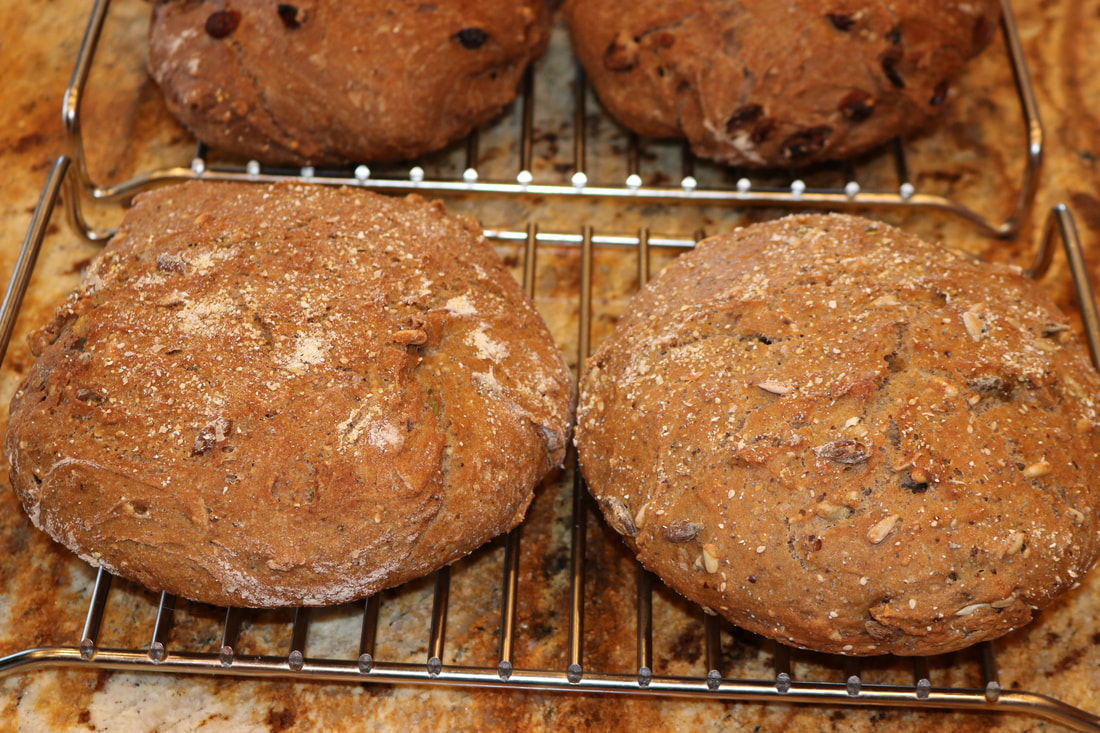
Seeded Kamut Bread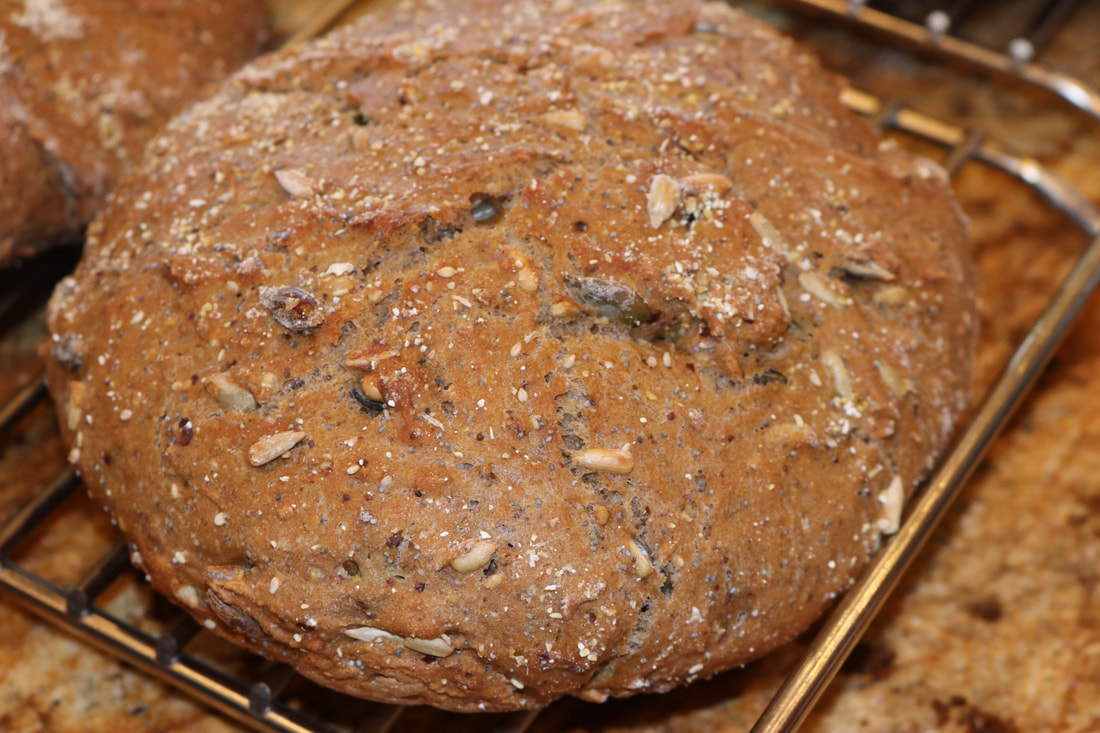
Ingredients:
2 1/4 cups whole wheat bread flour** 3/4 cup kamut flour 1 1/4 tsp. salt 1/2 tsp. active dry yeast 1 Tbs. ground flax seed meal 1/2 cup pumpkin seeds 1/4 cup sunflower seeds 1 Tbs. sesame seeds 1 Tbs. poppy seeds 1 1/2 cups cool water 1 tsp. raw honey (mixed into the water) Directions:
**You may have to adjust the water and flour measurements depending on your flour. If the dough is too dry add water. If it's too wet add flour. Dough should be a wet sticky mass.
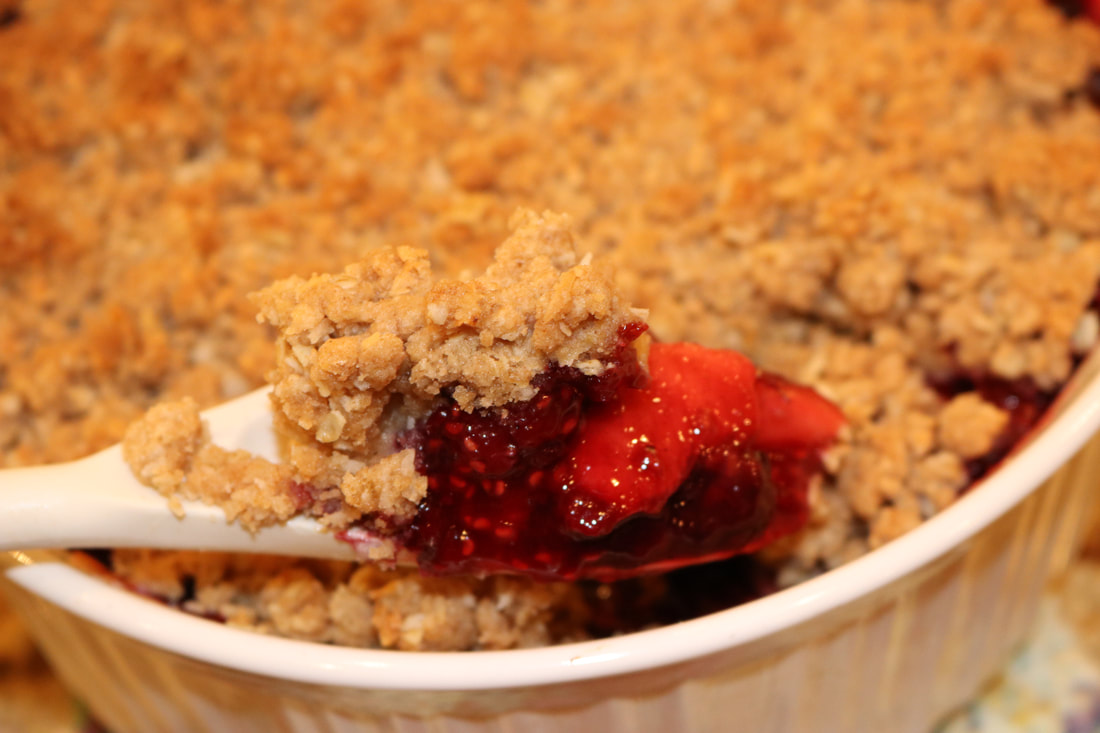
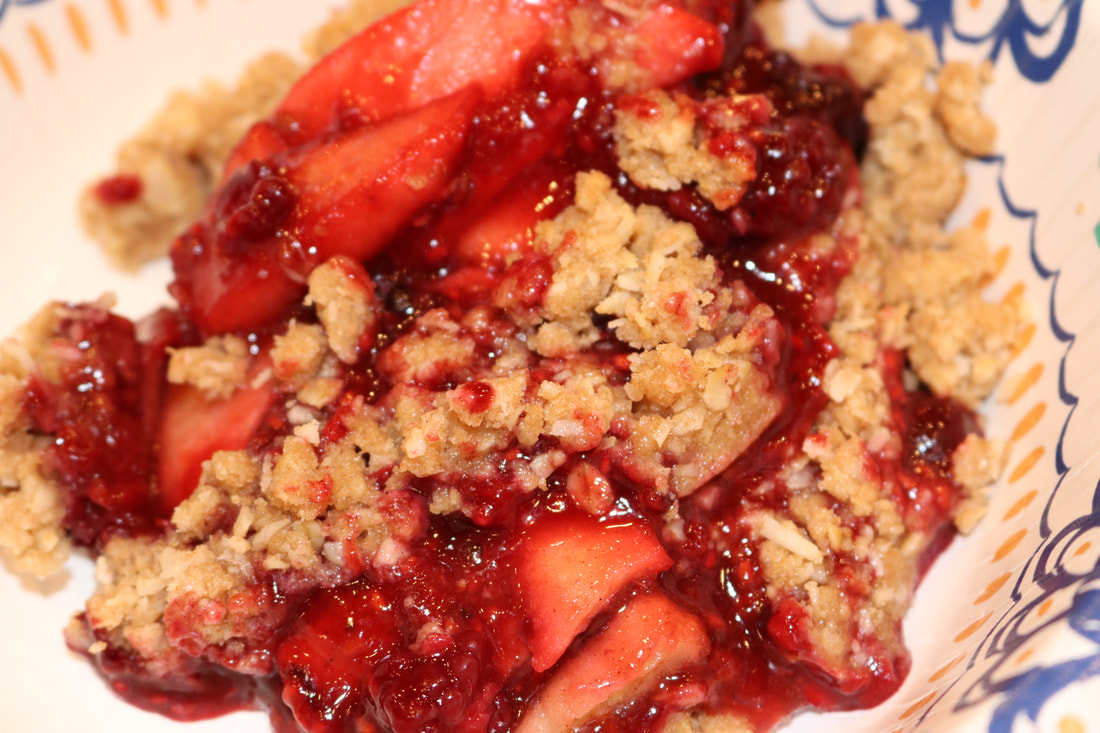
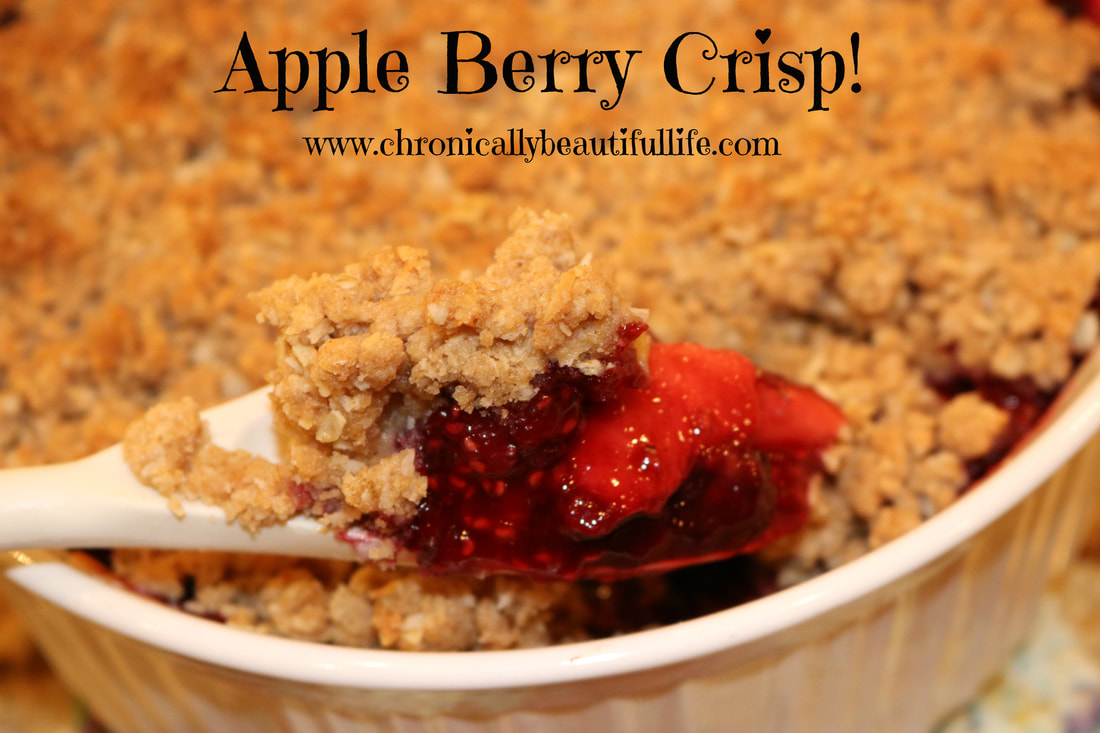 Cobblers and crisps are my ALL TIME FAVORITE dessert! Mainly because they're so easy to make and so easy to convert to be refined sugar-free. The apple-berry combo is an old family tradition of mine that my mom has been making for years so it often reminds me of my childhood. This crisp is perfect for these long winter nights when you just need some comfort food! You can also use whatever kind of berry you'd like, and it goes a long way so you can serve it at family parties and social gatherings this holiday season! Apple Berry Crisp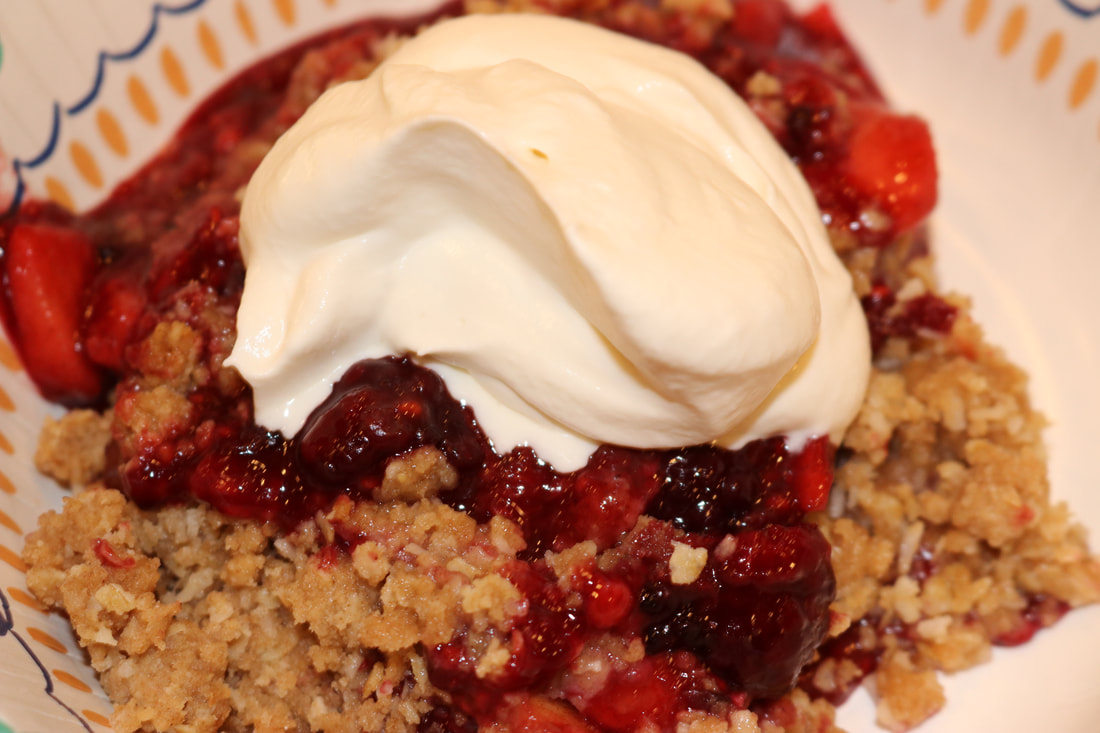
Directions:
Berry Filling: 3 cups blackberries (frozen) 3 cups raspberries (frozen) 1/3 cup raw honey 1/2 lemon 1 tsp. cinnamon 1/2 tsp. nutmeg 1/4 tsp. clove 1 Tbs. corn starch** 3 Tbs. cold water Method:
Apple Filling: 2 large apples (or four small apples) 1/2 lemon 1 tsp. cinnamon 1/4 cup maple syrup 2 tsp. cornstarch** Method:
Topping: 2 cups flour 1 cup shredded coconut 1/3 cup classic Lakanto sweetener 1/2 tsp baking powder 2 pinches of salt 1/2 cup +2 Tbs. butter (cold) 1 tsp. vanilla extract Method:
*Store in refrigerator. *Use organic ingredients when feasible. **It's really important to look for NON-GMO cornstarch. If you prefer not to use cornstarch, you can substitute with 2 tsp. of tapioca starch instead.
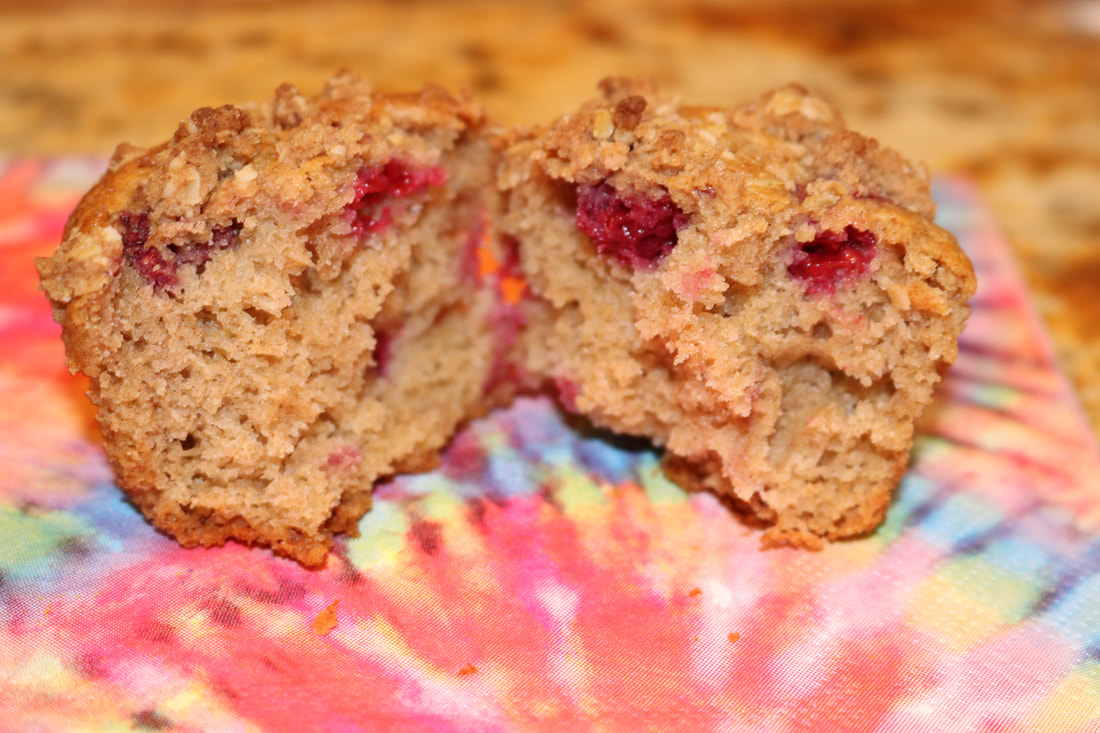
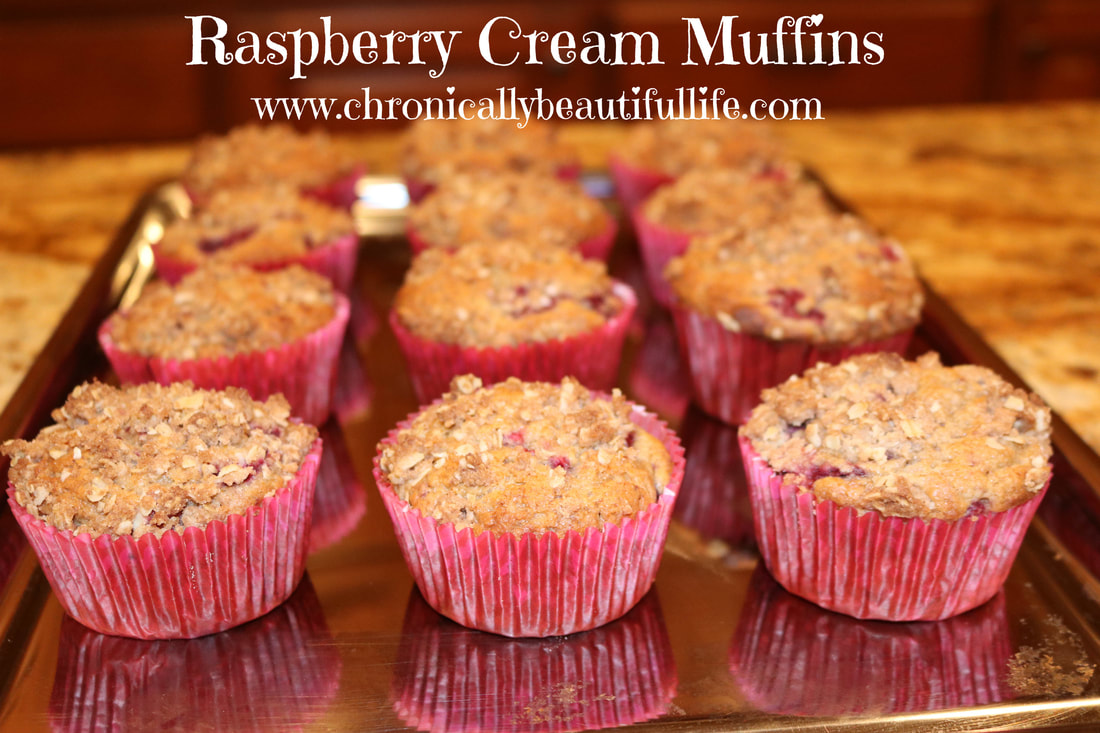 I often find the kitchen as my refuge in times where my mental health feels like it's close to crumbling. I suffer from serious winter depression that I haven't figured out how to avoid yet, and so I found myself in the kitchen tonight in attempts to cope with the elephant weighing on my heart. Baking clears my head and brings me great joy! Especially when I'm focused on healthy conversion of unhealthy recipes. A delicious healthy recipe requires concentration, thus giving me something to think about other than my anxieties and heartaches. Yay for food being the answer to remedy mental health! This recipe was a sudden inspiration! I found this recipe in an old collection of family recipes, and remembered it as one of my favorites as a child. The only problems is that it called for white flour and lots of sugar. And I'm sure we weren't exactly baking with organic ingredients back then! The good news is that I was able to convert this delicious recipe into a healthy alternative, organic, and refined-sugar free, as always! Raspberry Cream Muffins!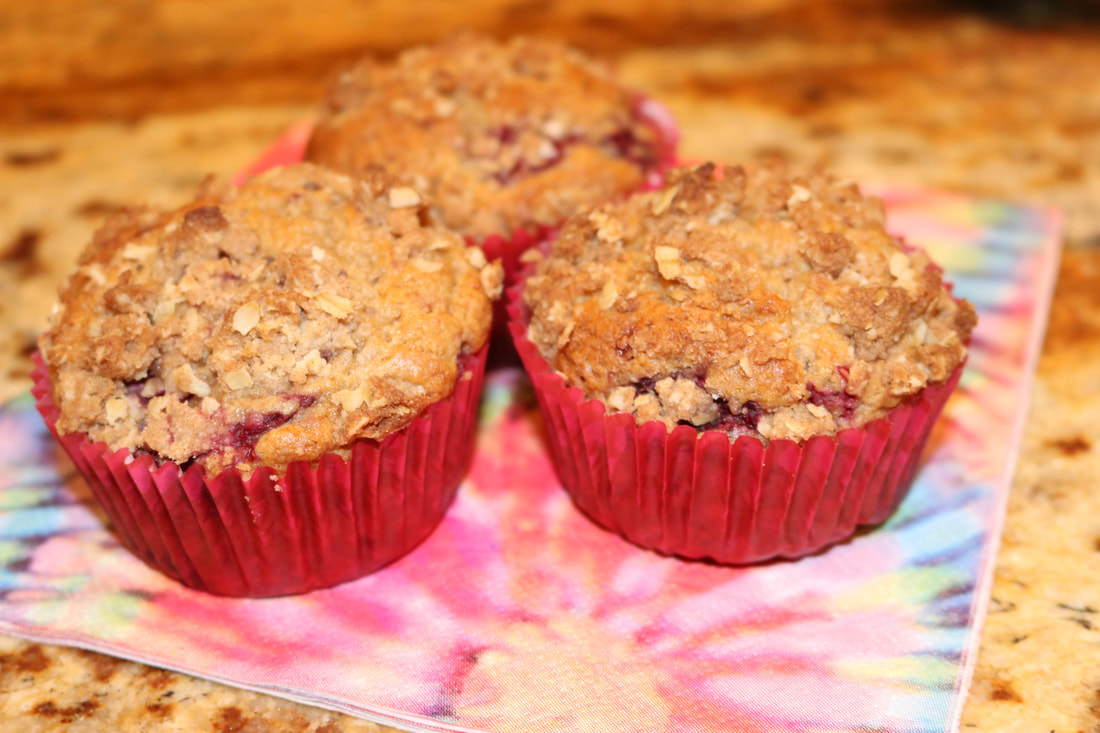
Ingredients:
2 cups whole wheat flour 1/2 cup classic Lakanto monkfruit sweetener 1/2 tsp. baking powder 1/2 tsp. baking soda 1/2 tsp. salt 2 cups frozen raspberries 2 eggs (beaten) 1/2 cup raw honey 1 cup sour cream 1/2 cup healthy oil (I used grapeseed oil, but you can also use coconut oil or avocado oil) 1/2 tsp. vanilla extract Streusel Topping: 3 Tbs. whole wheat flour 3 Tbs. quick oats 2 Tbs. classic Lakanto monkfruit sweetener 1/4 tsp. cinnamon 2 Tbs. butter (cold) Directions:
*Makes about 18 muffins. 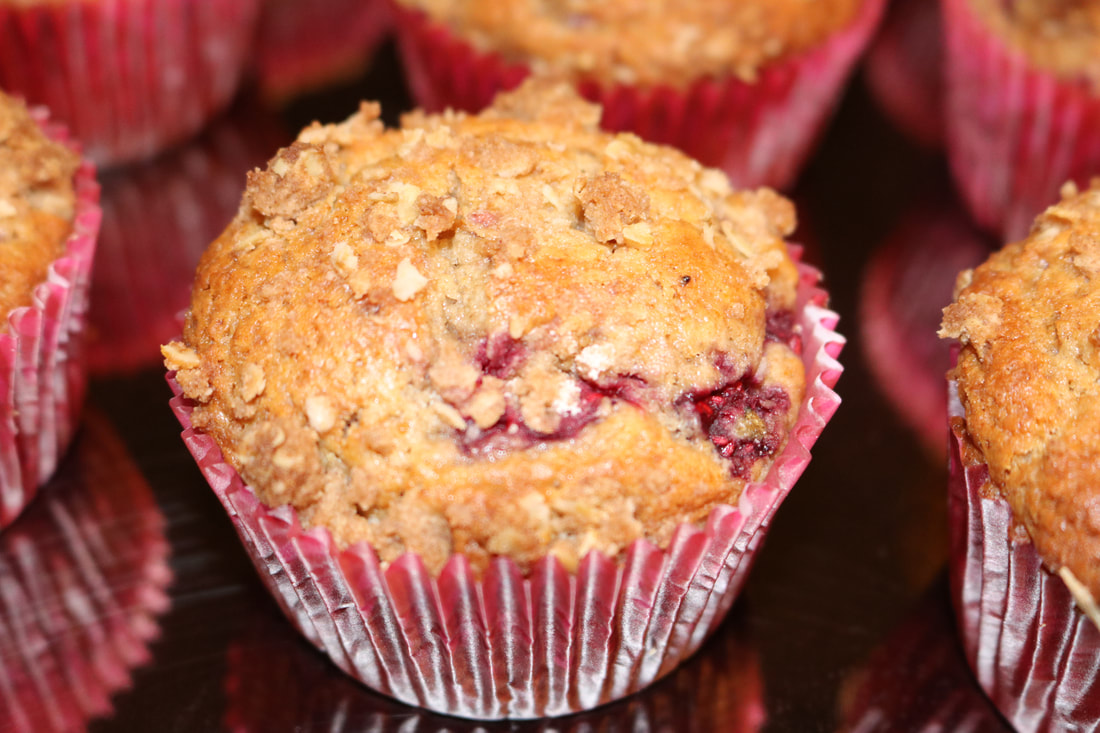
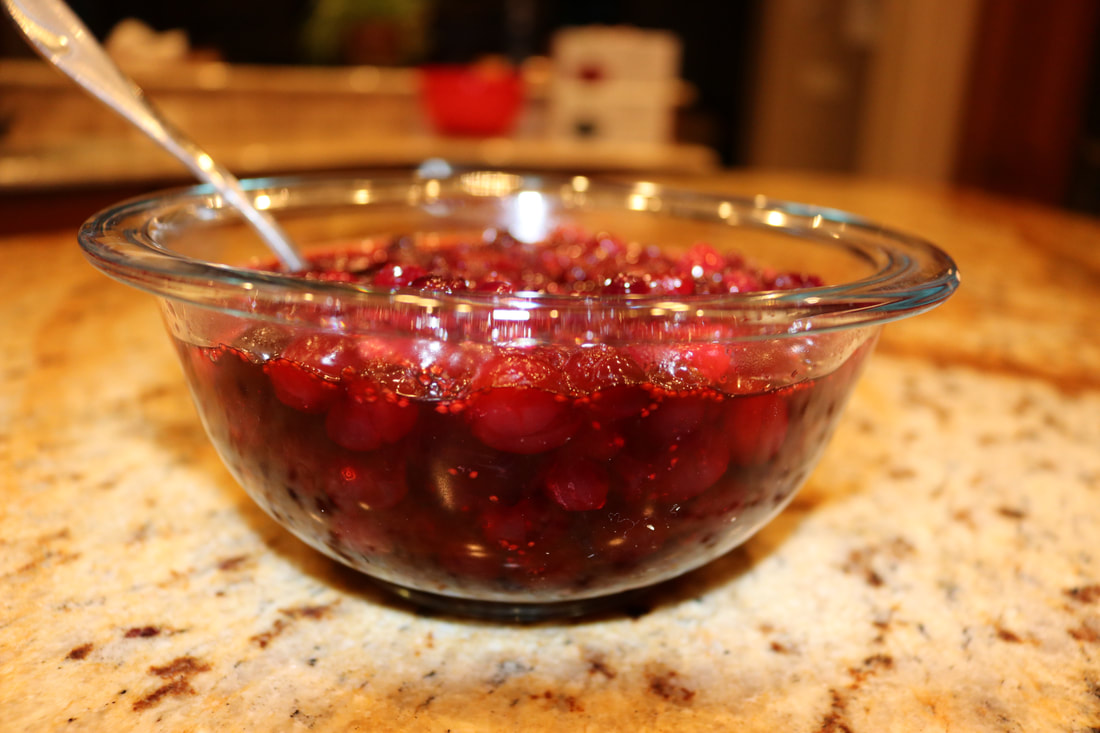
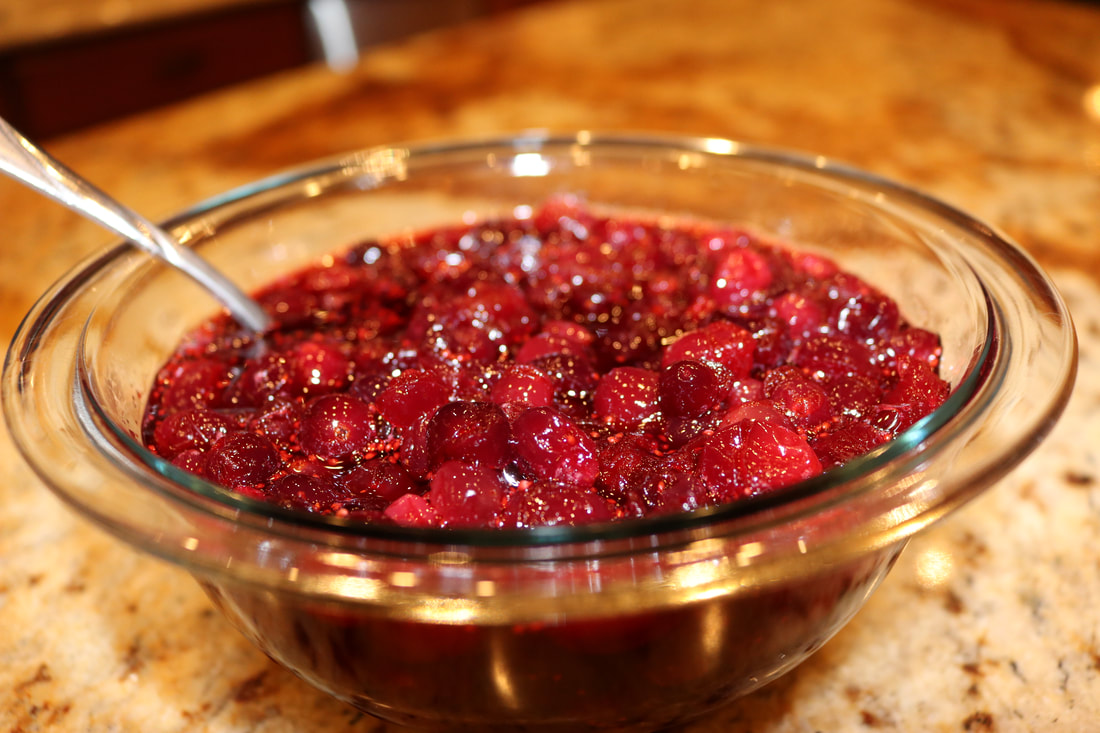
 Refined sugar-free cranberries!! Yum!! This recipe is probably one of the easiest things you'll make on Thanksgiving, and even though they are refined sugar-free they still contain the traditional sweet flavor of cranberry sauce! :) Thanksgiving Cranberry Sauce!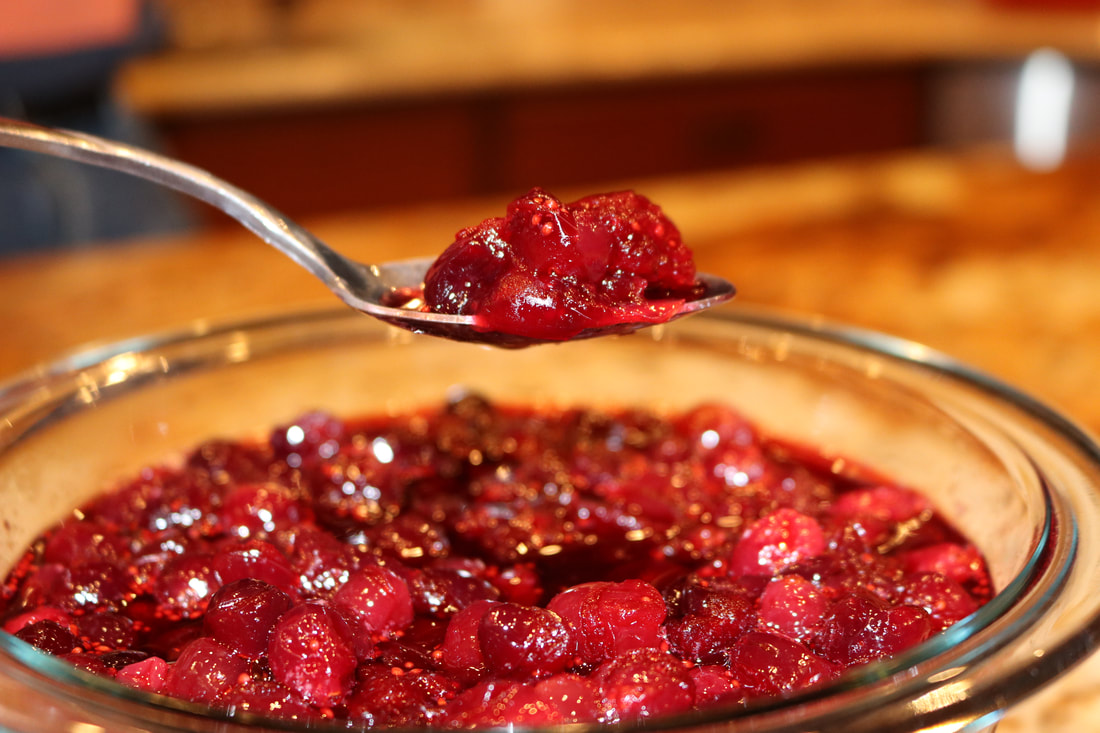
Ingredients:
4 cups frozen cranberries 1 cup water 1 cup maple syrup Directions:
*Use organic ingredients when feasible.
 My favorite food on Thanksgiving has ALWAYS been the pumpkin pie! And when I discovered how much sugar and processed ingredients go into it, I was determined to find a recipe that is healthier and happier! These pumpkin pie squares are easy because they don't require the extra steps that come with regular pie crust. This healthy alternative replaces evaporated milk with canned coconut milk, and sugar with honey! A healthy and happy solution for the whole family! The pie filling can also be used with any of your favorite pie crust recipes as well, and you can top your pumpkin pie with anything you like! Pumpkin Pie Squares!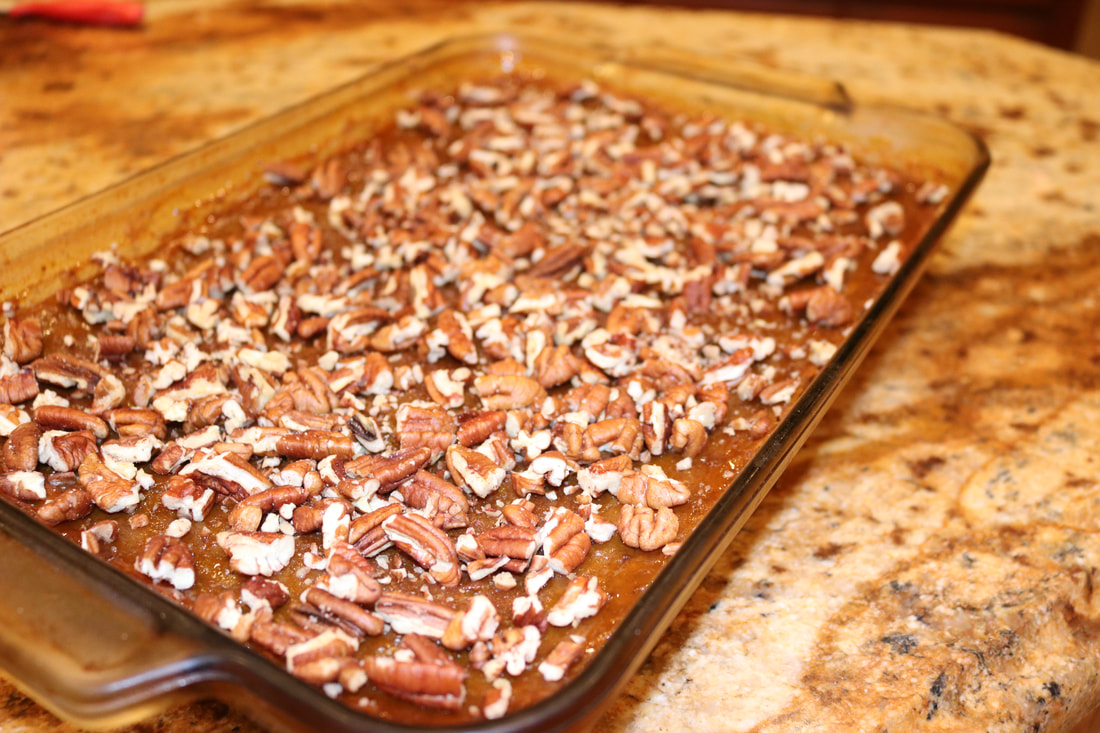
Ingredients:
Crust: 1 cup whole wheat pastry flour 1/2 cup quick oats 1/2 cup maple syrup 1/2 cup butter (melted) Filling: 2 cans *pumpkin puree (4 cups) 1 15 oz. can coconut milk 4 eggs 1 cup raw honey 1/2 cup maple syrup 1 tsp. salt 2 tsp. cinnamon 1 tsp. ground ginger 1/2 tsp. clove Directions:
*It's best to use pumpkin puree that came from your own organic pumpkin, but organic canned pumpkin is okay too. *When using the coconut milk, use the entire can. Not just the cream on top. *Use organic ingredients when feasible. 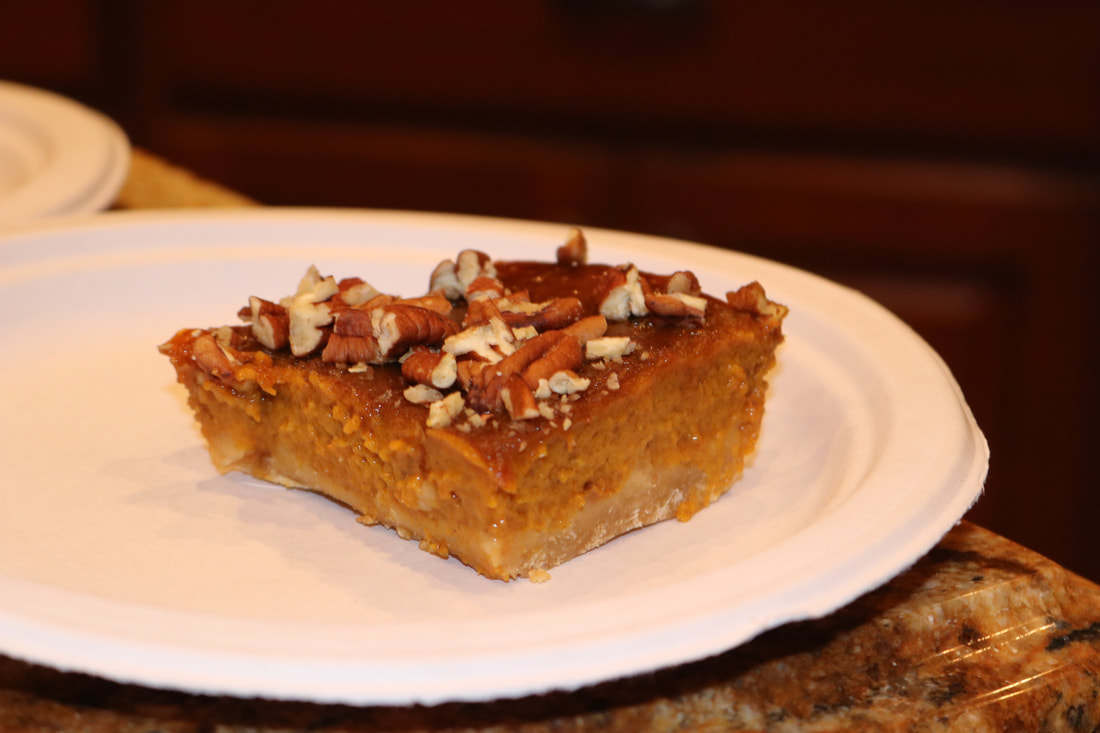
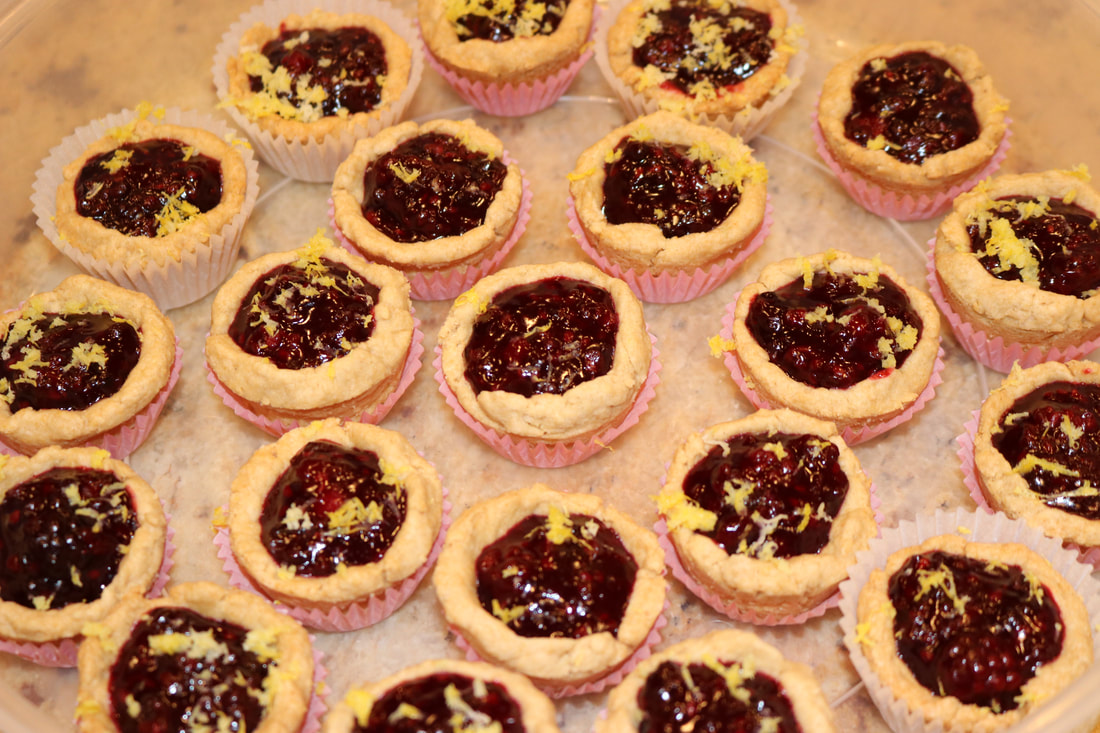
 Our first thanksgiving recipe is now up on the blog! Tis' the season for sweet pastries and pie (even in bite size form)! My mom has always made THE BEST pie crust in history, and I think we have officially converted it to match our healthy Lyme lifestyle. This recipe is made with whole wheat pastry flour and palm shortening instead of white flour and Crisco to eliminate any harmful additives. It's also made with DELICIOUS organic berries that can be converted into any berry you like, and it's perfect for all of your holiday parties because they're so simple and bite-sized! Blackberry Pie Bites
Ingredients:
Crust: 2 cups whole wheat pastry flour 1/3 heaping cup palm shortening 1/3 cup butter (cold) 1 tsp. salt 4 Tbs. cold water Filling: 4 cups frozen blackberries 1/3 cup raw honey 2 tsp. vanilla extract 2 tsp. cinnamon 1/2 tsp. nutmeg a pinch of clove (optional) 2 Tbs. Cornstarch (Non-GMO) 4 Tbs. cold water Directions:
*You can top your pie cups with whipped cream or anything you like. I topped mine with lemon zest, and it added just the right flavor! *Use organic ingredients when feasible. *Store in refrigerator.
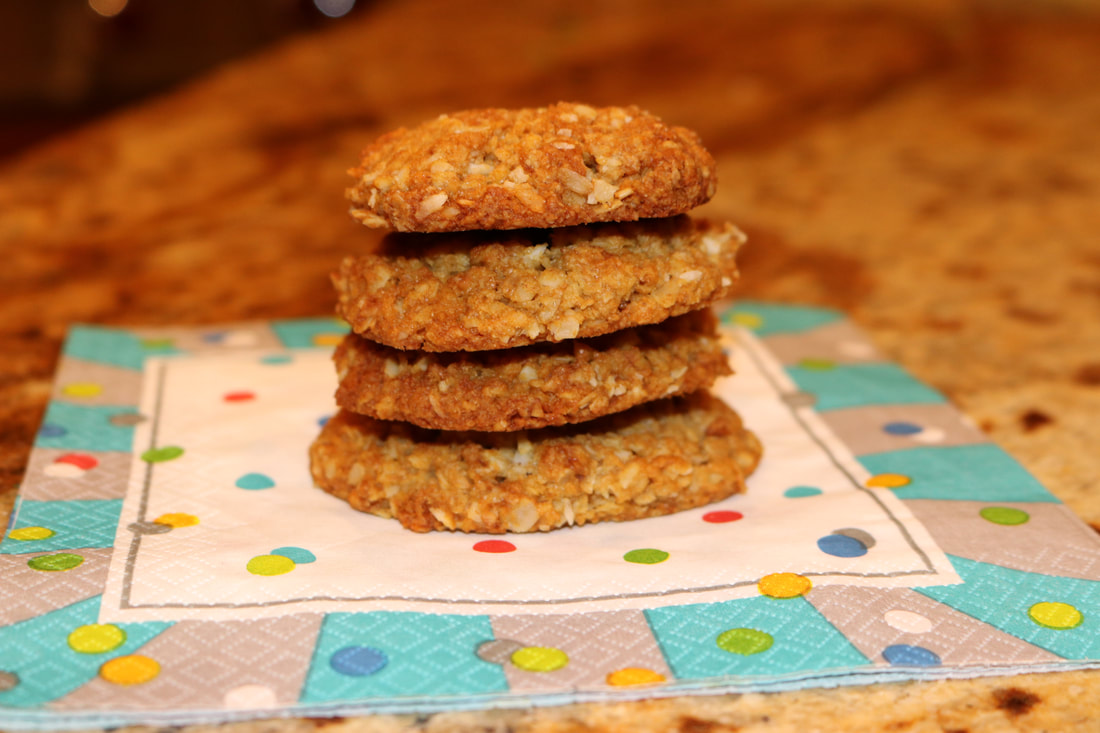
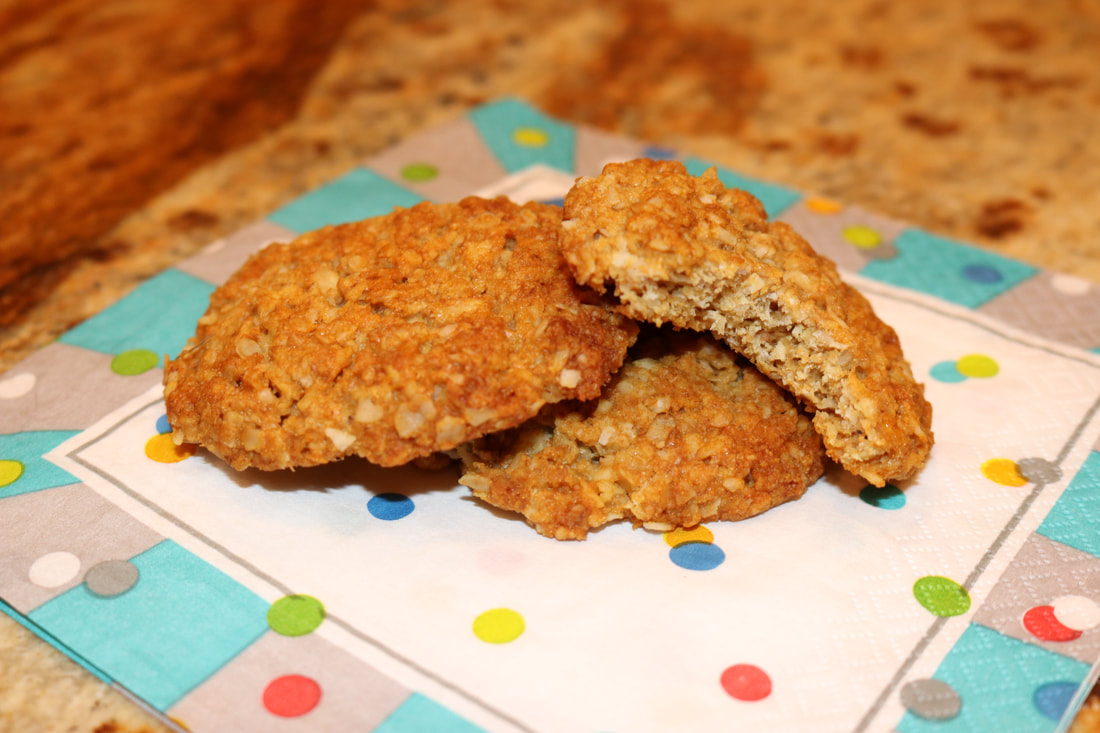
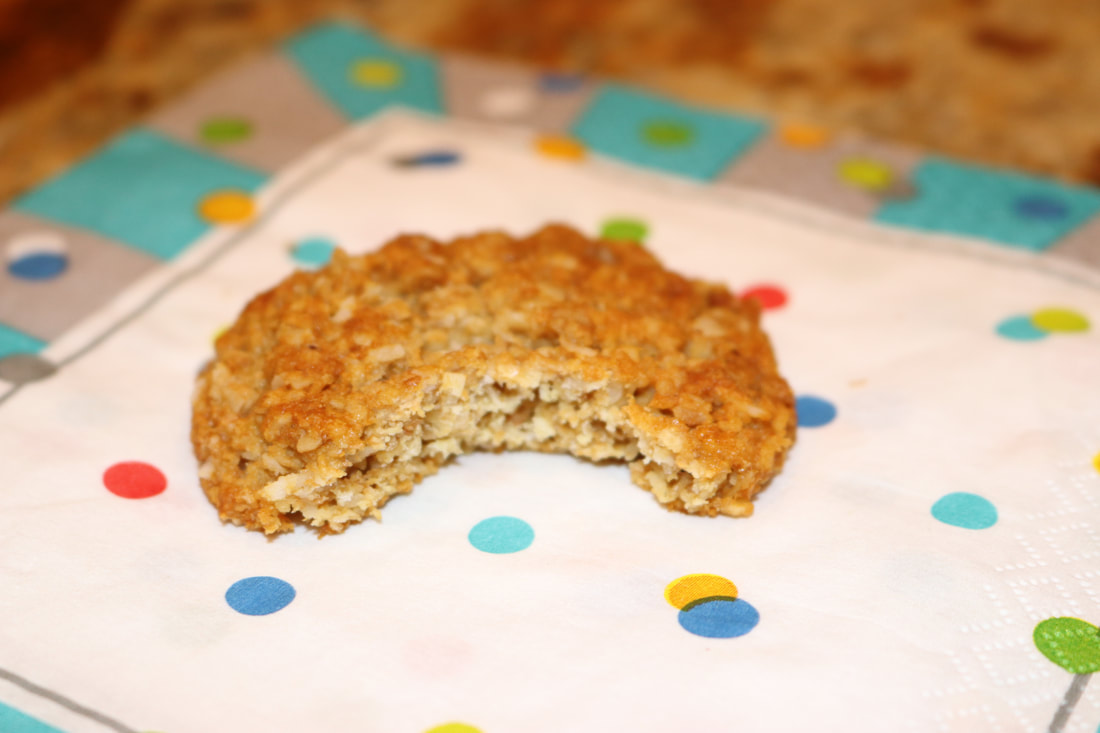
 This recipe is actually a special recipe from the mind and heart of my dad! My dad served a mission for the Church of Jesus Christ of Latter Day Saints in Australia when he was younger, and he recently wanted to recreate this cookie that he had on his mission a lot. Needless to say, they were a huge success and our family loves these delicious creations now! These cookies are made with whole wheat flour, coconut, and oatmeal. They're soft and chewy on the inside, and are the perfect treat to satisfy your sweet tooth! Not to mention they are organic, and refined sugar-free! Yum! Australian Anzac Cookies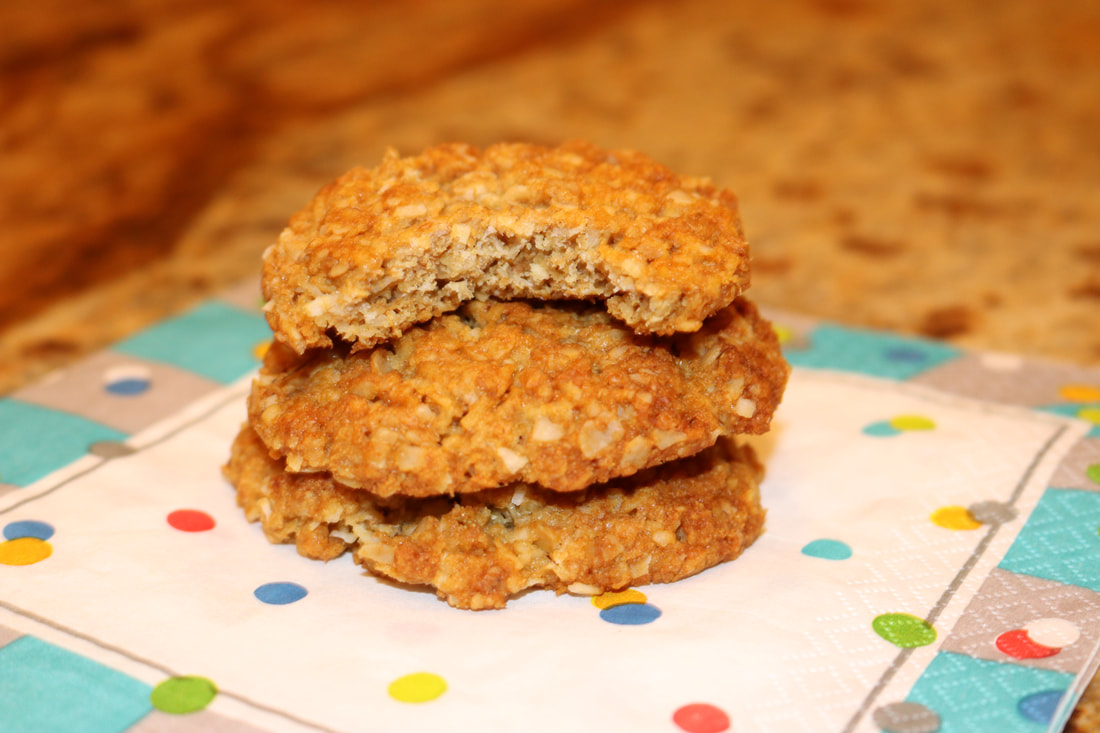
Ingredients:
1 cup flour 1 1/2 cup quick oats 1/2 cup golden Lakanto 1/2 tsp. salt 1/2 cup butter 1/4 cup raw honey 3 Tbs. water 1 Tbs. baking soda Directions:
*Use organic ingredients when feasible*
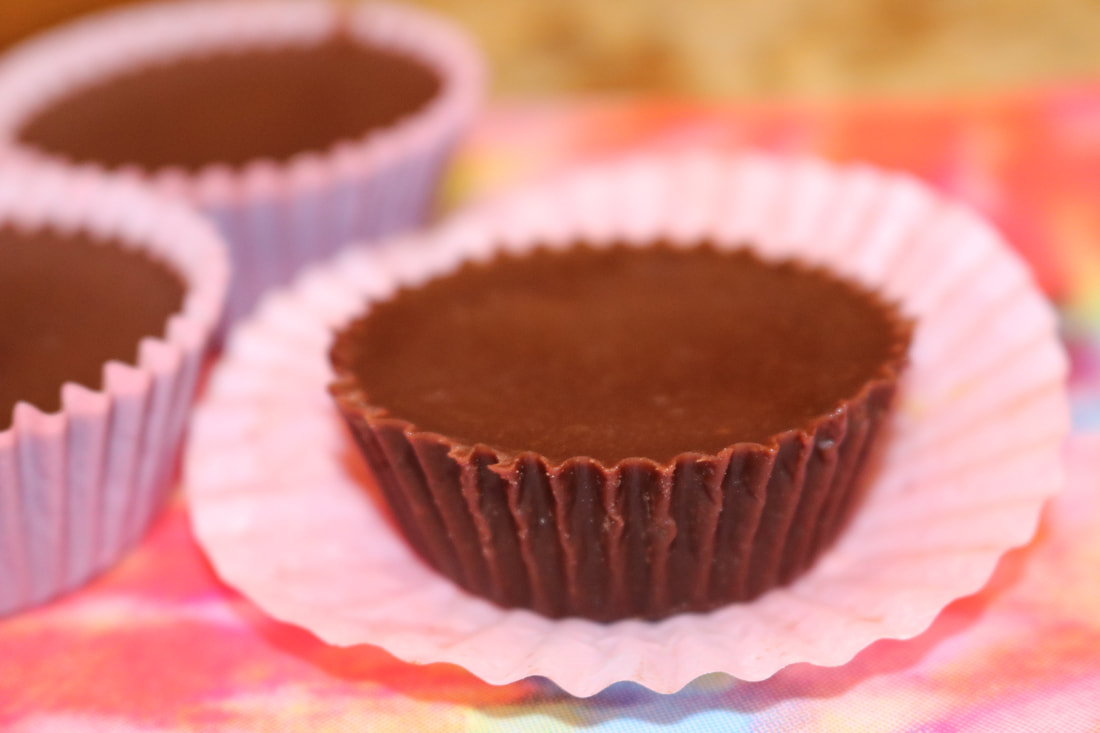
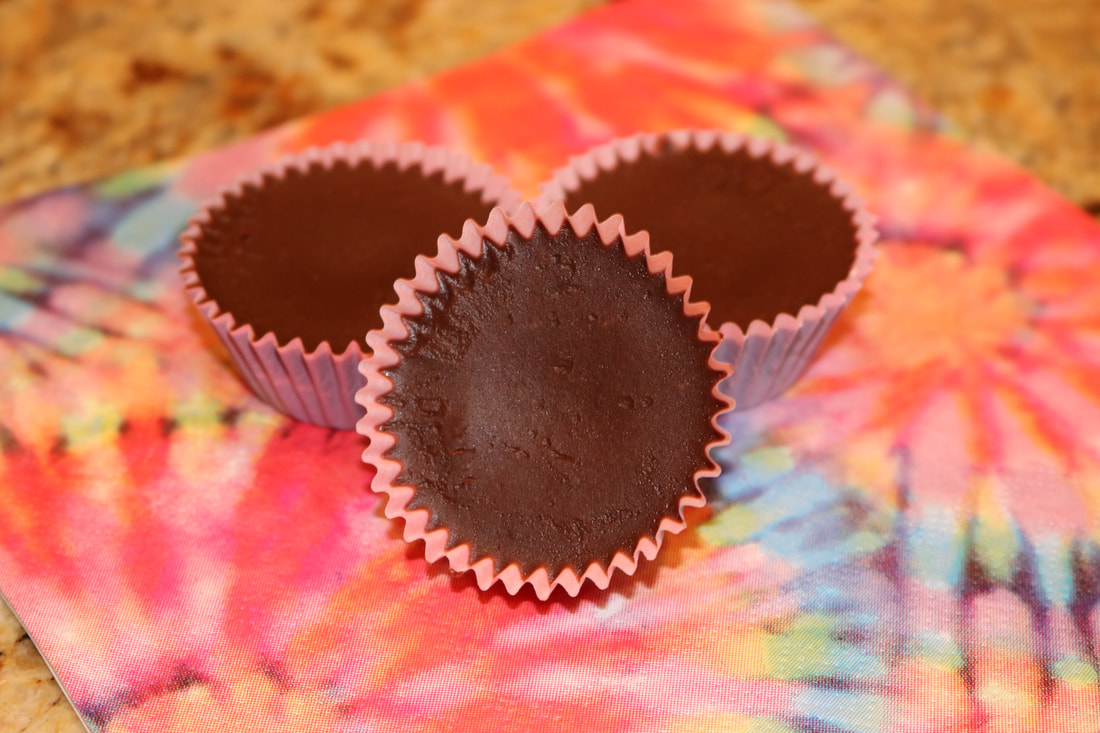
 Hello! This is your friendly sugar free chocoholic, and I'm here to tell you that IT IS POSSIBLE to eat chocolate and be healthy! This is one of my FAVORITE recipes, and I have to consciously decide to only eat one a day because they taste so similar to store-bought candy! These are so yummy, creamy, and filled with peanut butter! What a great combination! ;) These are also organic, and refined sugar-free like always, and makes a great treat for the holidays! Chocolate Peanut Butter Cups!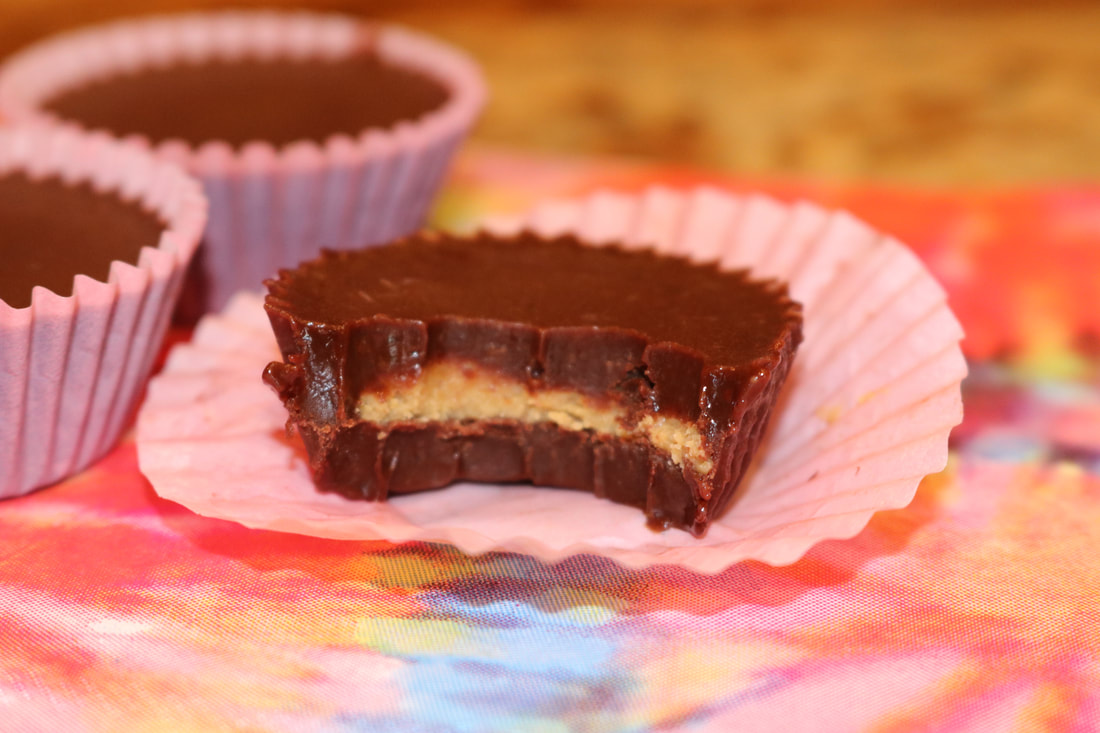
Ingredients:
1/2 cup coconut oil 1/2 cup almond butter 1/2 cup raw honey 2 tsp. vanilla extract 1/2 cup cocoa powder (at least 80% cacao, sifted) 1/2 cup organic peanut butter 1/4 cup powdered Lakanto 1 tsp vanilla extract Directions:
*Makes 24 chocolates *Store in refrigerator
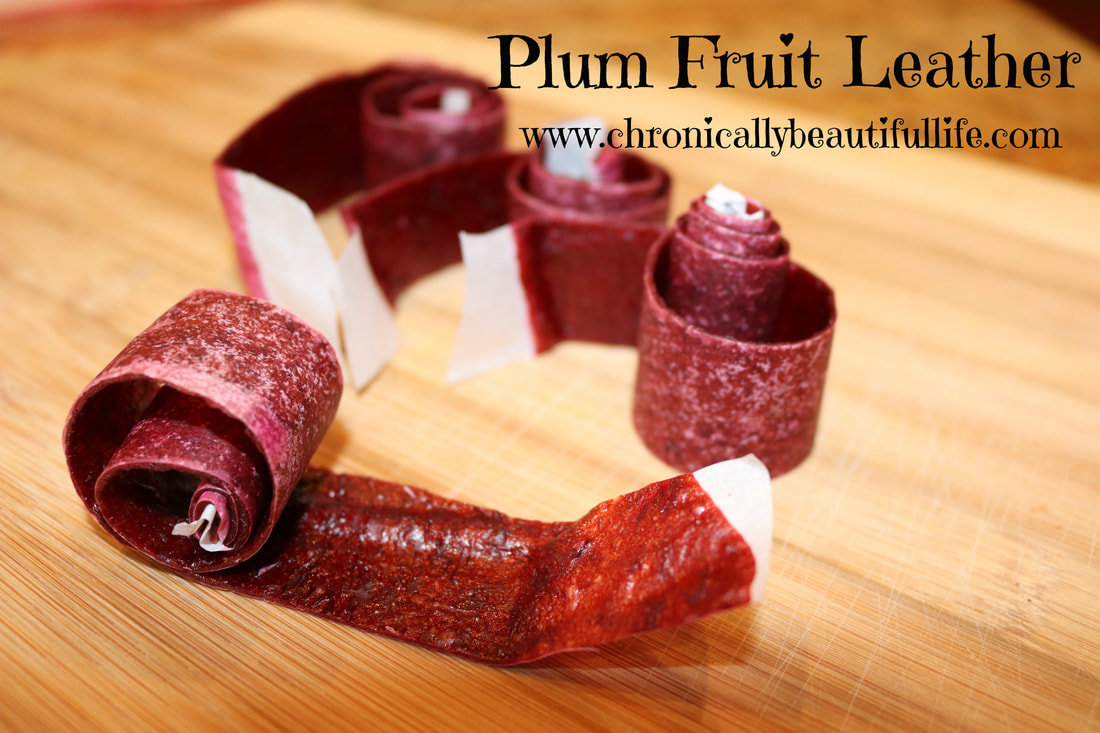 Remember those bright red fruit roll-ups you used to eat as a child? Remember how they used to turn your tongue red and they mostly tasted like flavored sugar? When I was a kid, I ate these fruit-roll ups on the daily, and the exorbitant amounts of sugar and corn-syrup contained in these kinds of snacks made me incredibly sick and I'd always spend the day with a stomach-ache. Well, we have now come up with a solution! These fruit roll-ups taste like candy, are refined sugar-free, and contain necessary nutrients from real fruit. The awesome thing about this recipe is that you can tweek this recipe to your liking. I'd highly recommend tasting your fruit puree before drying it, and if you feel like it needs more sweeter or cinnamon, you do you. You also don't have to use plums. Whatever fruit you like will make this recipe delicious and successful! Plum Fruit Leather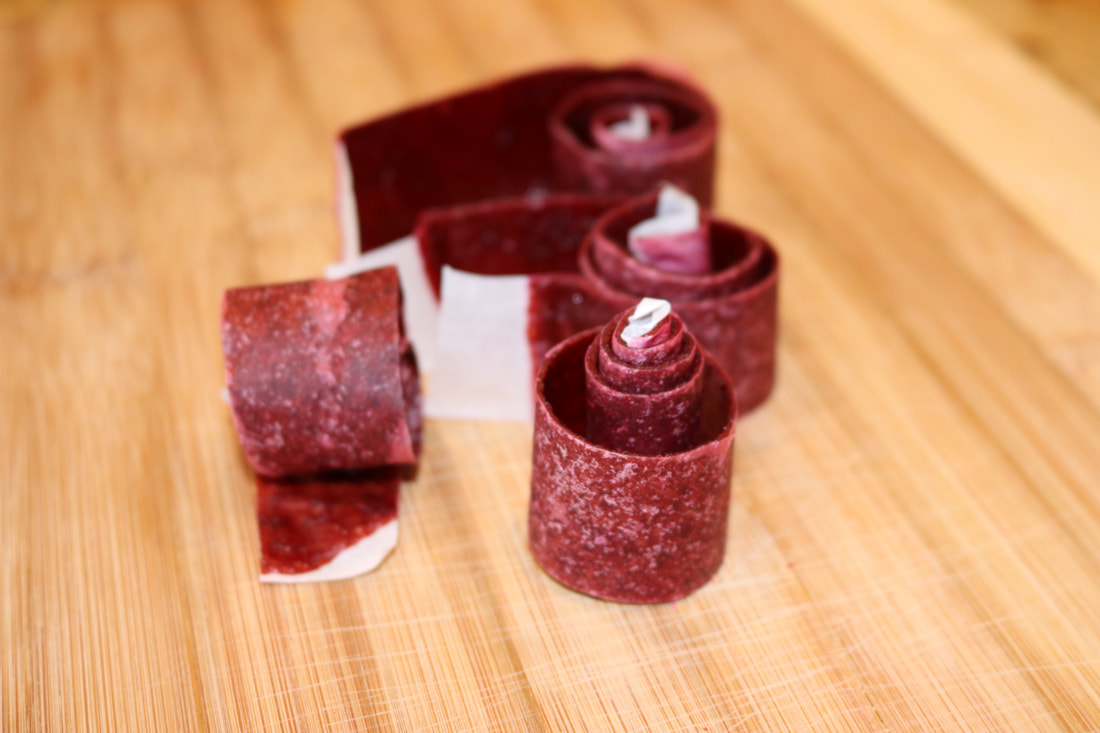
Ingredients:
6 cups plums (cut in half and pitted, they do not have to be peeled) 1/2 cup raw honey 2 Tbs. fresh lemon juice 2 tsp. ground cinnamon (if desired) 1/4 tsp. cloves (if desired) Directions:

|
Welcome to My Kitchen!
Food is one of the greatest forms of science, art, medicine, and sustenance all at the same time! It's what feeds our lives and pumps through our blood. It's what connects us and what gives us energy to fulfill our purpose. It is for that reason that I have a deep passion for discovering, cooking, and eating only the most nutrient dense foods. In my kitchen, we only use organic, whole ingredients that feed the body, as well as the mind and soul. My hope is to inspire healing through healthy AND delicious food that feeds not only our stomachs, but also our hunger for connection and quality of life.
Archives
March 2022
Categories
All
Remember, when we spend our money on the most nutritious and whole ingredients, our dollars become our vote for healthier living, and happier lifestyles.

|
Blogs |
Chronically Claire |
|

|


 RSS Feed